An ode to your friendly neighbourhood Spider-Man!
Materials Required:
- Polymer clay in black, white, blue, red and other colours.
- Cutter
- Rolling pin
- wire (I bought mine from a local hardware store)
- Long nose Pliers
- Glue Gun (for repairs)
Step 1- Make an armature. This time I used a simple technique by cutting two pieces of wire to scale by using a printed picture of Spider-Man.

Step 2- Add blue clay to the legs. Widen the calves and thighs while keeping the knee thin.


Step 3- Make two red feet and add them to the bottom of the legs.


Step 4- Add blue clay to the body. Shape it so that the shoulders are wide and the waist is narrow.


Step 5- Roll out a thin sheet of red and cut out tho long rectangles and put them on as illustrated.


Step 6- Make the arms. Add a ball of clay as the shoulders and a log as the arms. Blend these together.


Step 7- Make the hands. You can try different positions. I chose a fist and the signature spider shooter.


Step 8- Roll out a sheet of red clay. Cut out a shape as illustrated and add it to the body.


Step 9- Add a spider on the chest.
 Step 10- Make a red ball for the head.

Step 11- Make 2 black eyes. Add these on the face.

Step 12- Make smaller white eyes and add them on top. Add the head to the body.
Step 13- You can use a permanent marker to add lines. I did not like this at all, so erased it with some nail polish remover.

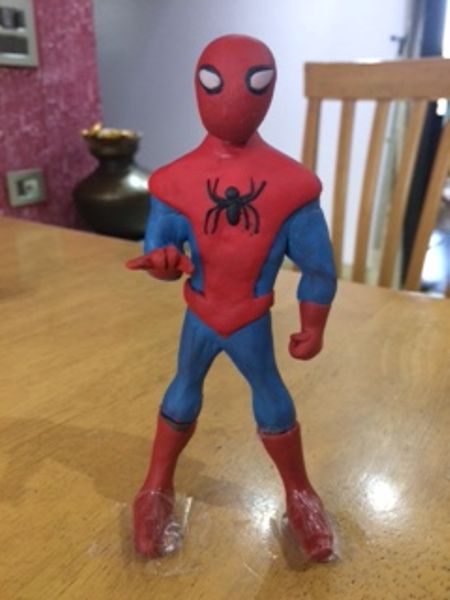
This is the look I went for.

To be or not to be, is your choice.
Spider-Man is now complete!

Wonderful Divija!
LikeLiked by 2 people
It looks great! Well done!
LikeLike