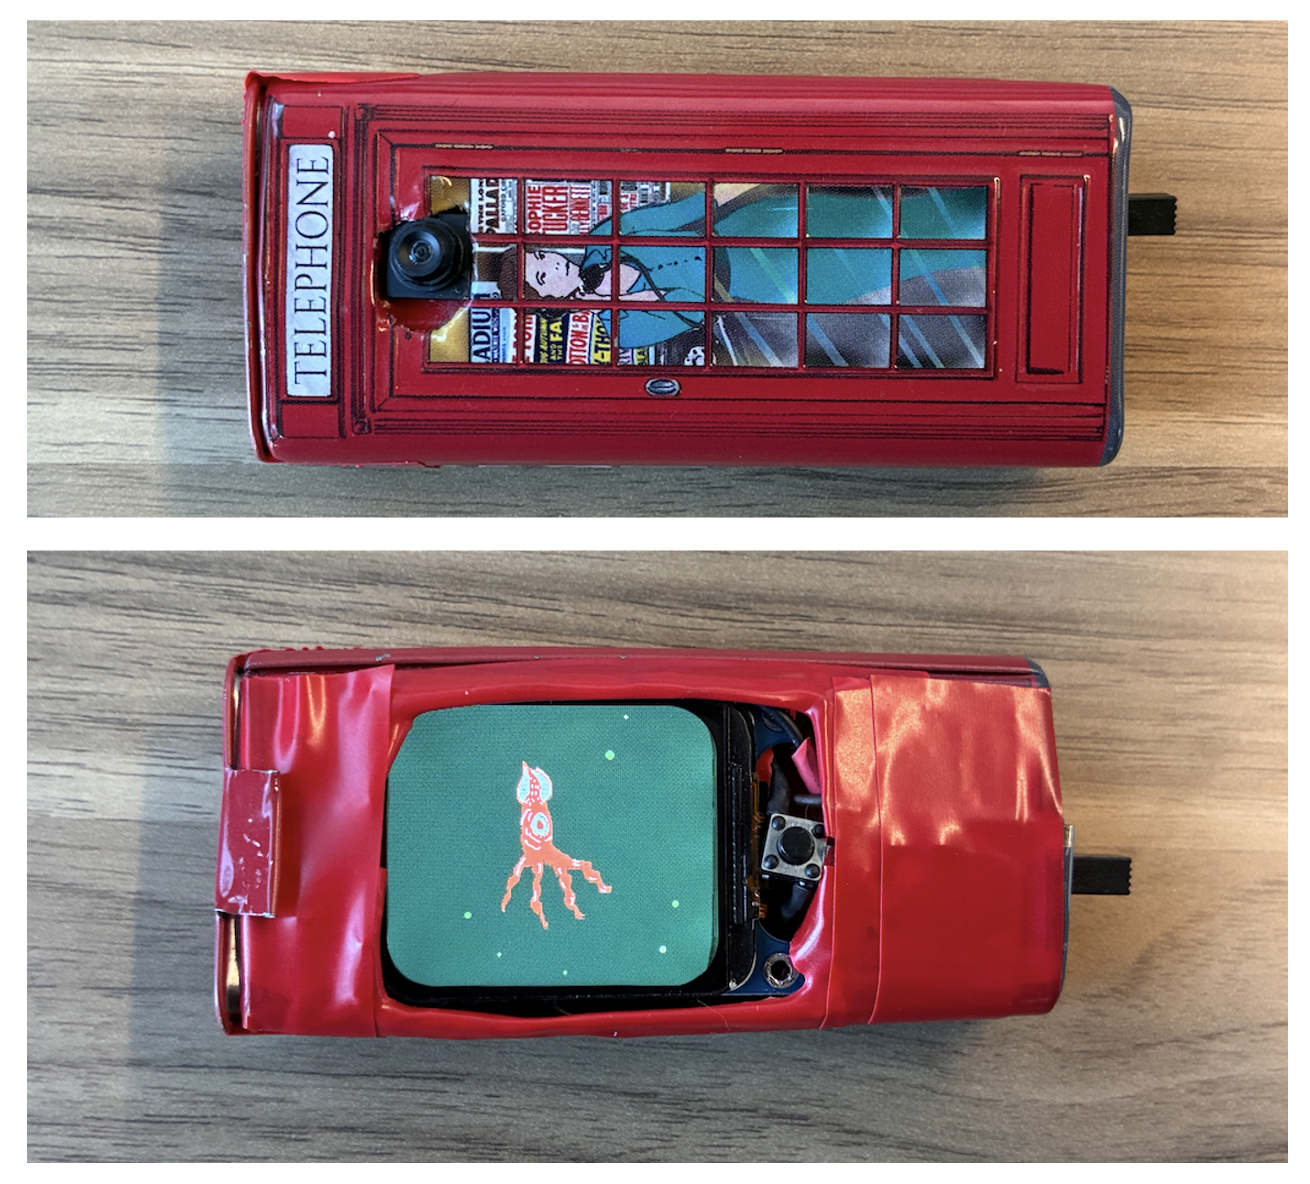
The summer is so nice. I get to tackle my TODOs.
On the topic of TODOs, go check out Idea Garden, where I send all my ideas so I always have a source of inspiration. It was a very fun build! Alot of illustration, backend setup and vibe-coding! Very different from any of the other stuff I’ve ever made!!
ANYWAYS back to the point of the Mint Tin Camera.
For those who want to make their hardware and git clone and flash, find the repo here. For those who want to read a billion other unrelated things, keep reading!


I was in London for a layover at the beginning of this summer, where I came across a travel mint container. I thought it was the prettiest thing I’ve ever seen and decided to turn it into a camera.
Actually no. That is a bald faced lie. I HAD been already trying to build a camera from a separate altoid tin I had (which is now a mini arcade game cyberdeck you can read about here). But I could NOT, for the love of well, anything, figure out how to 1. get a screen and sd reader work simultaneously with an ESP32 AI-Cam Thinker, and 2. change the focus on my camera module.
I genuinely thought this would be a one-day build. To the point where I scheduled exactly one day to work on it. It was the last day I was on campus. I got my lab manager to give me lab access for an extra day. All of my clothes were packed away for home. I thought I’d spend a day in lab, and walk out with a cute camera that I use to document my entire summer.
That absolutely did not happen. I walked out with a pile of wires, and a board with the pads burnt off with how much I over-soldered it.
When I was home, I had intended to work on it, but accidentally bricked my board through a rather unfortunate accident involving my ring finger and a sharp tin edge. I was in utter despair because there was no way I was getting this done over the summer since I would no longer have any of my supplies 😦
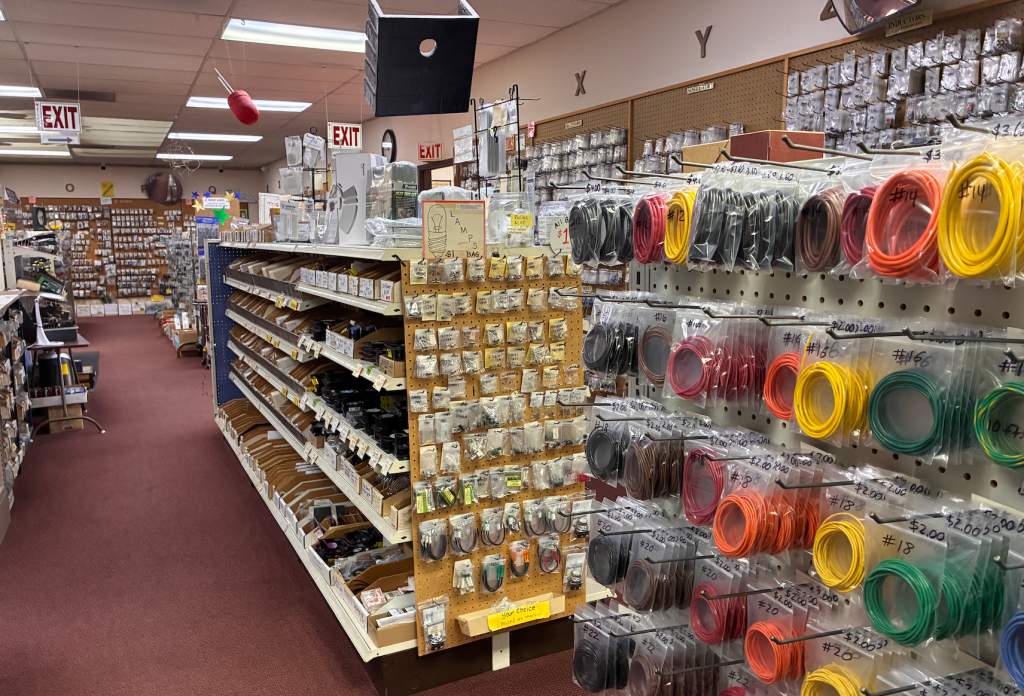
Now the really great thing about being in the bay is that on your 40 minute walk to work, you will stumble upon a REALLY awesome electronics store. And Aliexpress will deliver within the week. And someone really nice at work will let you borrow their entire soldering setup. Back in business!
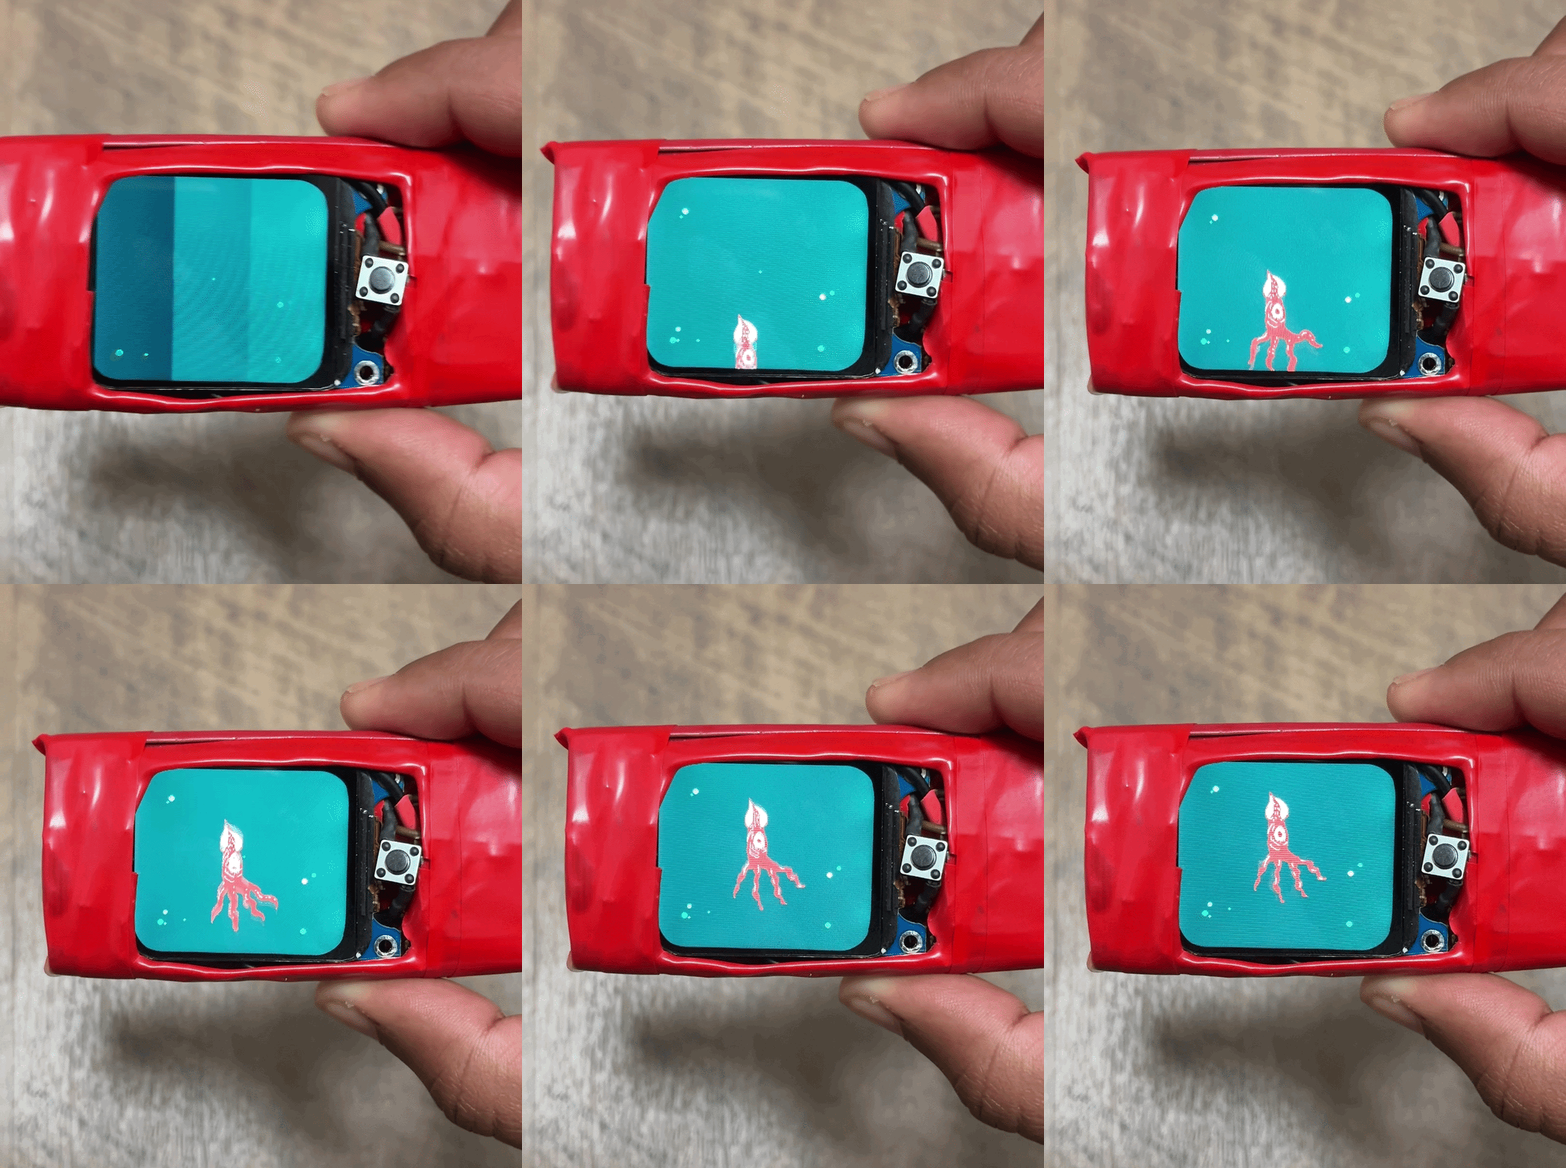
I’ve been feeling really inspired by folks online who do pixel art and create super analog, y2k looking websites. For that reason, I decided that I wanted to create a pixel-art bootup animation. Which looks like a squid. Because I’ve been really liking squids recently.
Embedded animation is pretty cool! I’ve done some simple stuff for a website I made, but that mostly involved just storing PNGs and cycling through them. Or I’ve made stuff using software like Procreate where animation can be guided through tracks.
ESP32s only have 8Mb of RAM, so we need to be pretty smart about how we’re loading and storing images. The solution I went with was creating a colour-bitmap (1 bit per pixel telling us if the pixel is occupied by a certain colour). This saved me the space of storing an entire RGB image. Downstream software would then take the per-colour bitmap and then convert it into a full RGB image. Here is how I created my bitmaps:
I drew my three frames out in a free pixel art editor, Pixil. I exported them as PNGs, and then wrote a python script to separate them by colour (I’m pretty sure there’s a feature in the app that lets you do this, but why learn how to use an app if a python script can do it for you), and then parse these mono-colour images into char arrays. These are the .h files you’ll find in /camera_firmware_flash.



I used easings.net to visualise how different mathematical functions encode movement, and The Nature of Code by Daniel Shiffman, a really cool website that teaches people how animations work while also introducing CS concepts like OOP and inheritance along the way. It was so, so awesome to read. The examples are in p5.js, but they were easy enough to adapt to Arduino. After I had a rough draft with the math in place and the frames loaded, I had Claude add bubbles to create this animation and wire it to my low-level TFT display library. It is a bit smoother than it looks down below since I’m embedded a GIF instead of a video in this blogpost.
For the actual functional part of it all, I wanted three things: 1. a viewfinder, 2. the ability to click images, and 3. storage to an SD card. It seemed simple enough, but was surprisingly hard because of pin contention.
I tried for a fair bit with an ESP32 AI-Thinker Cam, but I couldn’t get the TFT and SD card writes to coexist. Between the camera’s parallel data bus and SD_MMC’s six lines, there are essentially no pins left. And GPIO 4 does double duty as both the flash LED and an SD data line, so the flash flickers every time you write a photo. The other problem was my display: it had a MISO line that it wouldn’t release when deselected, so it sat on the SPI bus and messed up the SD card’s reads.
The XIAO ESP32S3 Sense fixed both. The S3’s GPIO matrix lets you route peripherals to nearly any pin instead of fighting a fixed pinout, the camera rides its own connector, and the ST7789 panel I moved to is write-only. This was my schematic:
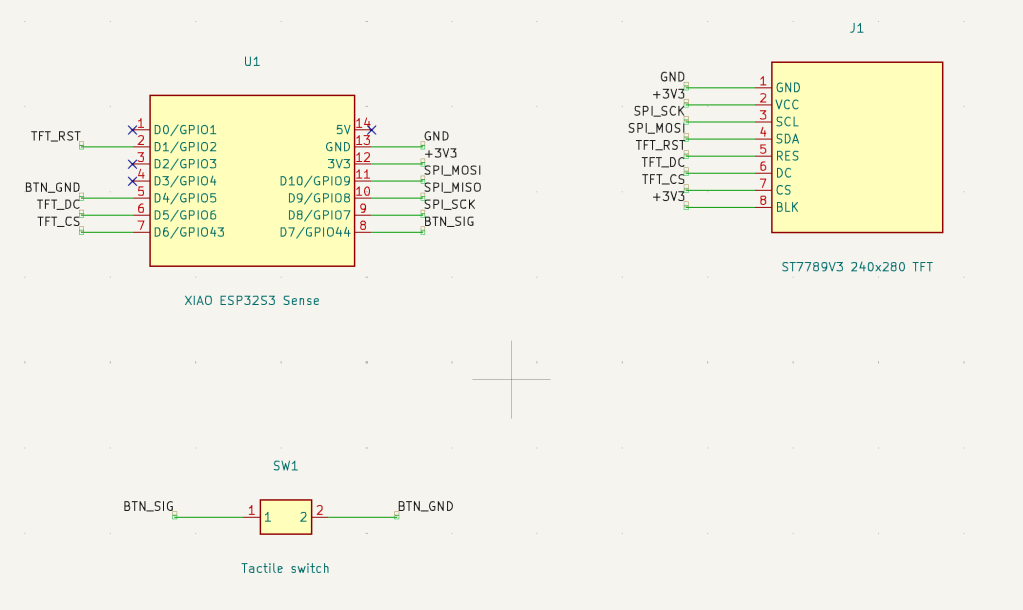
Now admittedly, I did some suspicious stuff. Firstly, since I didn’t want to deal with fanning out my ground pin so that both my screen and button could access it, I made up a fake GND by toggling D4 to LOW at startup. I’m not sure what the ramifications of this might be, but this is definitely not good practice. Second, I also connect the backlight of the display to 3.3V, means that it is always on at 100%. I should’ve connected the backlight to a GPIO and done some PWM control for brightness. Probably would’ve been more battery conscious.
Did a bunch of soldering. Broke a screen. Unsoldered a bunch. Broke another screen. Went to the electronics store, once for tape, once for heatshrink.
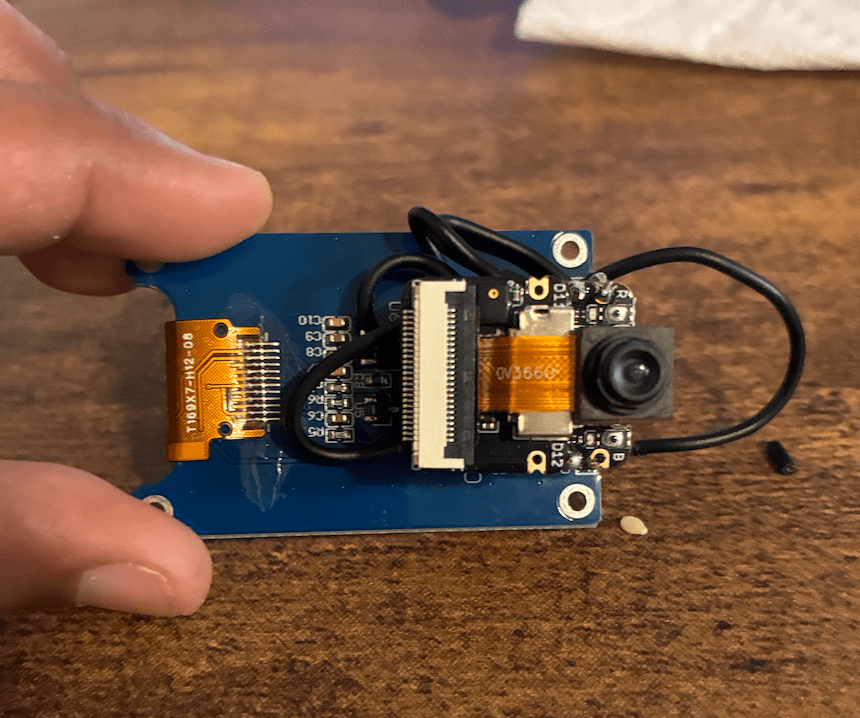
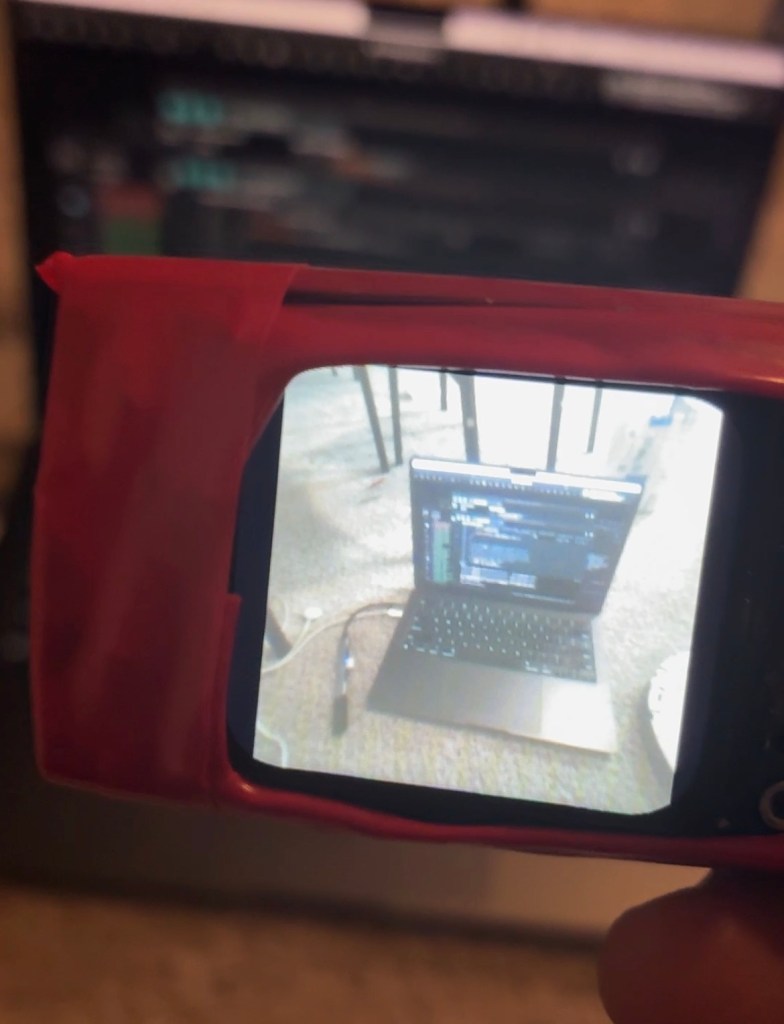
Crammed my circuitry into the tin (I wish it were Tardis :0), and I had a (pretty terrible) camera!
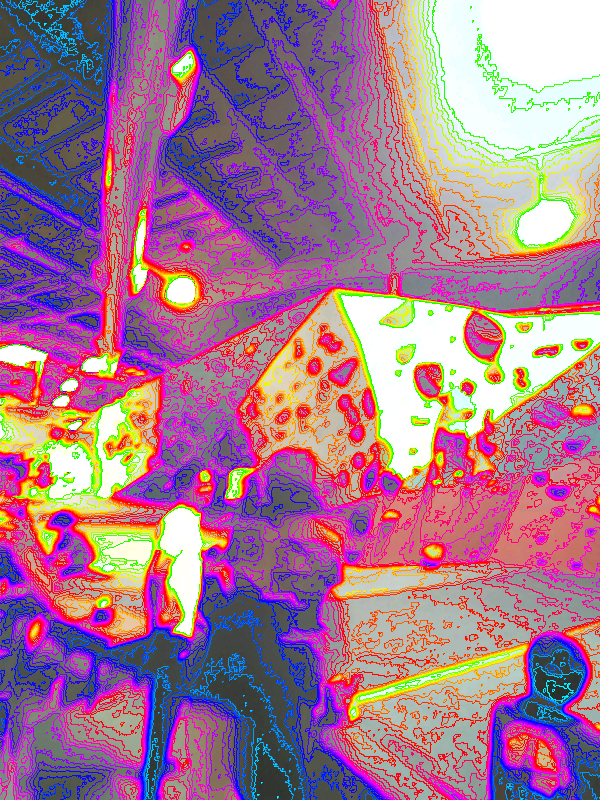
In the process of debugging and getting the camera to display things correctly in the viewfinder, I ended up with versions of the incoming images where the RGB order was messed up, which made them look super cool. Reminiscent of camera bending. I decided to lean into it and made a funky mode that feels very thermal-imaging-inspired and trippy. I like it!
Here are some of the pictures this camera has taken:
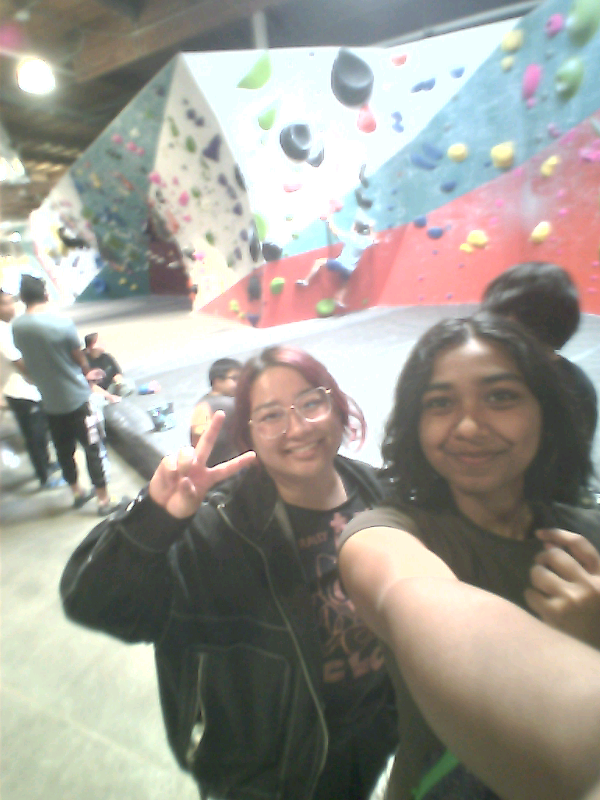
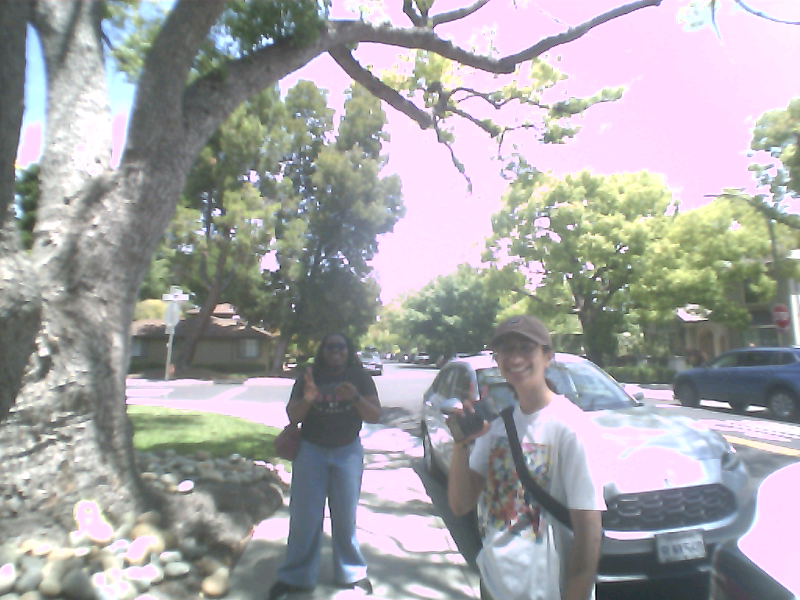
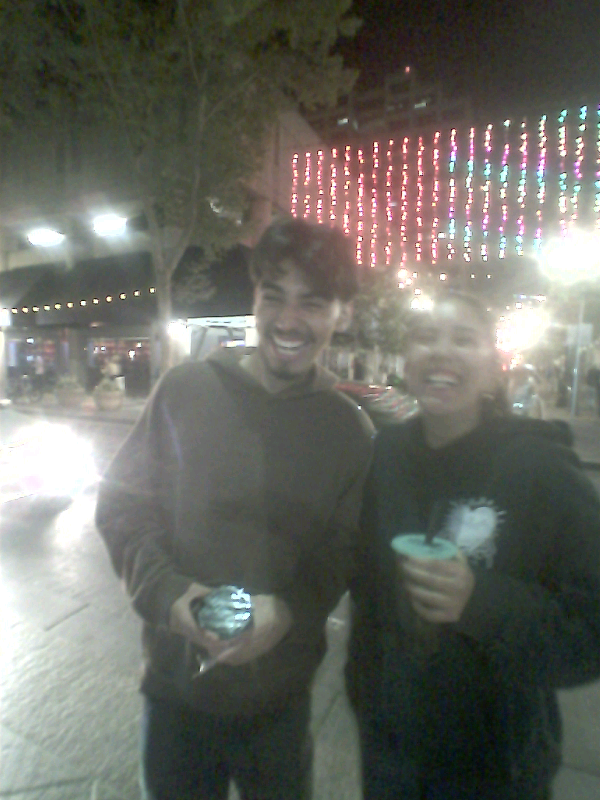


This isn’t exactly it, but I really like the concept of retrofitting. Now that I have the basic mechanism figured out, I think it might be a lot of fun to gut some old electronics and replace the innards with different sorts of cameras!
I found a bricked Polaroid for 5 USD at a second-hand store near me, and a friend from work gifted me an optical light meter from the 1940s! I also picked up a bricked retro space invaders gaming console for 2 USD at the same second-hand store.
I have too much trash for someone who needs to pack up all of summer into two bags in a month 😦


Unfortunately, I don’t expect to be able to put a lot of time toward these projects right now, since work is picking up and I have some school-related responsibilities. But hey, Idea Garden has all of these in there for when I do find the time.
Be back soon!
 The Build Log
Leave a comment