
With college application season and JEE season at an end (committed to Princeton University!!) I had the time to tackle my to-do list. I’ve been working on this project on and off for two months and finally completed it this week.
Teebot is a t-shirt folding robot that uses servos and a 4-panel system to fold t-shirts. This robot was inspired by Sheldon from TBBT who uses a plastic contraption to fold his TShirts. Teebot offers two modes: the ‘single’ mode, which can be used to fold t-shirts out one by one. On the other hand, the ‘loop’ mode asks the user for the number of t-shirts the user would like to fold and runs the folding mechanism multiple times until all the t-shirts are folded.
Plastic-based T-shirt folders have been around for a very long time. I thought of automating one. Realistically, I know that this project isn’t a game-changer. But my goal with this project was to learn more about Arduino. I used GitHub for the first time with this project and learned quite a bit about interfacing with Oleds, and Numpads, handling text inputs, and documenting issues. With my former project, IKSHANA, I had access to a 3D printer for creating the actuation mechanism, but with Teebot, I had to rig up the entire system’s old school- with cardboard and tape. I thoroughly enjoyed the process.
This post will detail my experience as well as have instructions for anyone who’d like to create Teebot for themselves. Here is the final code. All the code can be found here on the Github Repo. I always prefer to work step-by-step, integrating components as I go, so you’ll also find code testing out individual features or components in the repository.
Quick disclaimer: I’m a beginner and at times, my code may be sloppy, documentation weak, and I may describe problems that have obvious solutions. So, bear with me.
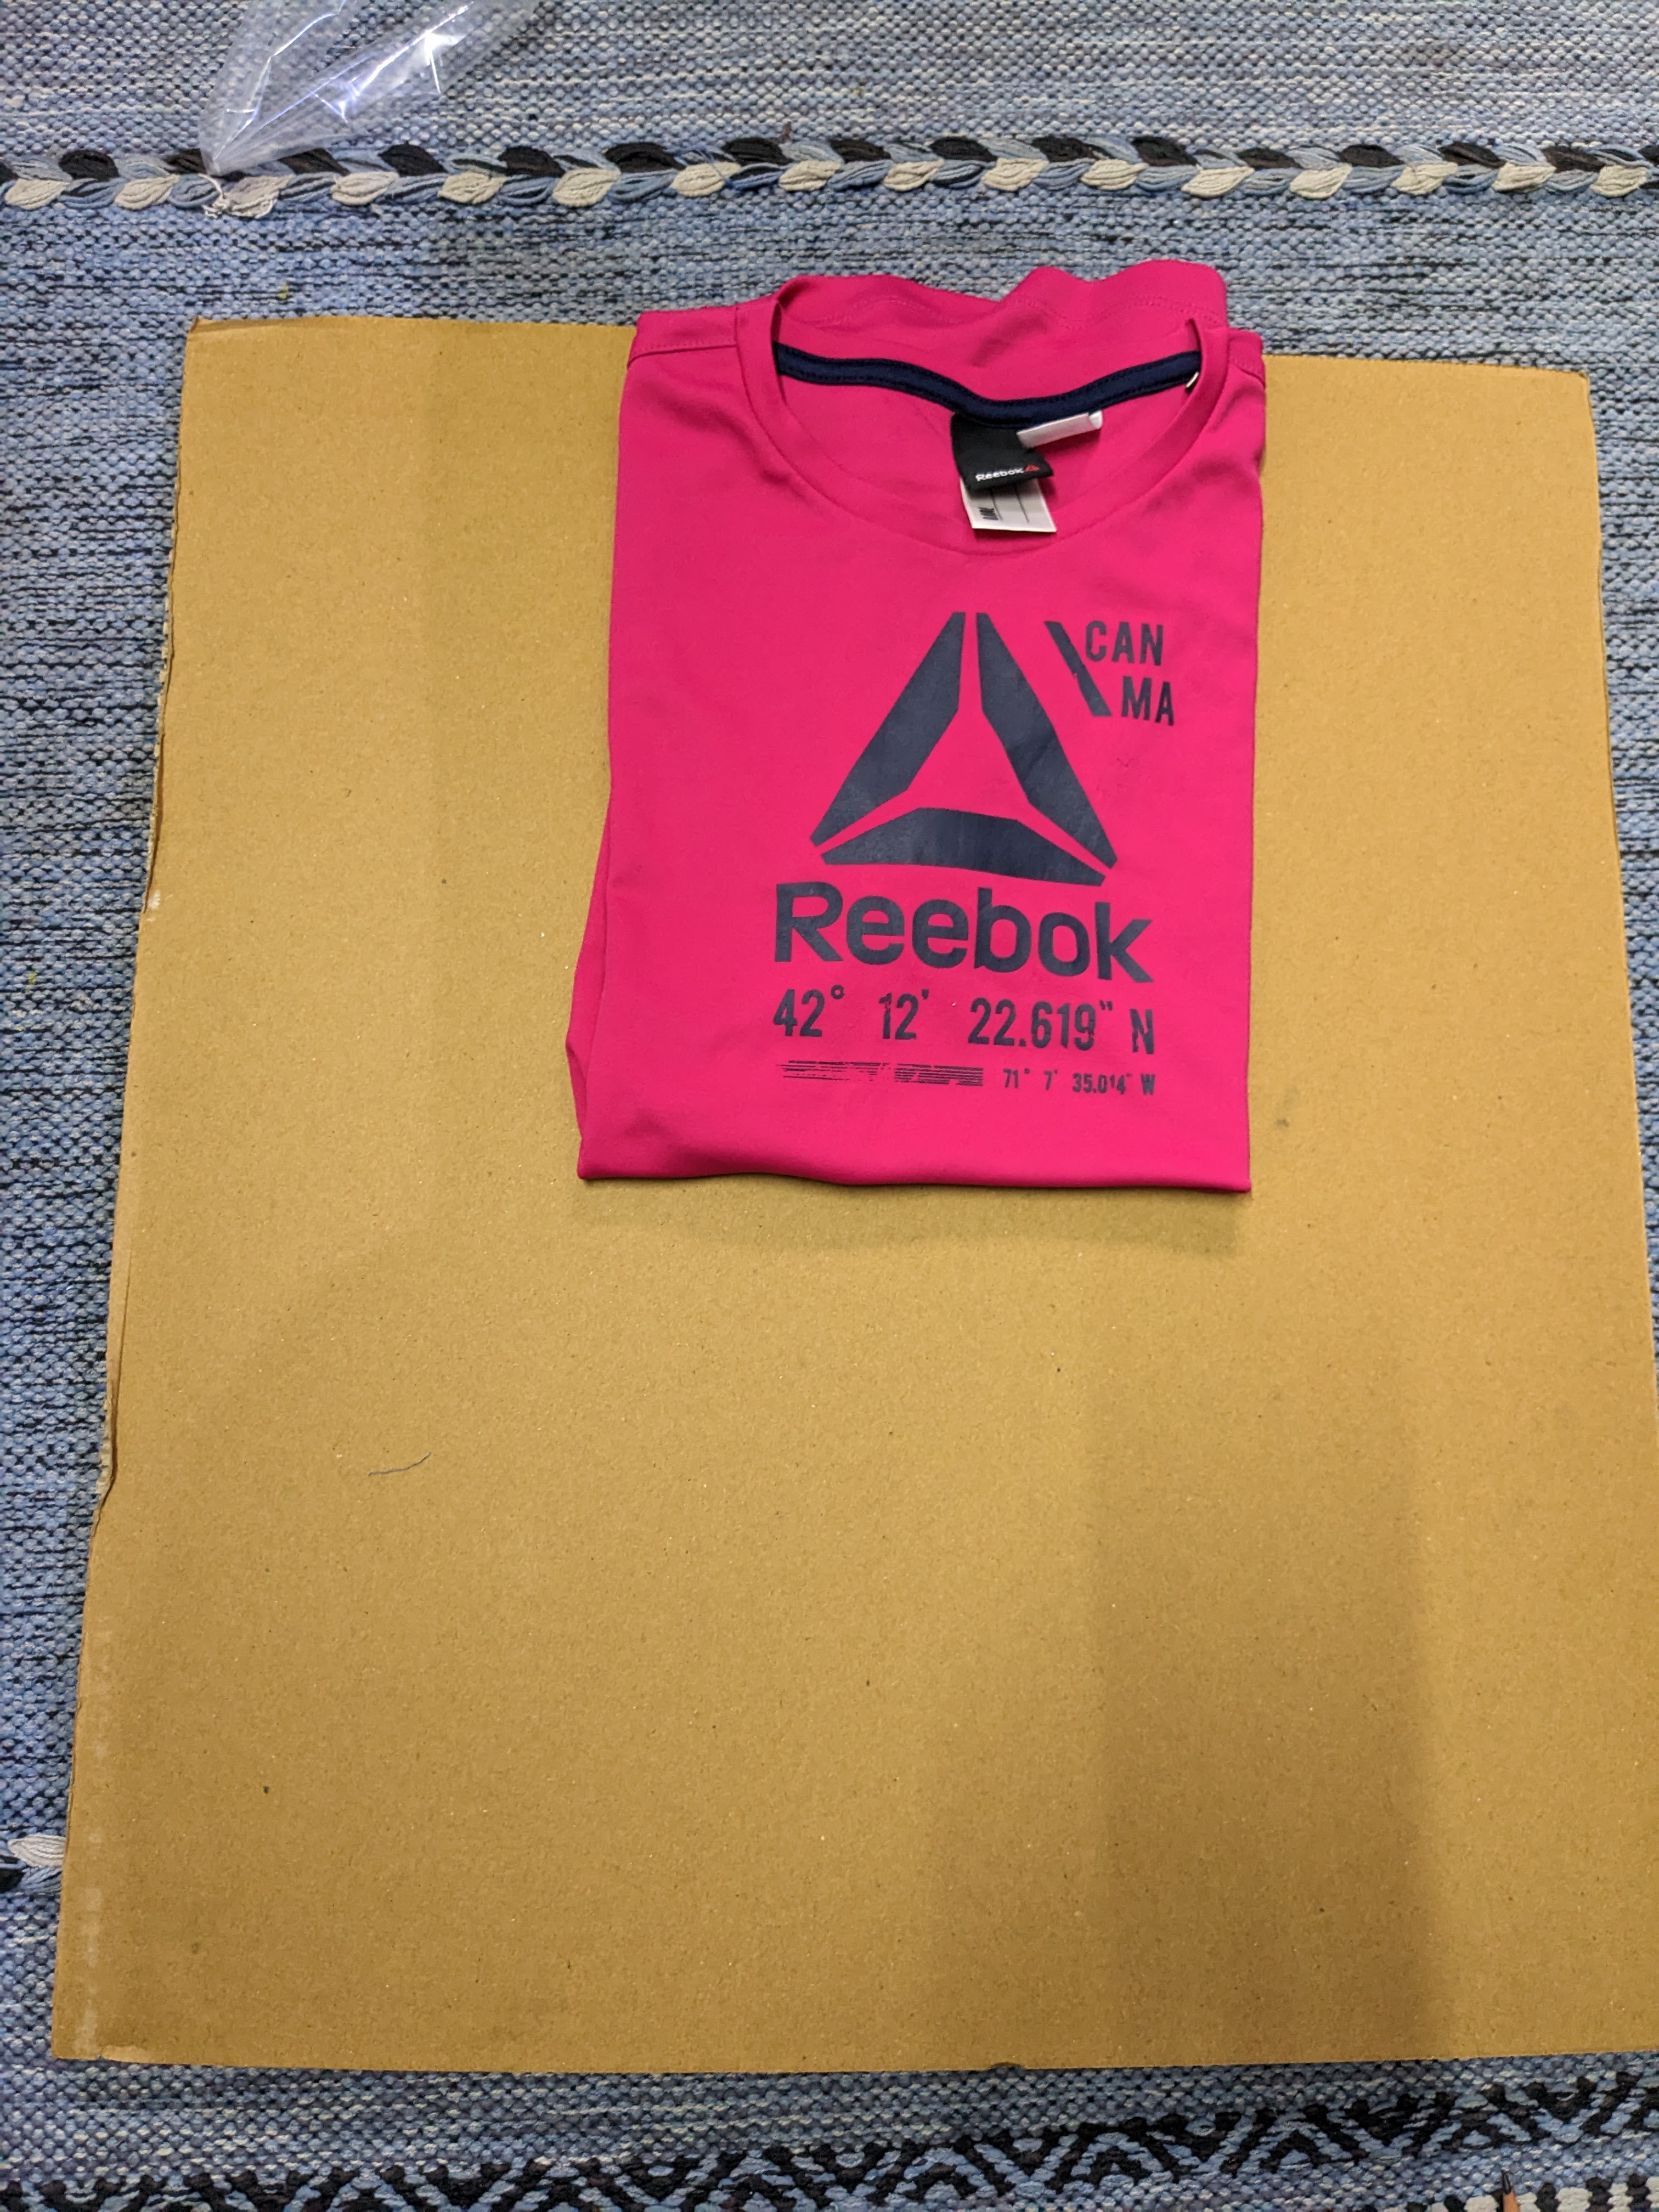
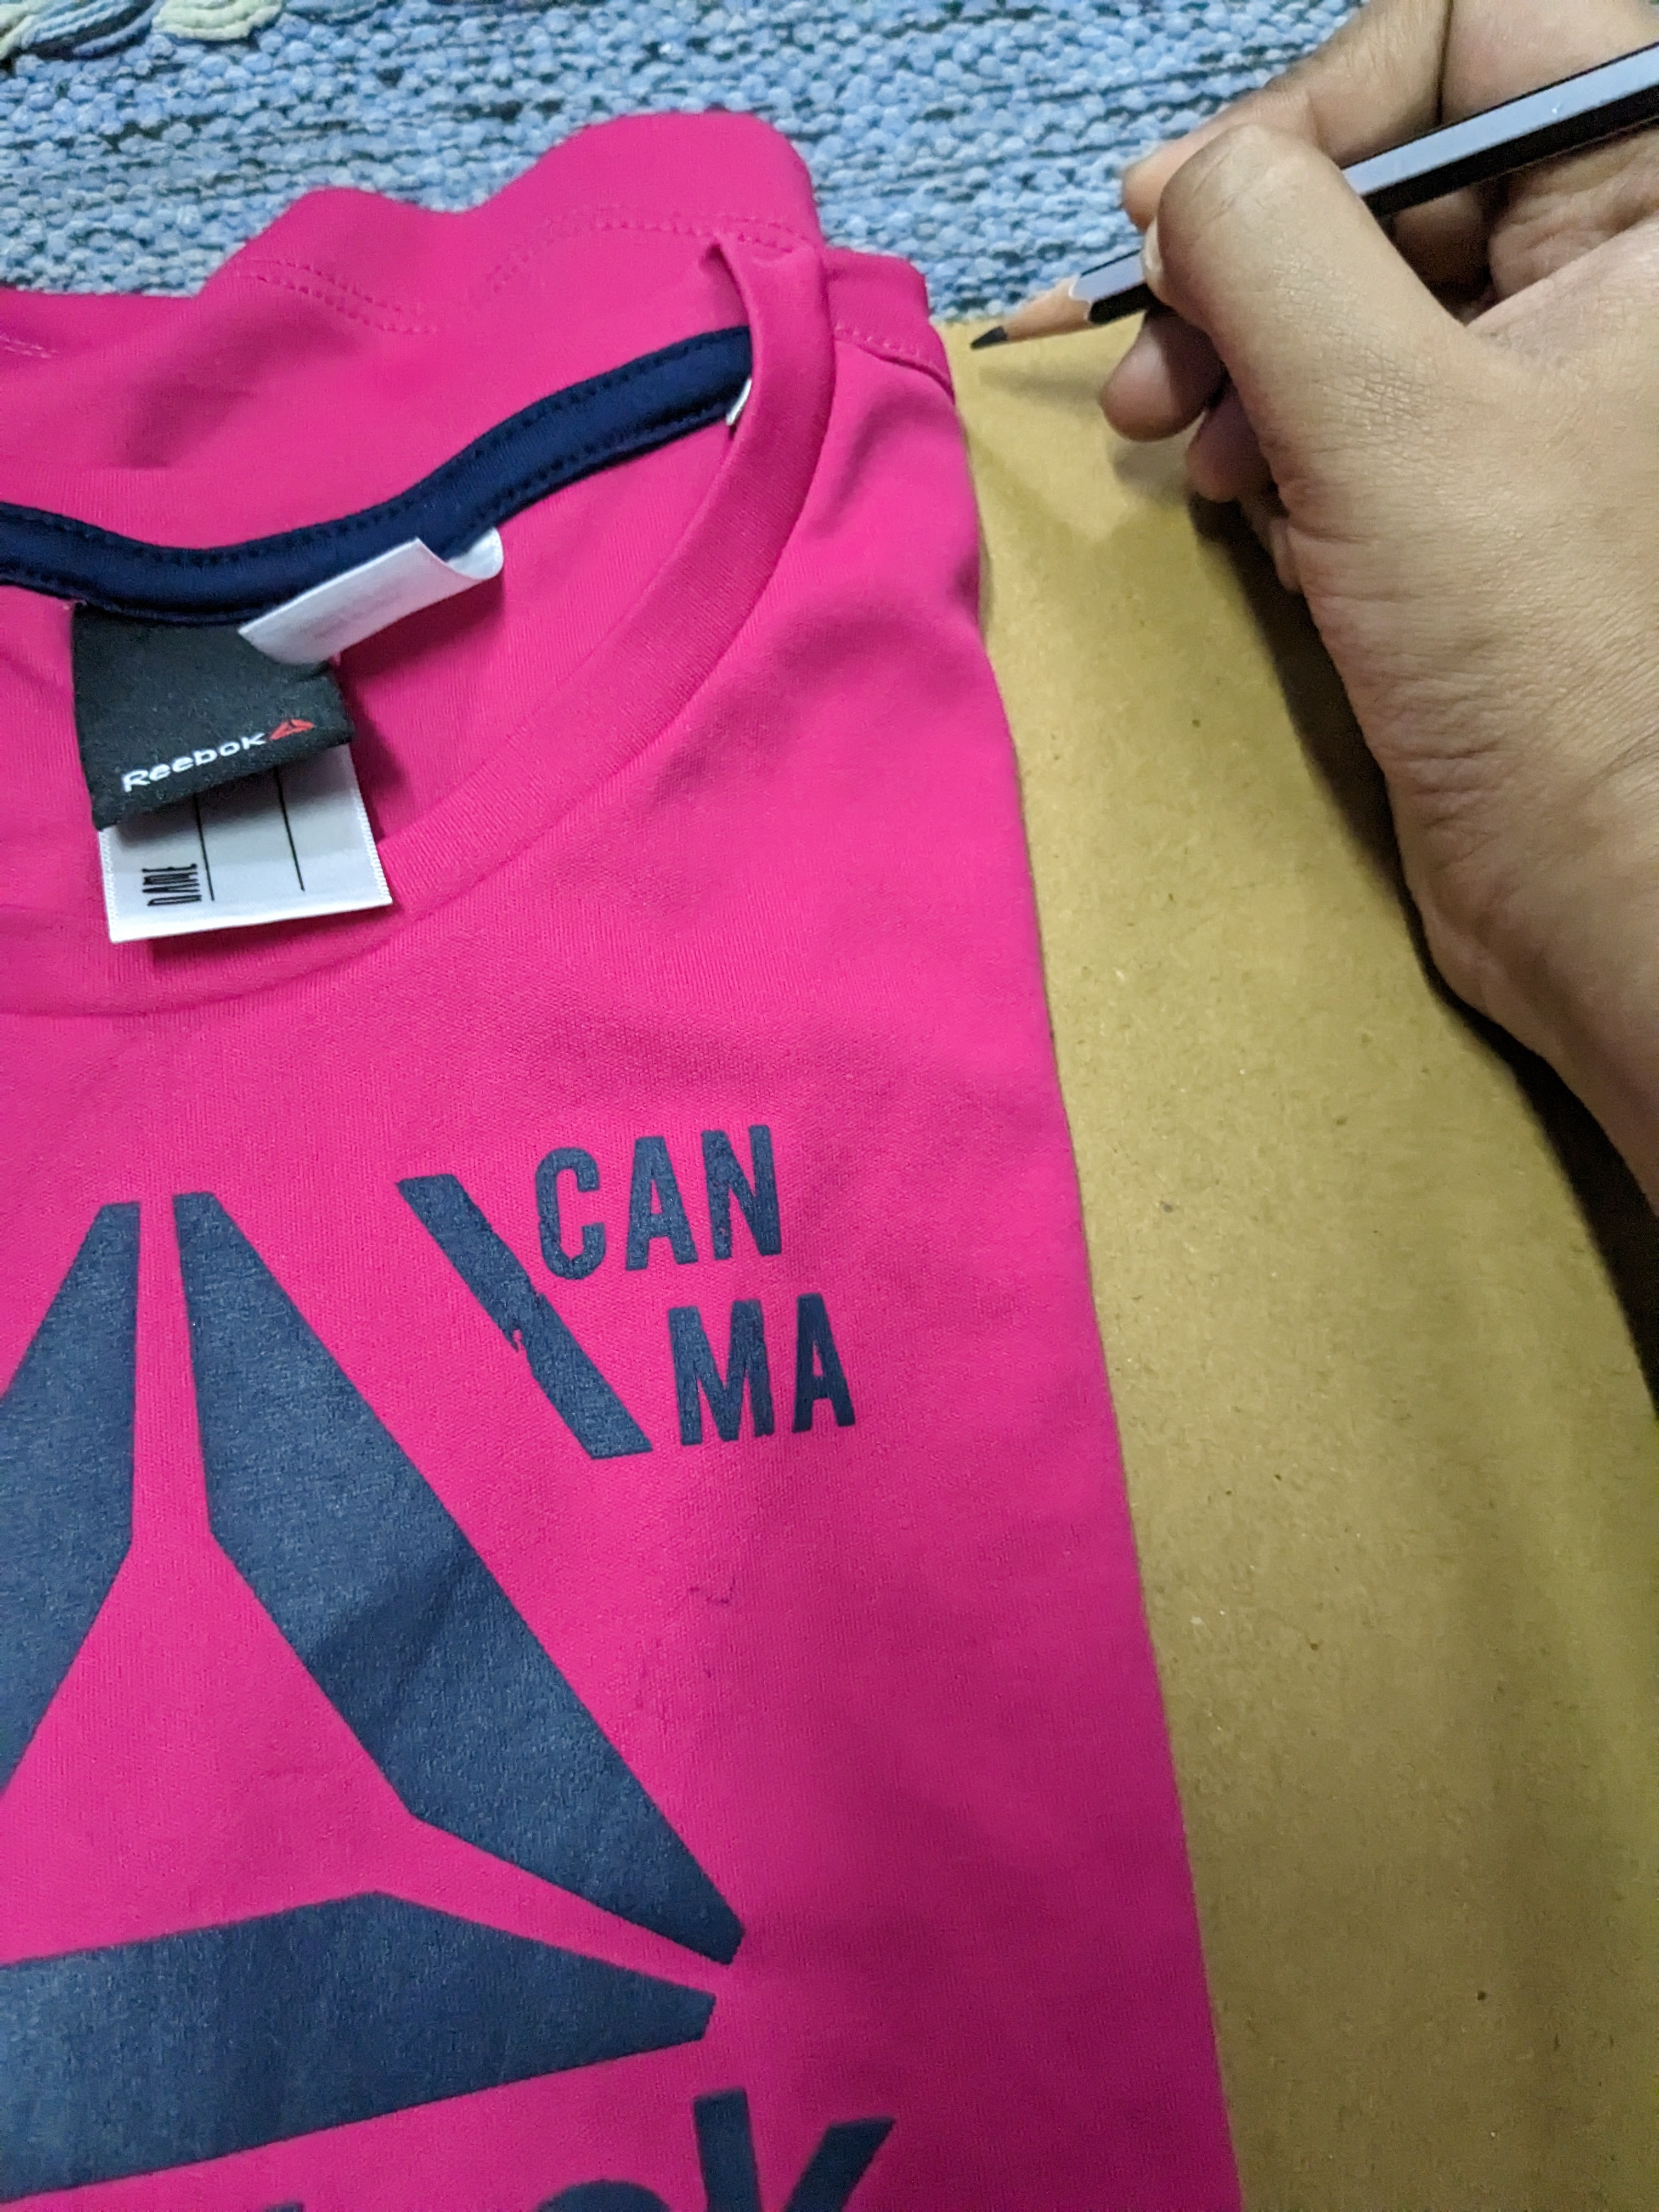
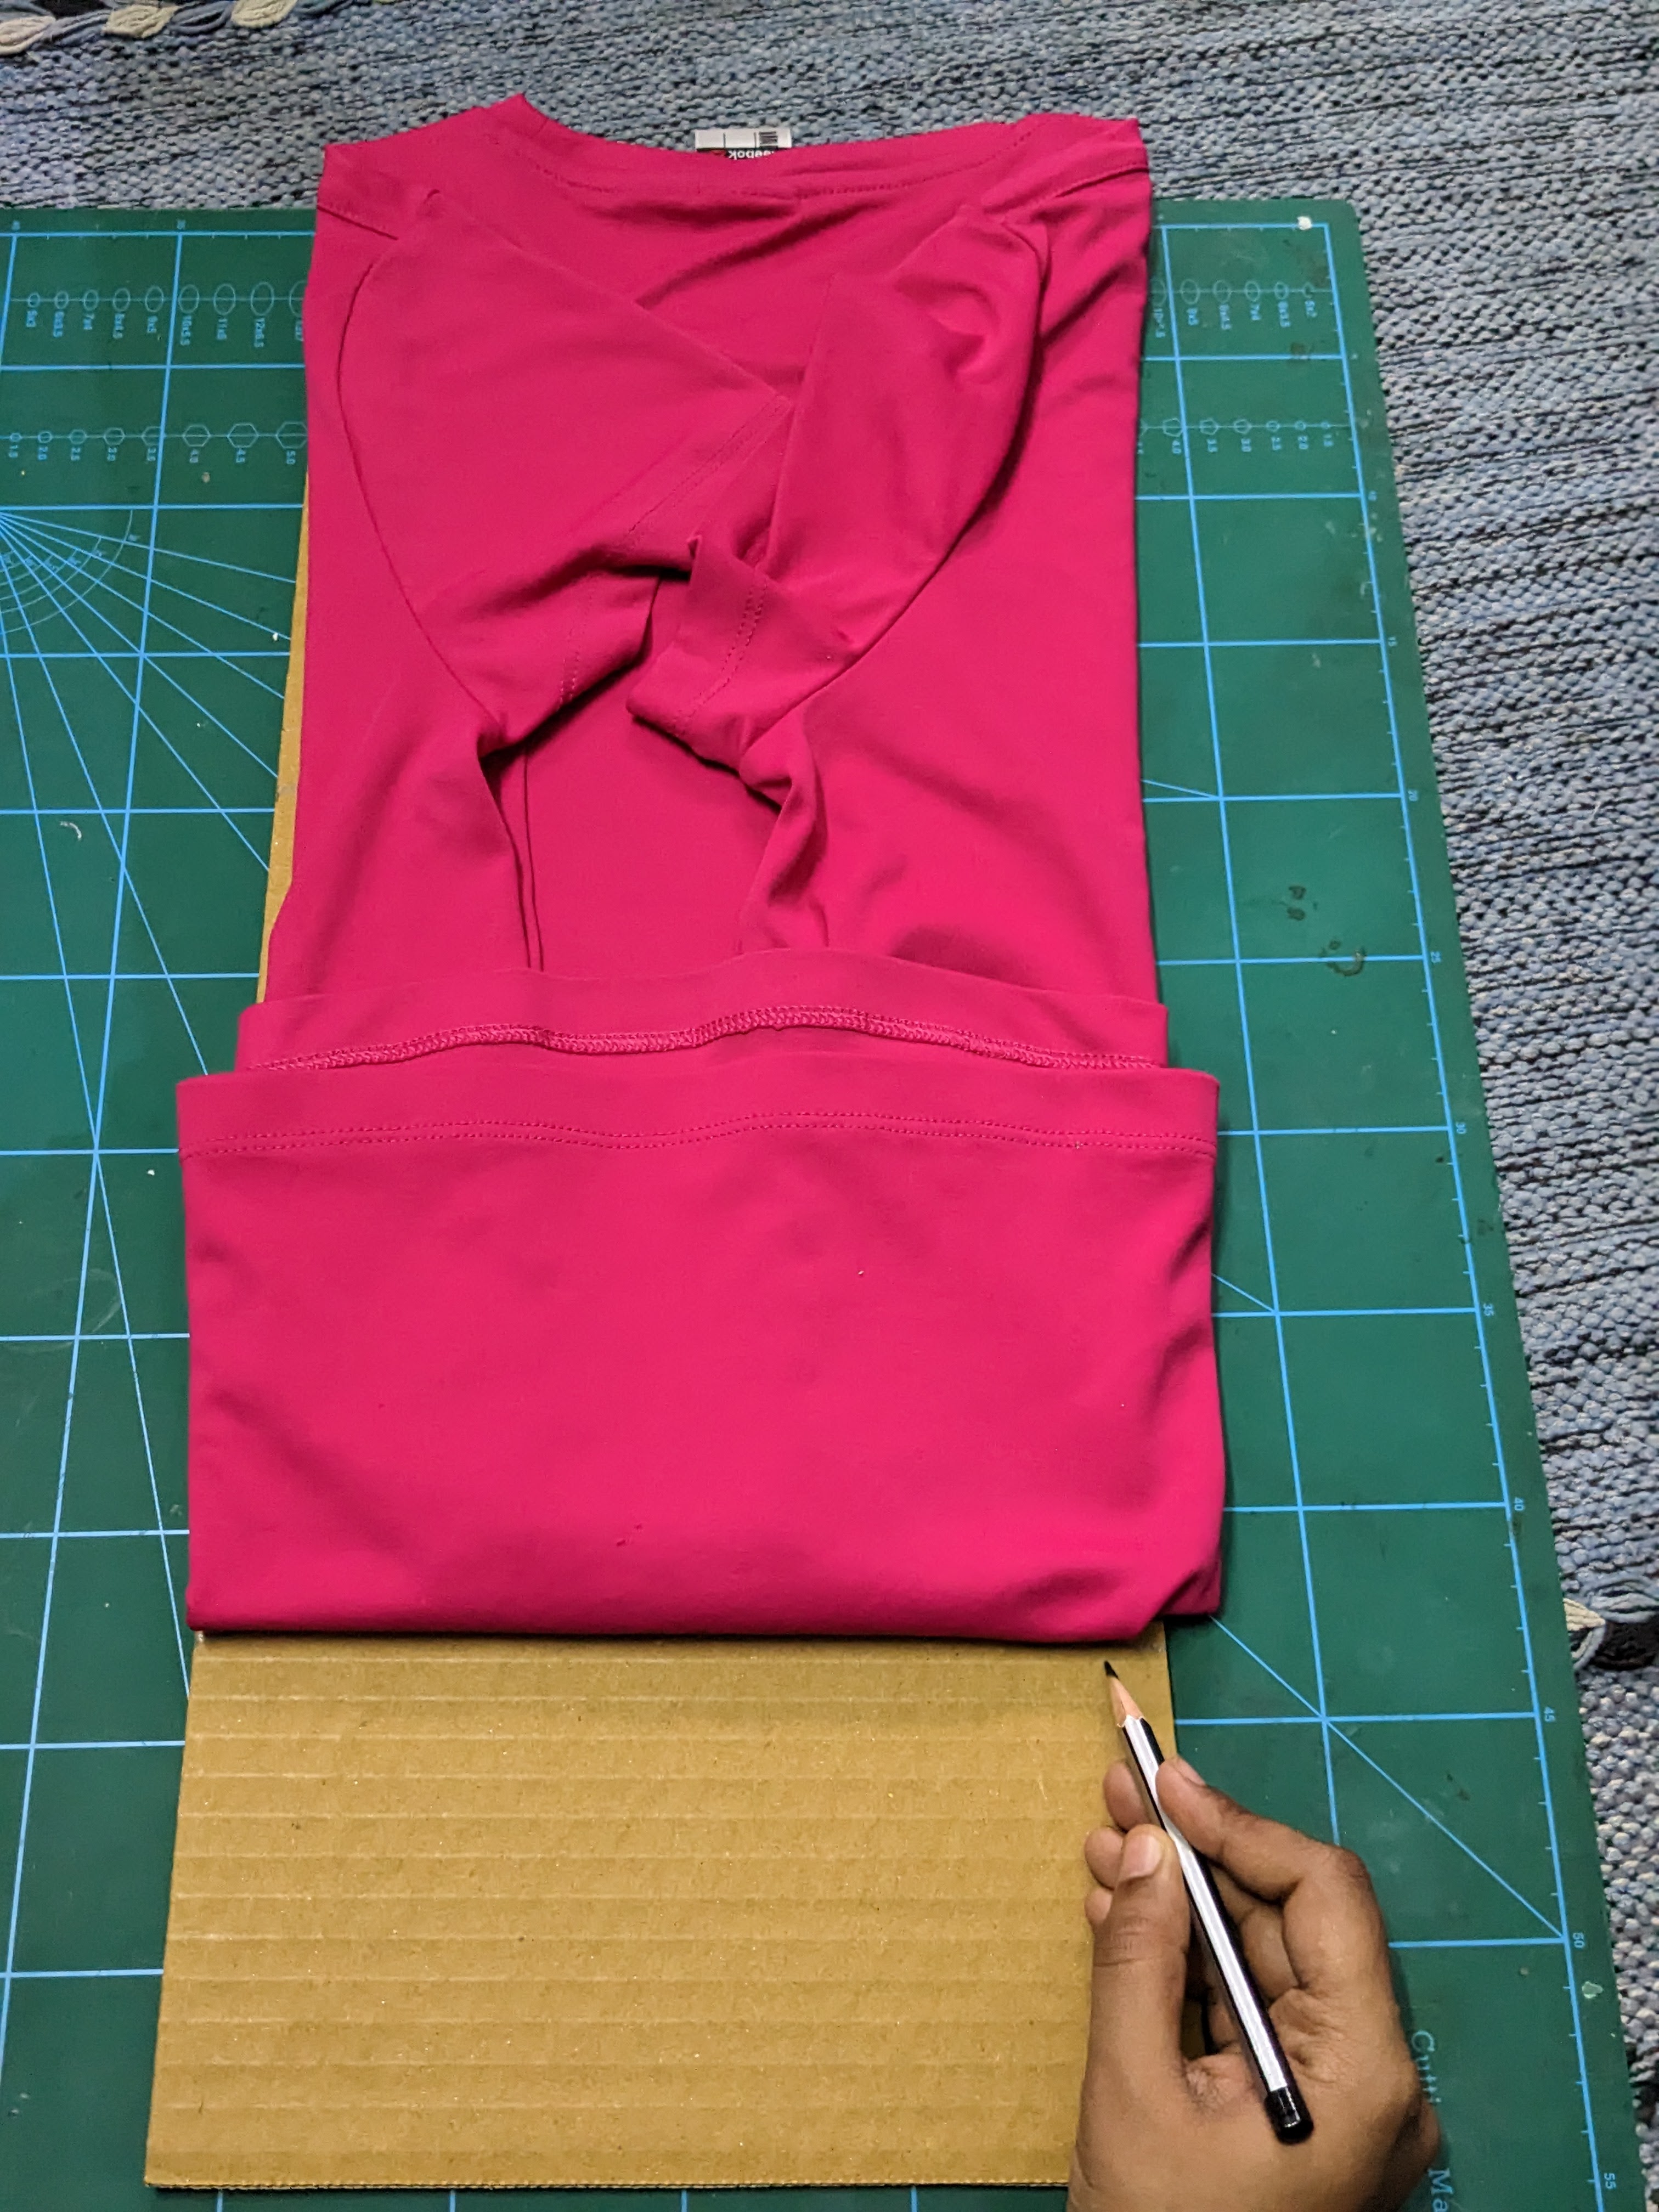
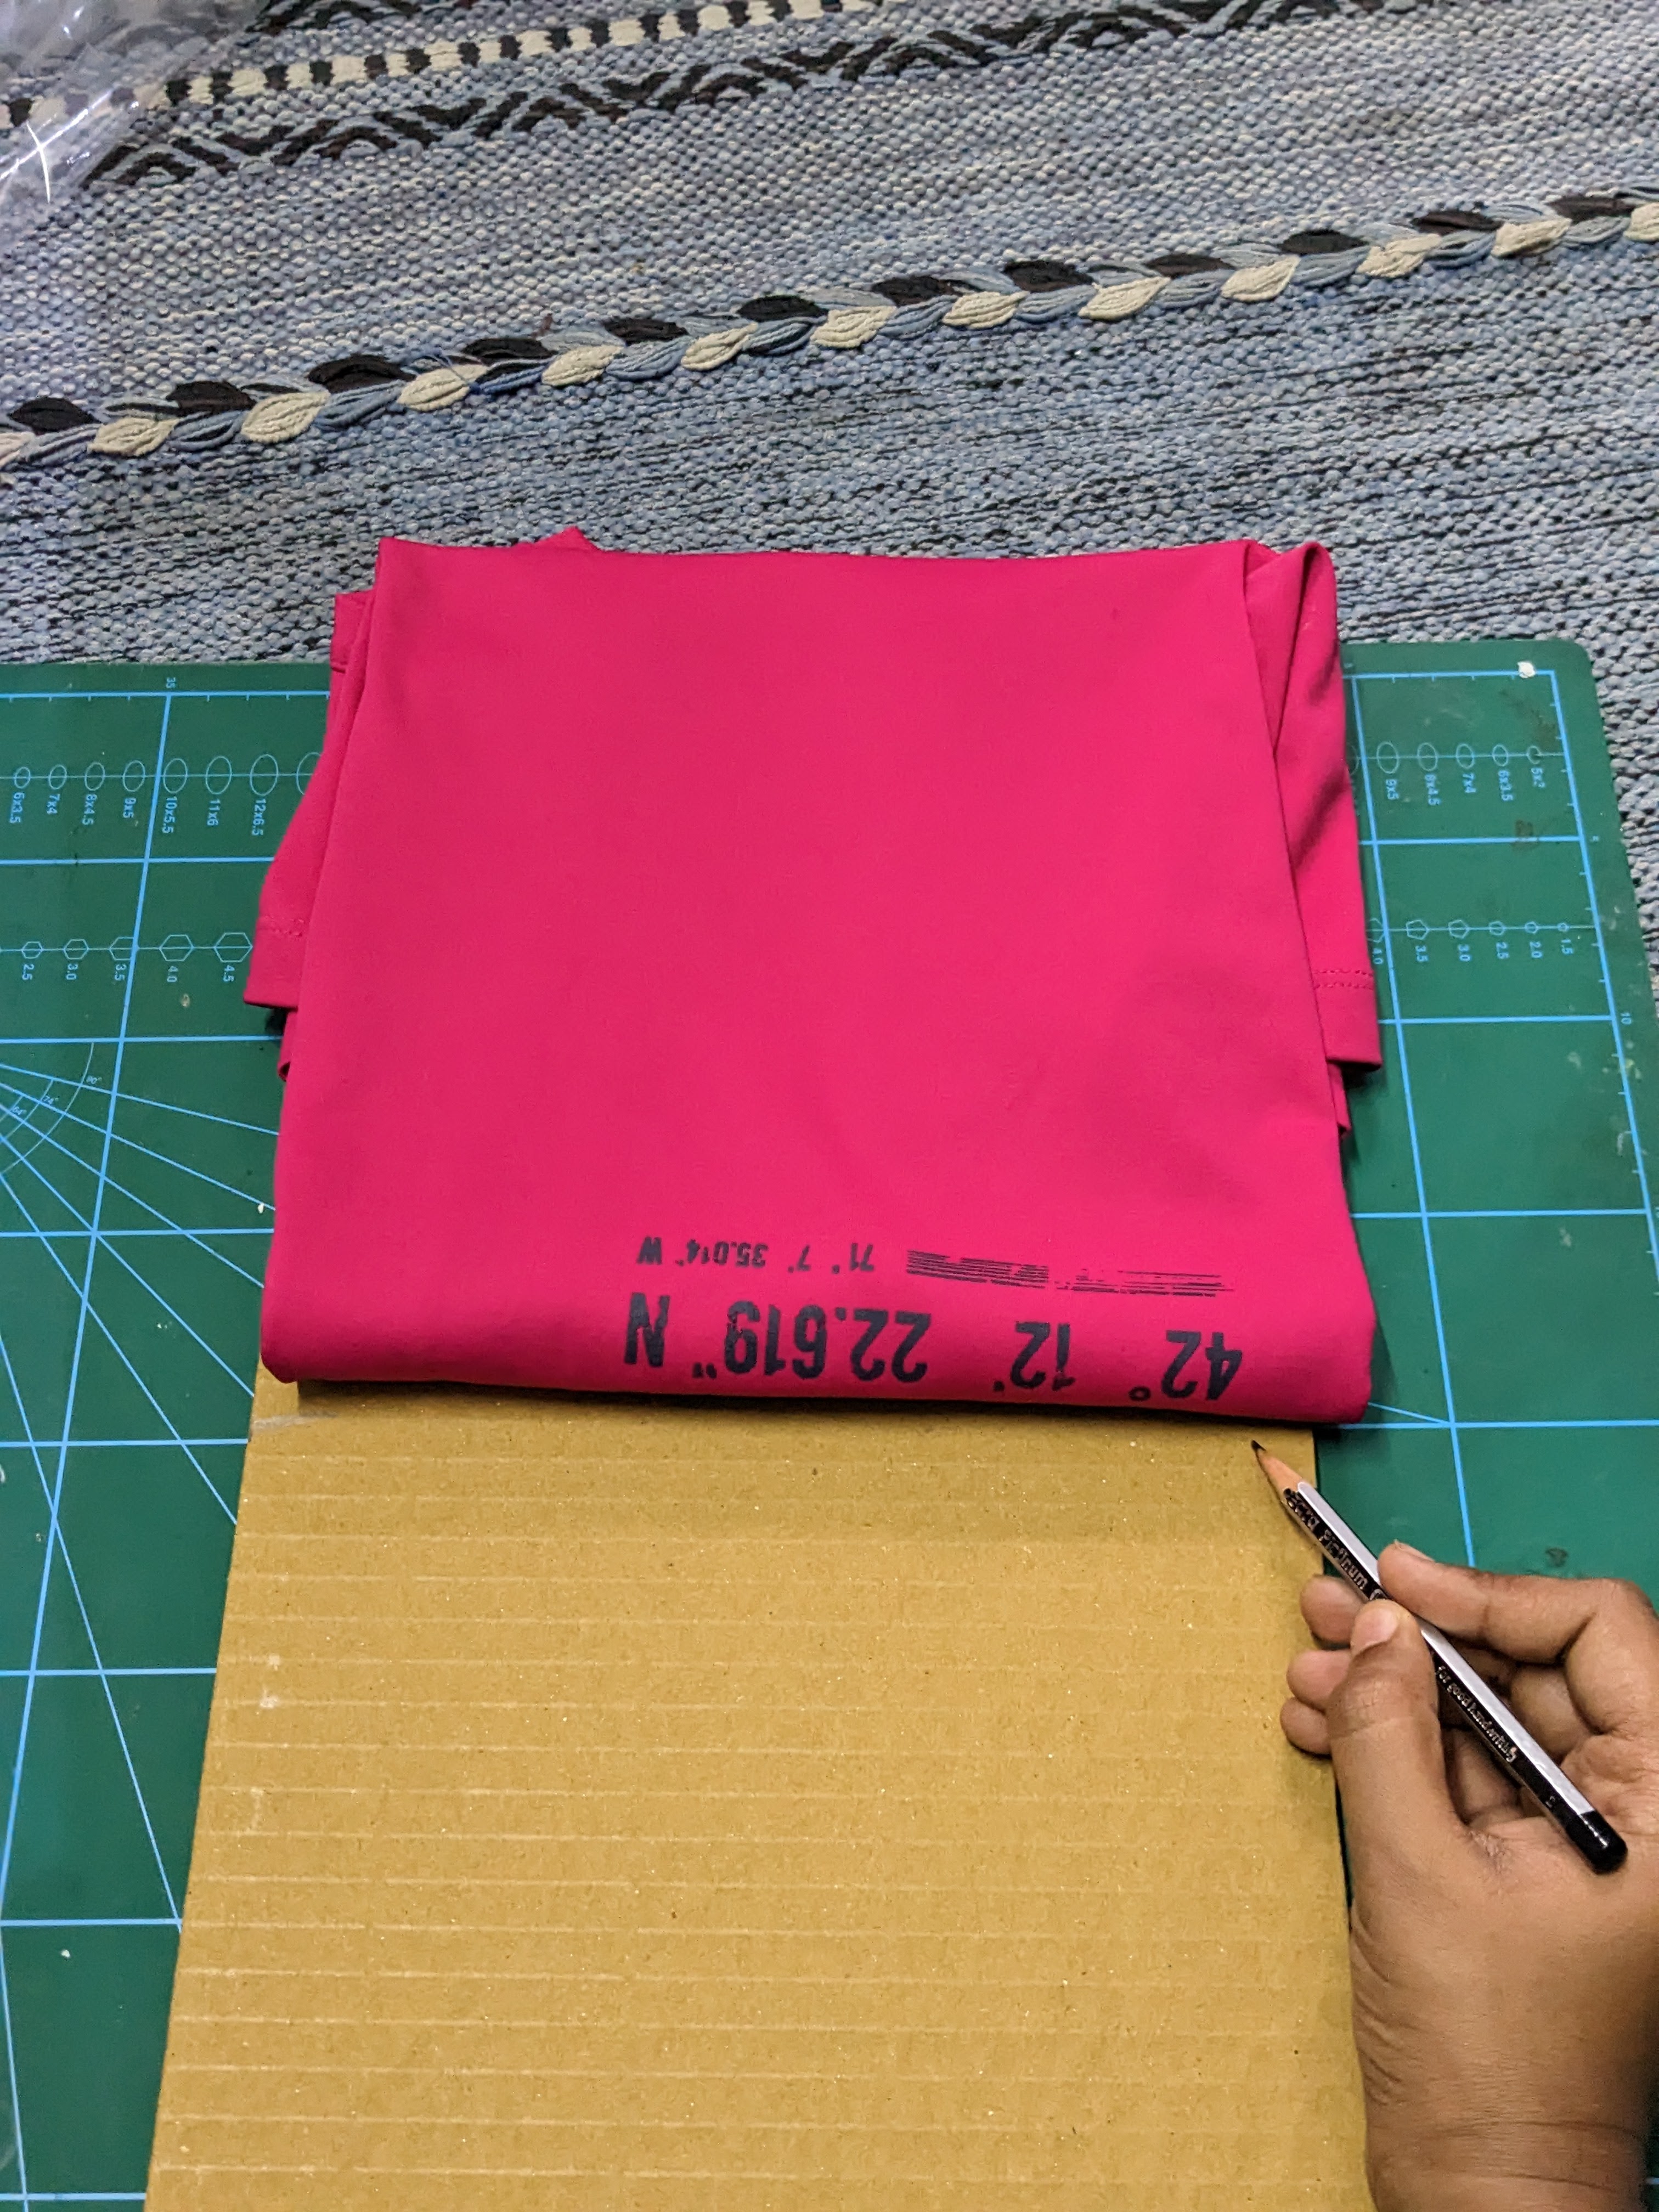
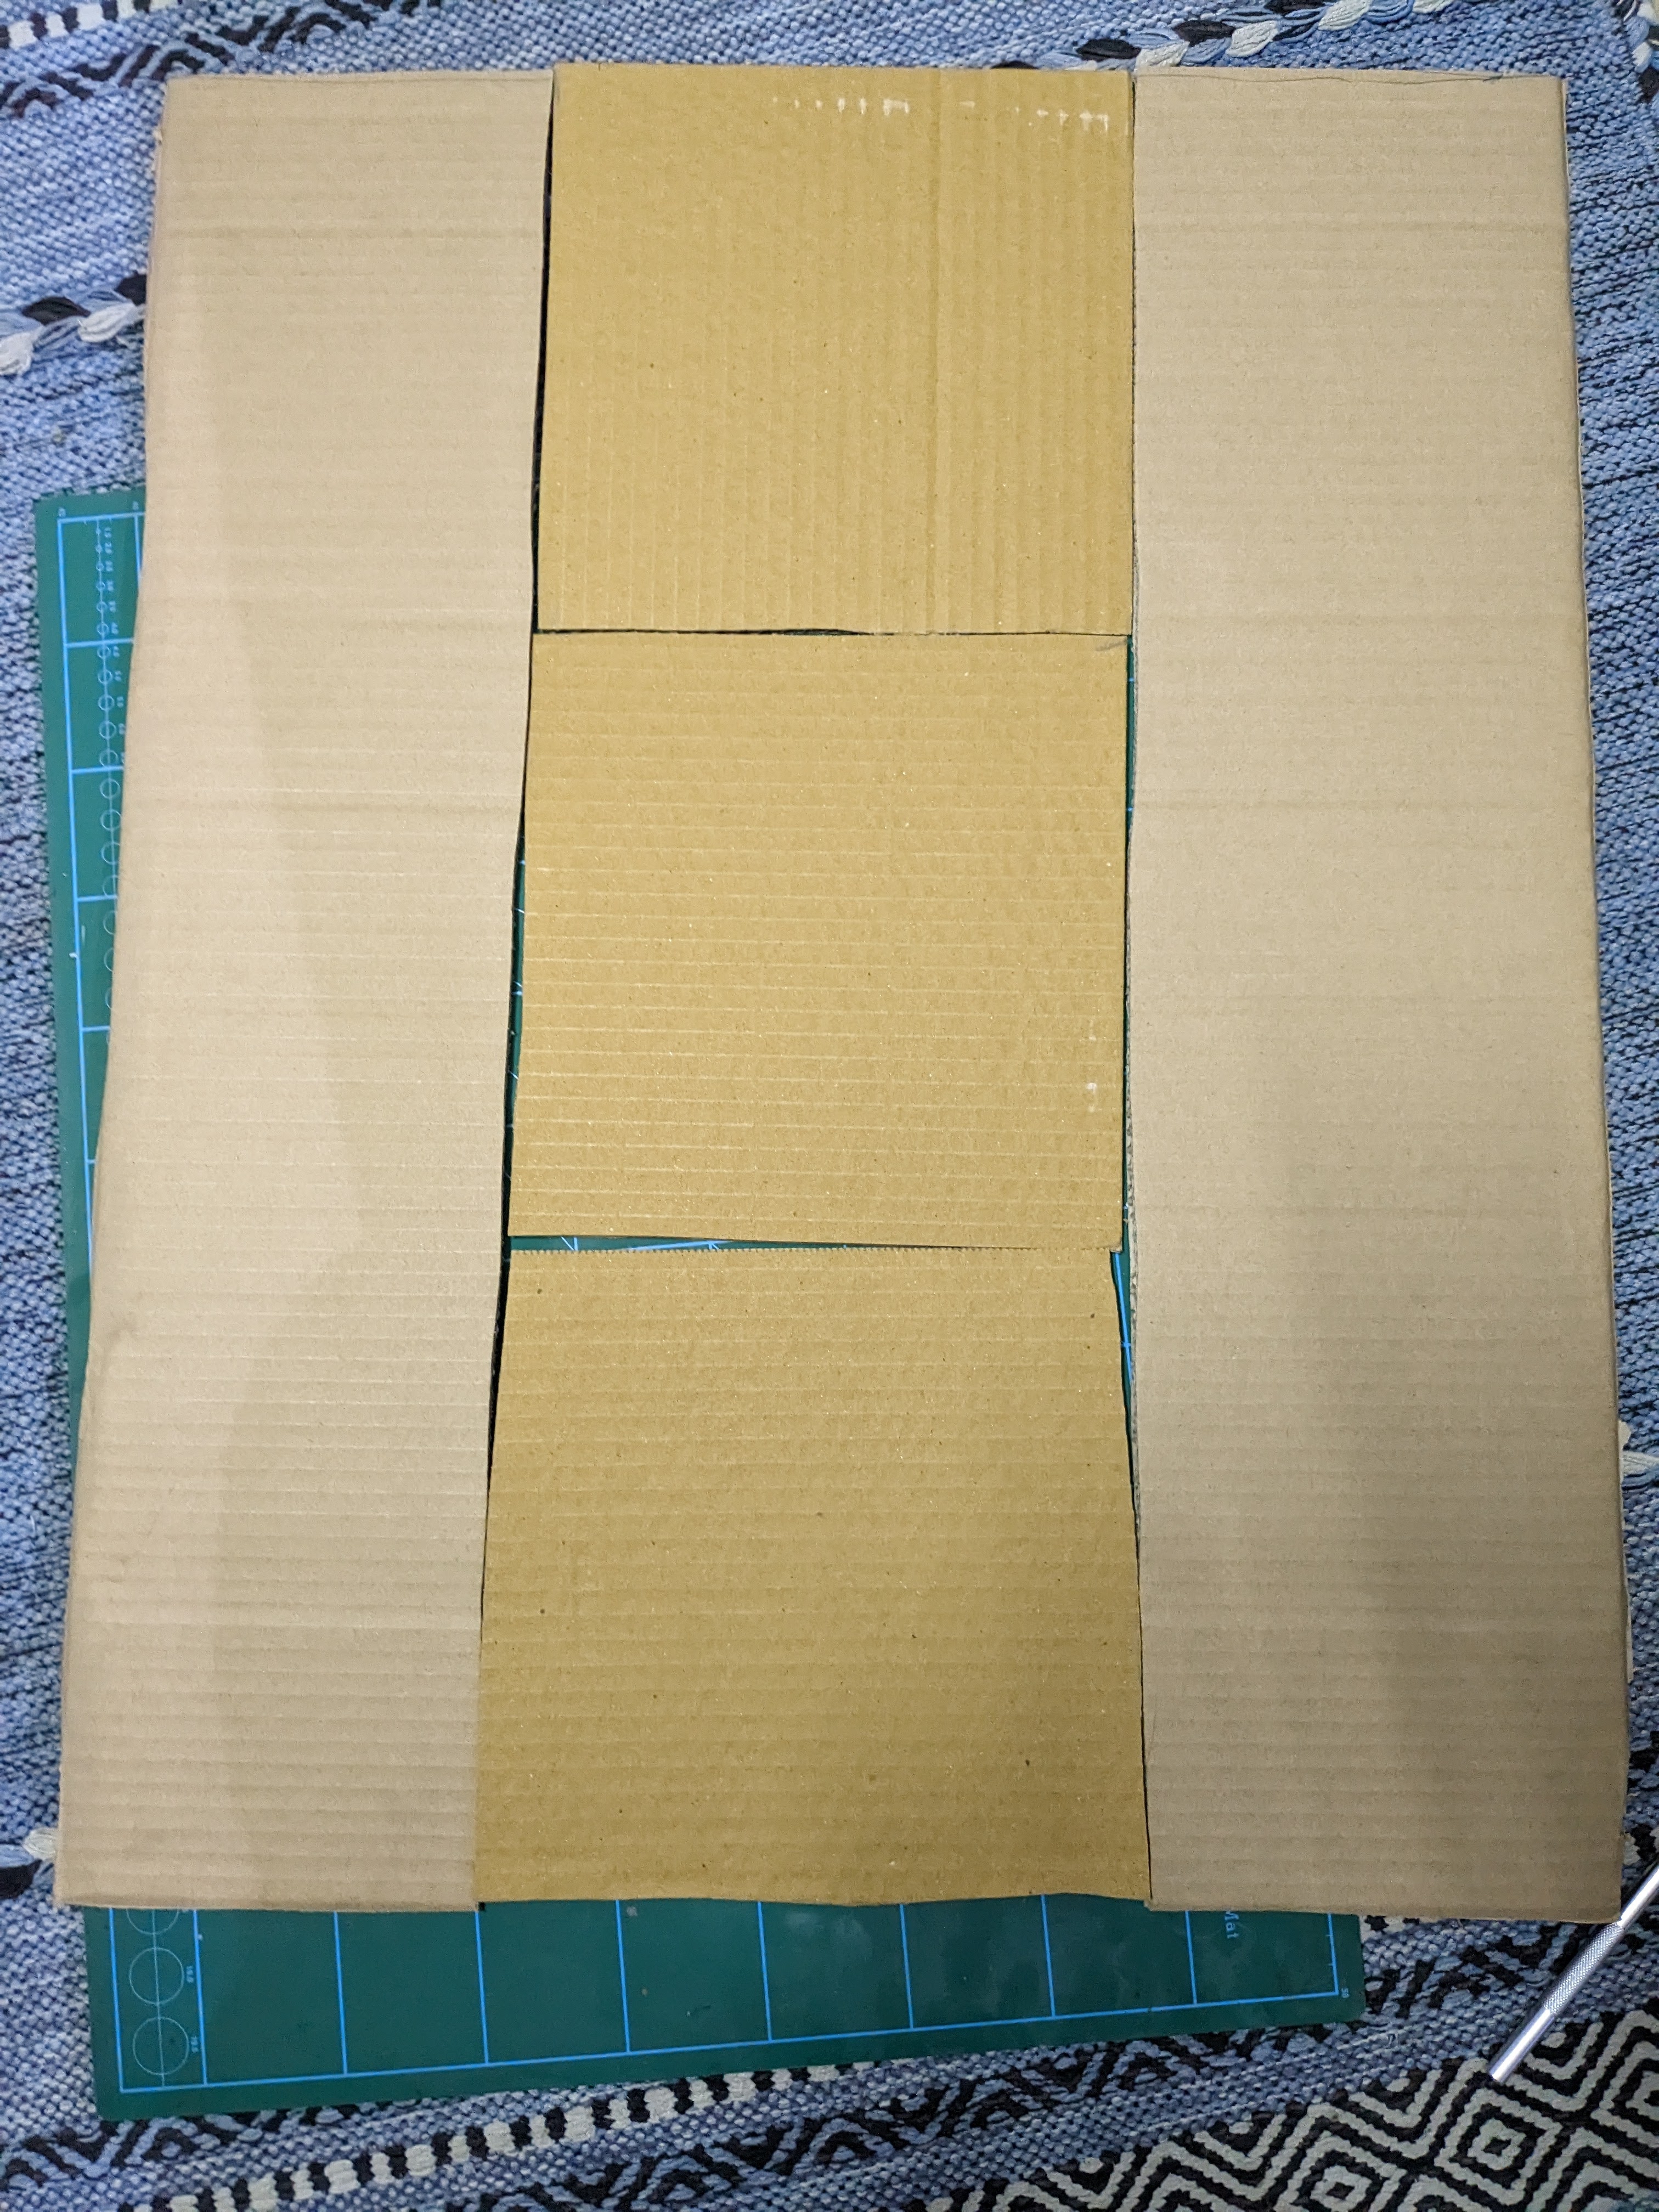
Step 1 was creating the panel system. I used an existing shirt of mine as a guide. Initially, I had chosen to create 5 panels, but I removed one of them by the end.
Step 2 was writing the code for the servos. The first iteration of the code was highly rudimentary and just involved a servo going 0 to 150 degrees and back. I eventually wrote a loop to replace the bulk of this code (see final code), but this was good enough for testing. Code.
Step 3 was attaching a panel to the servo.
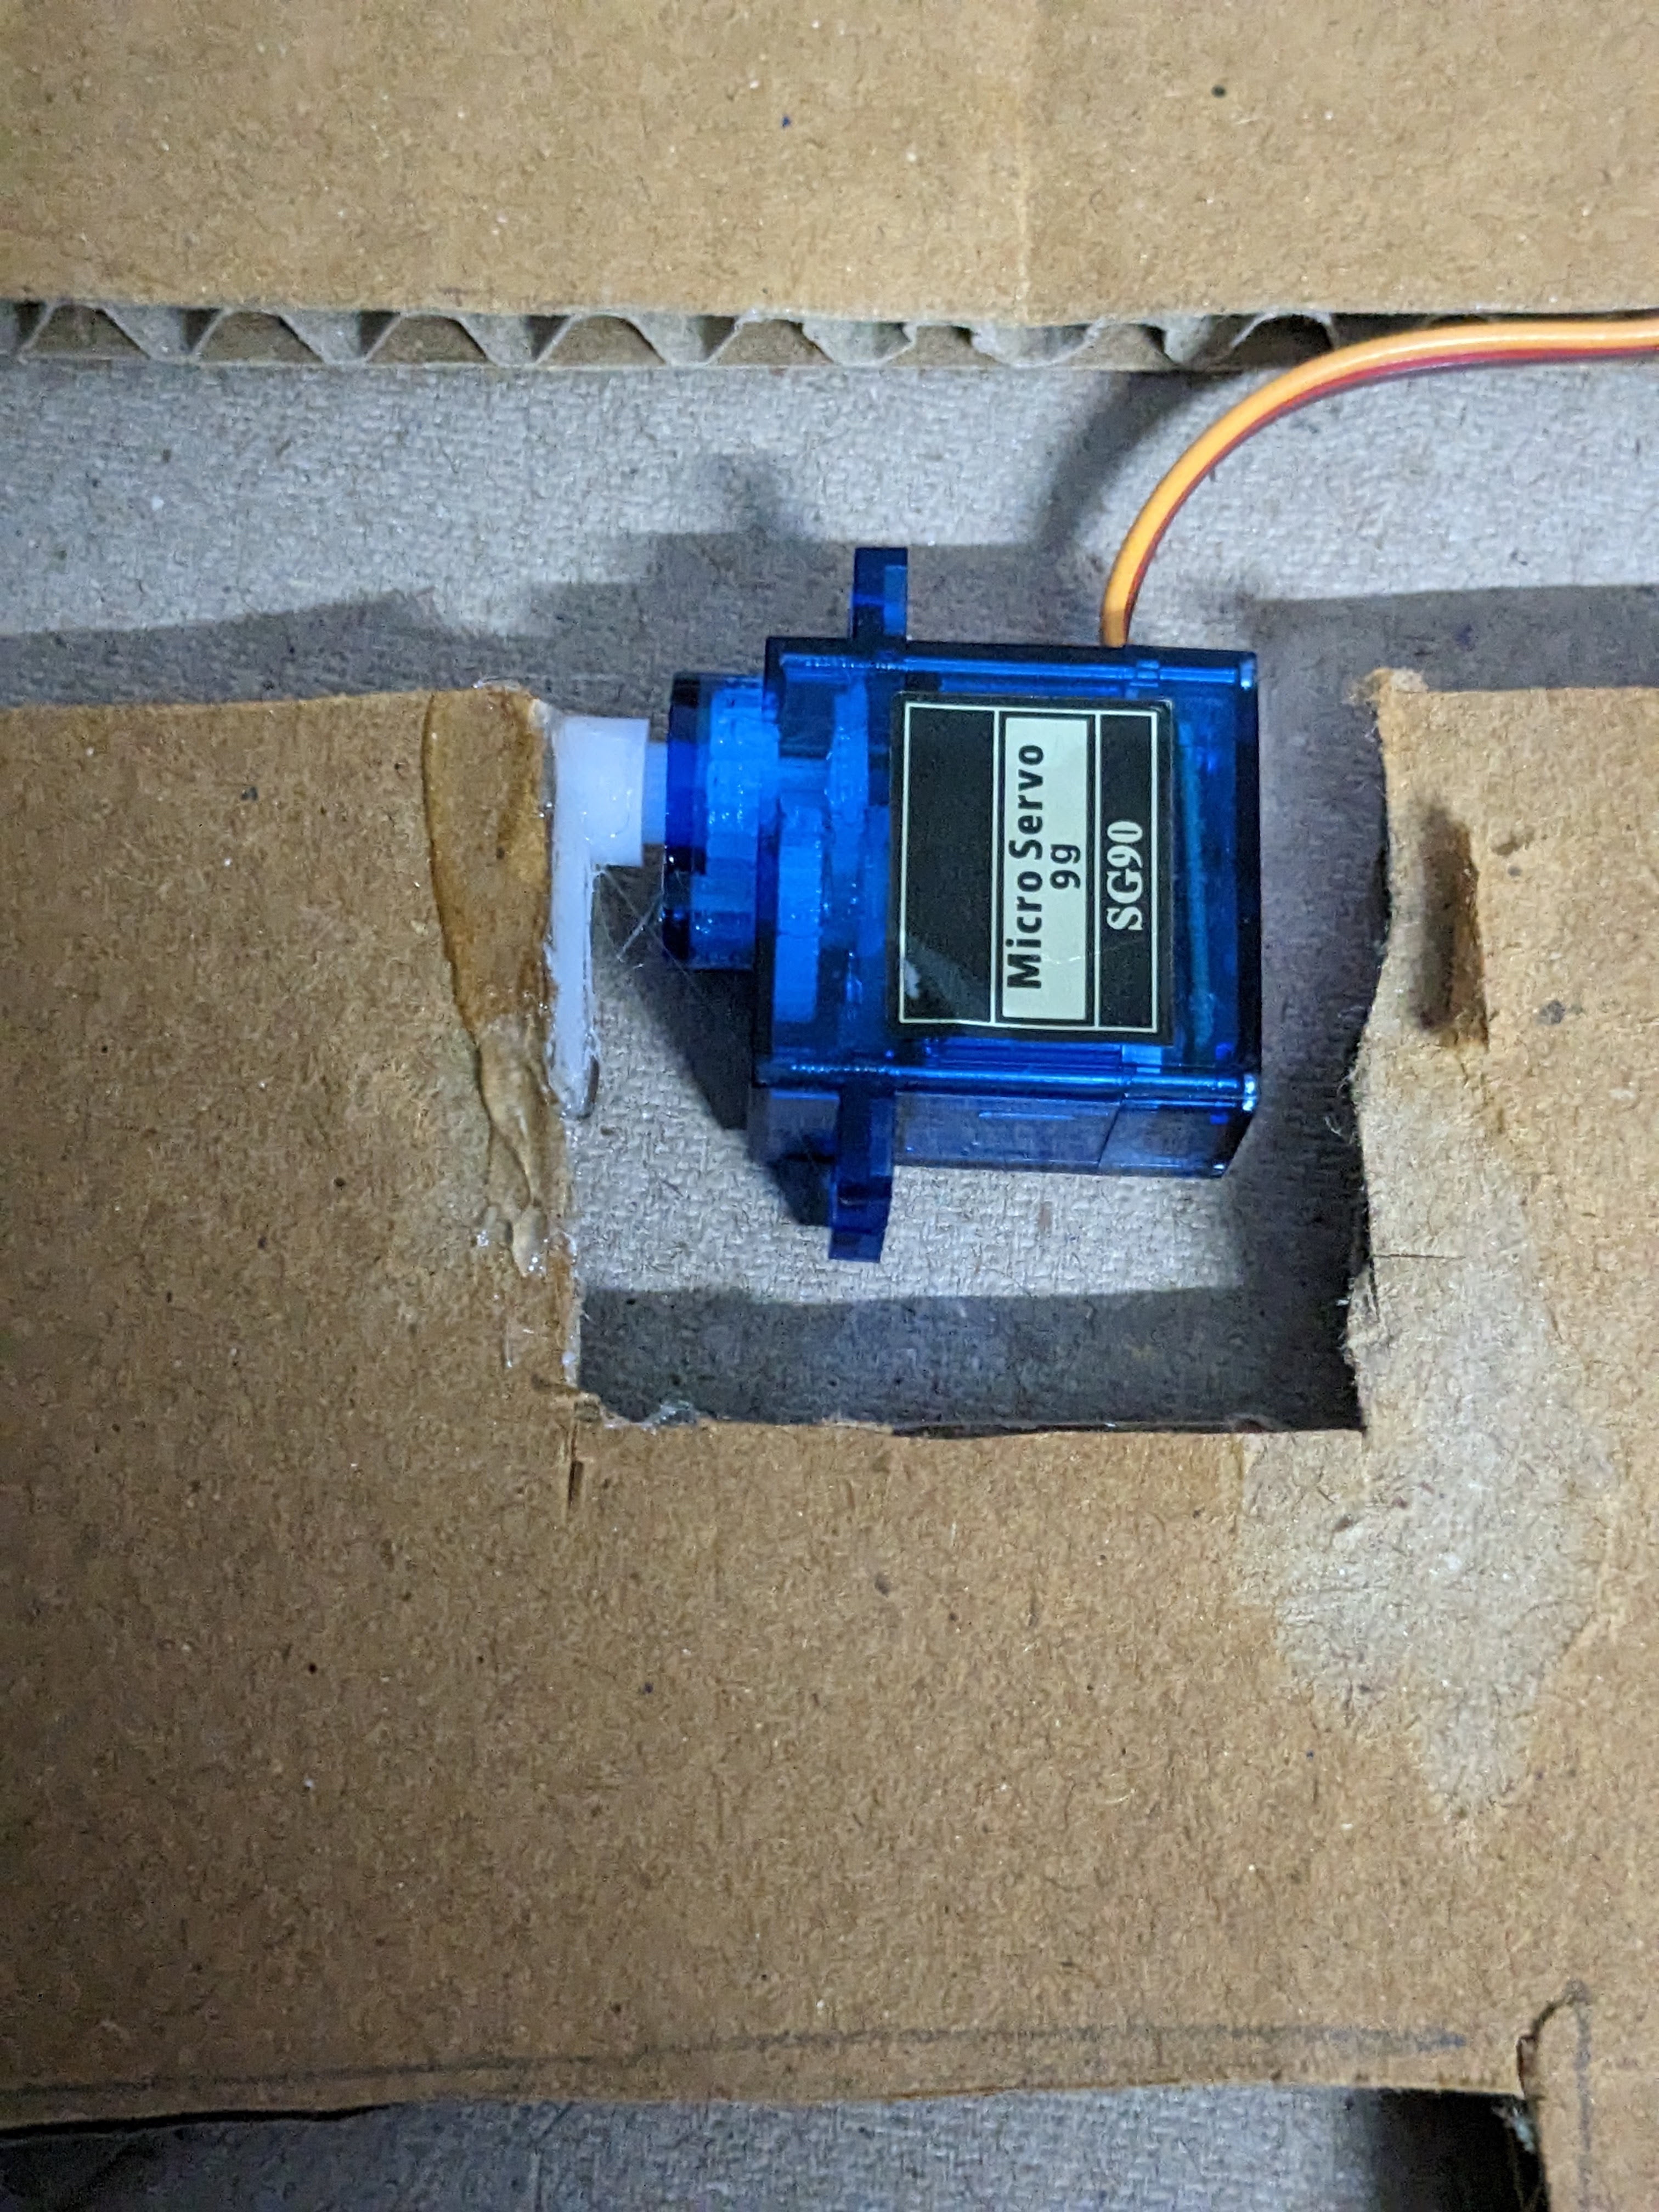
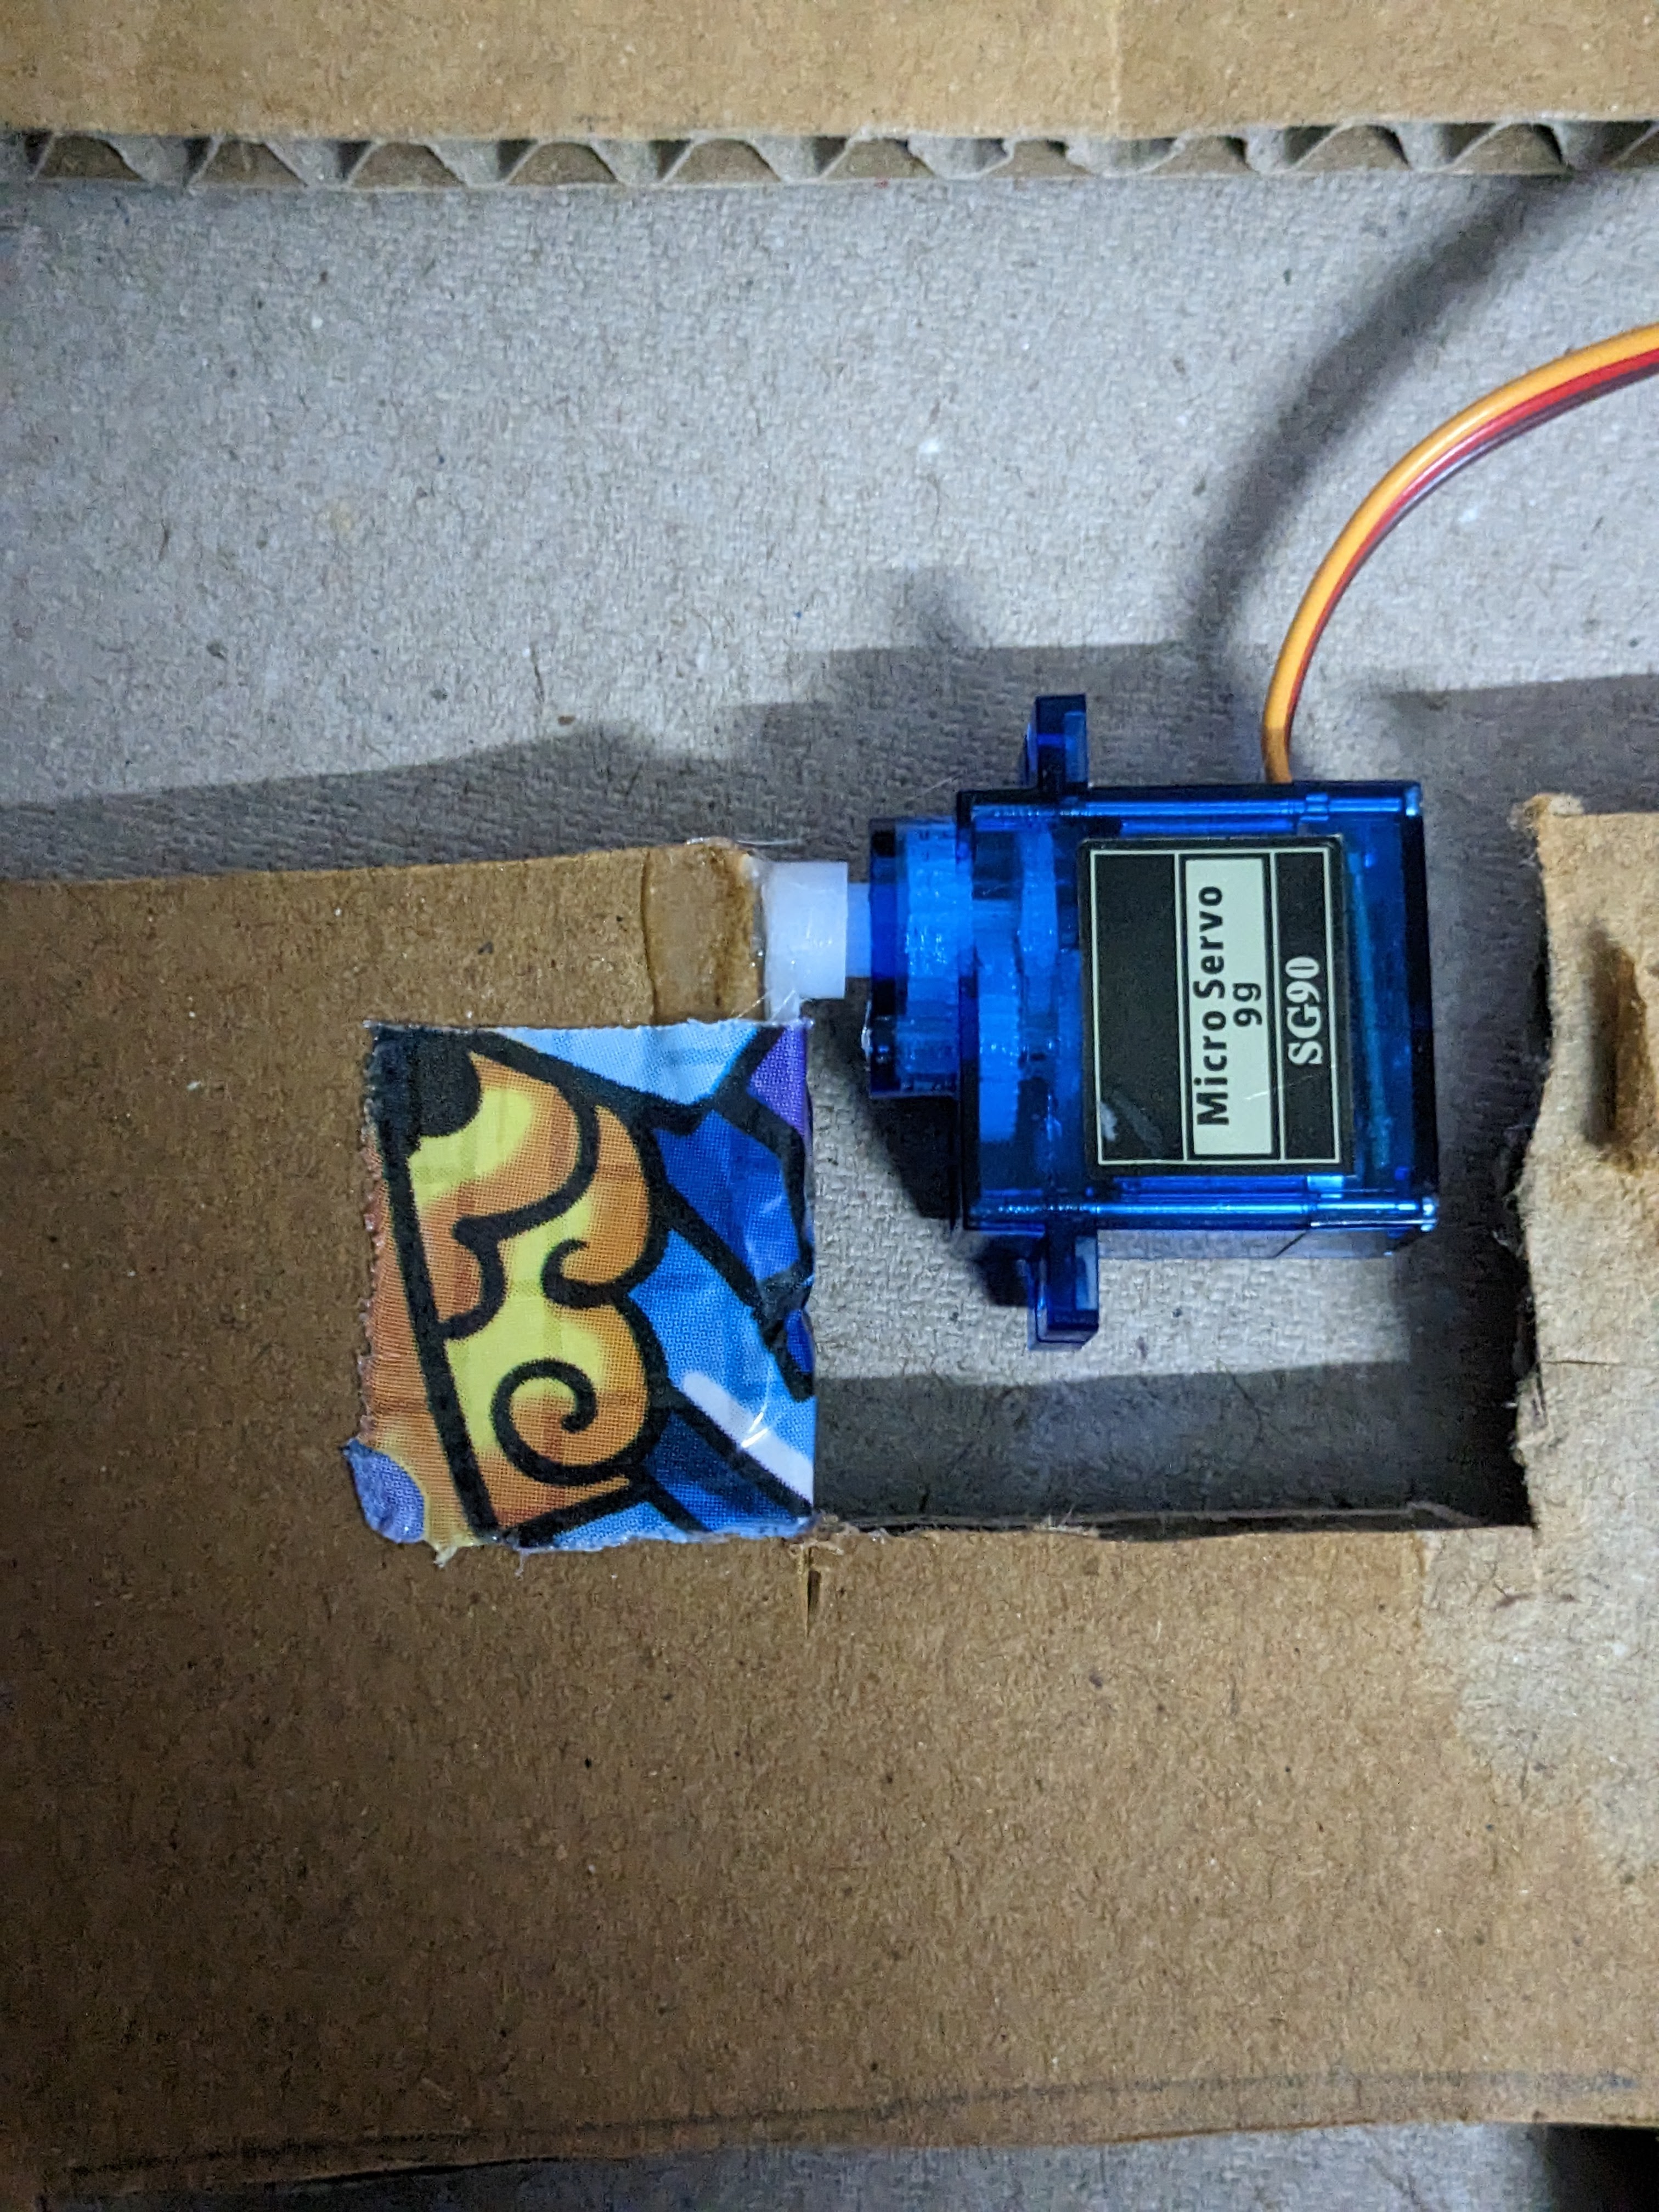
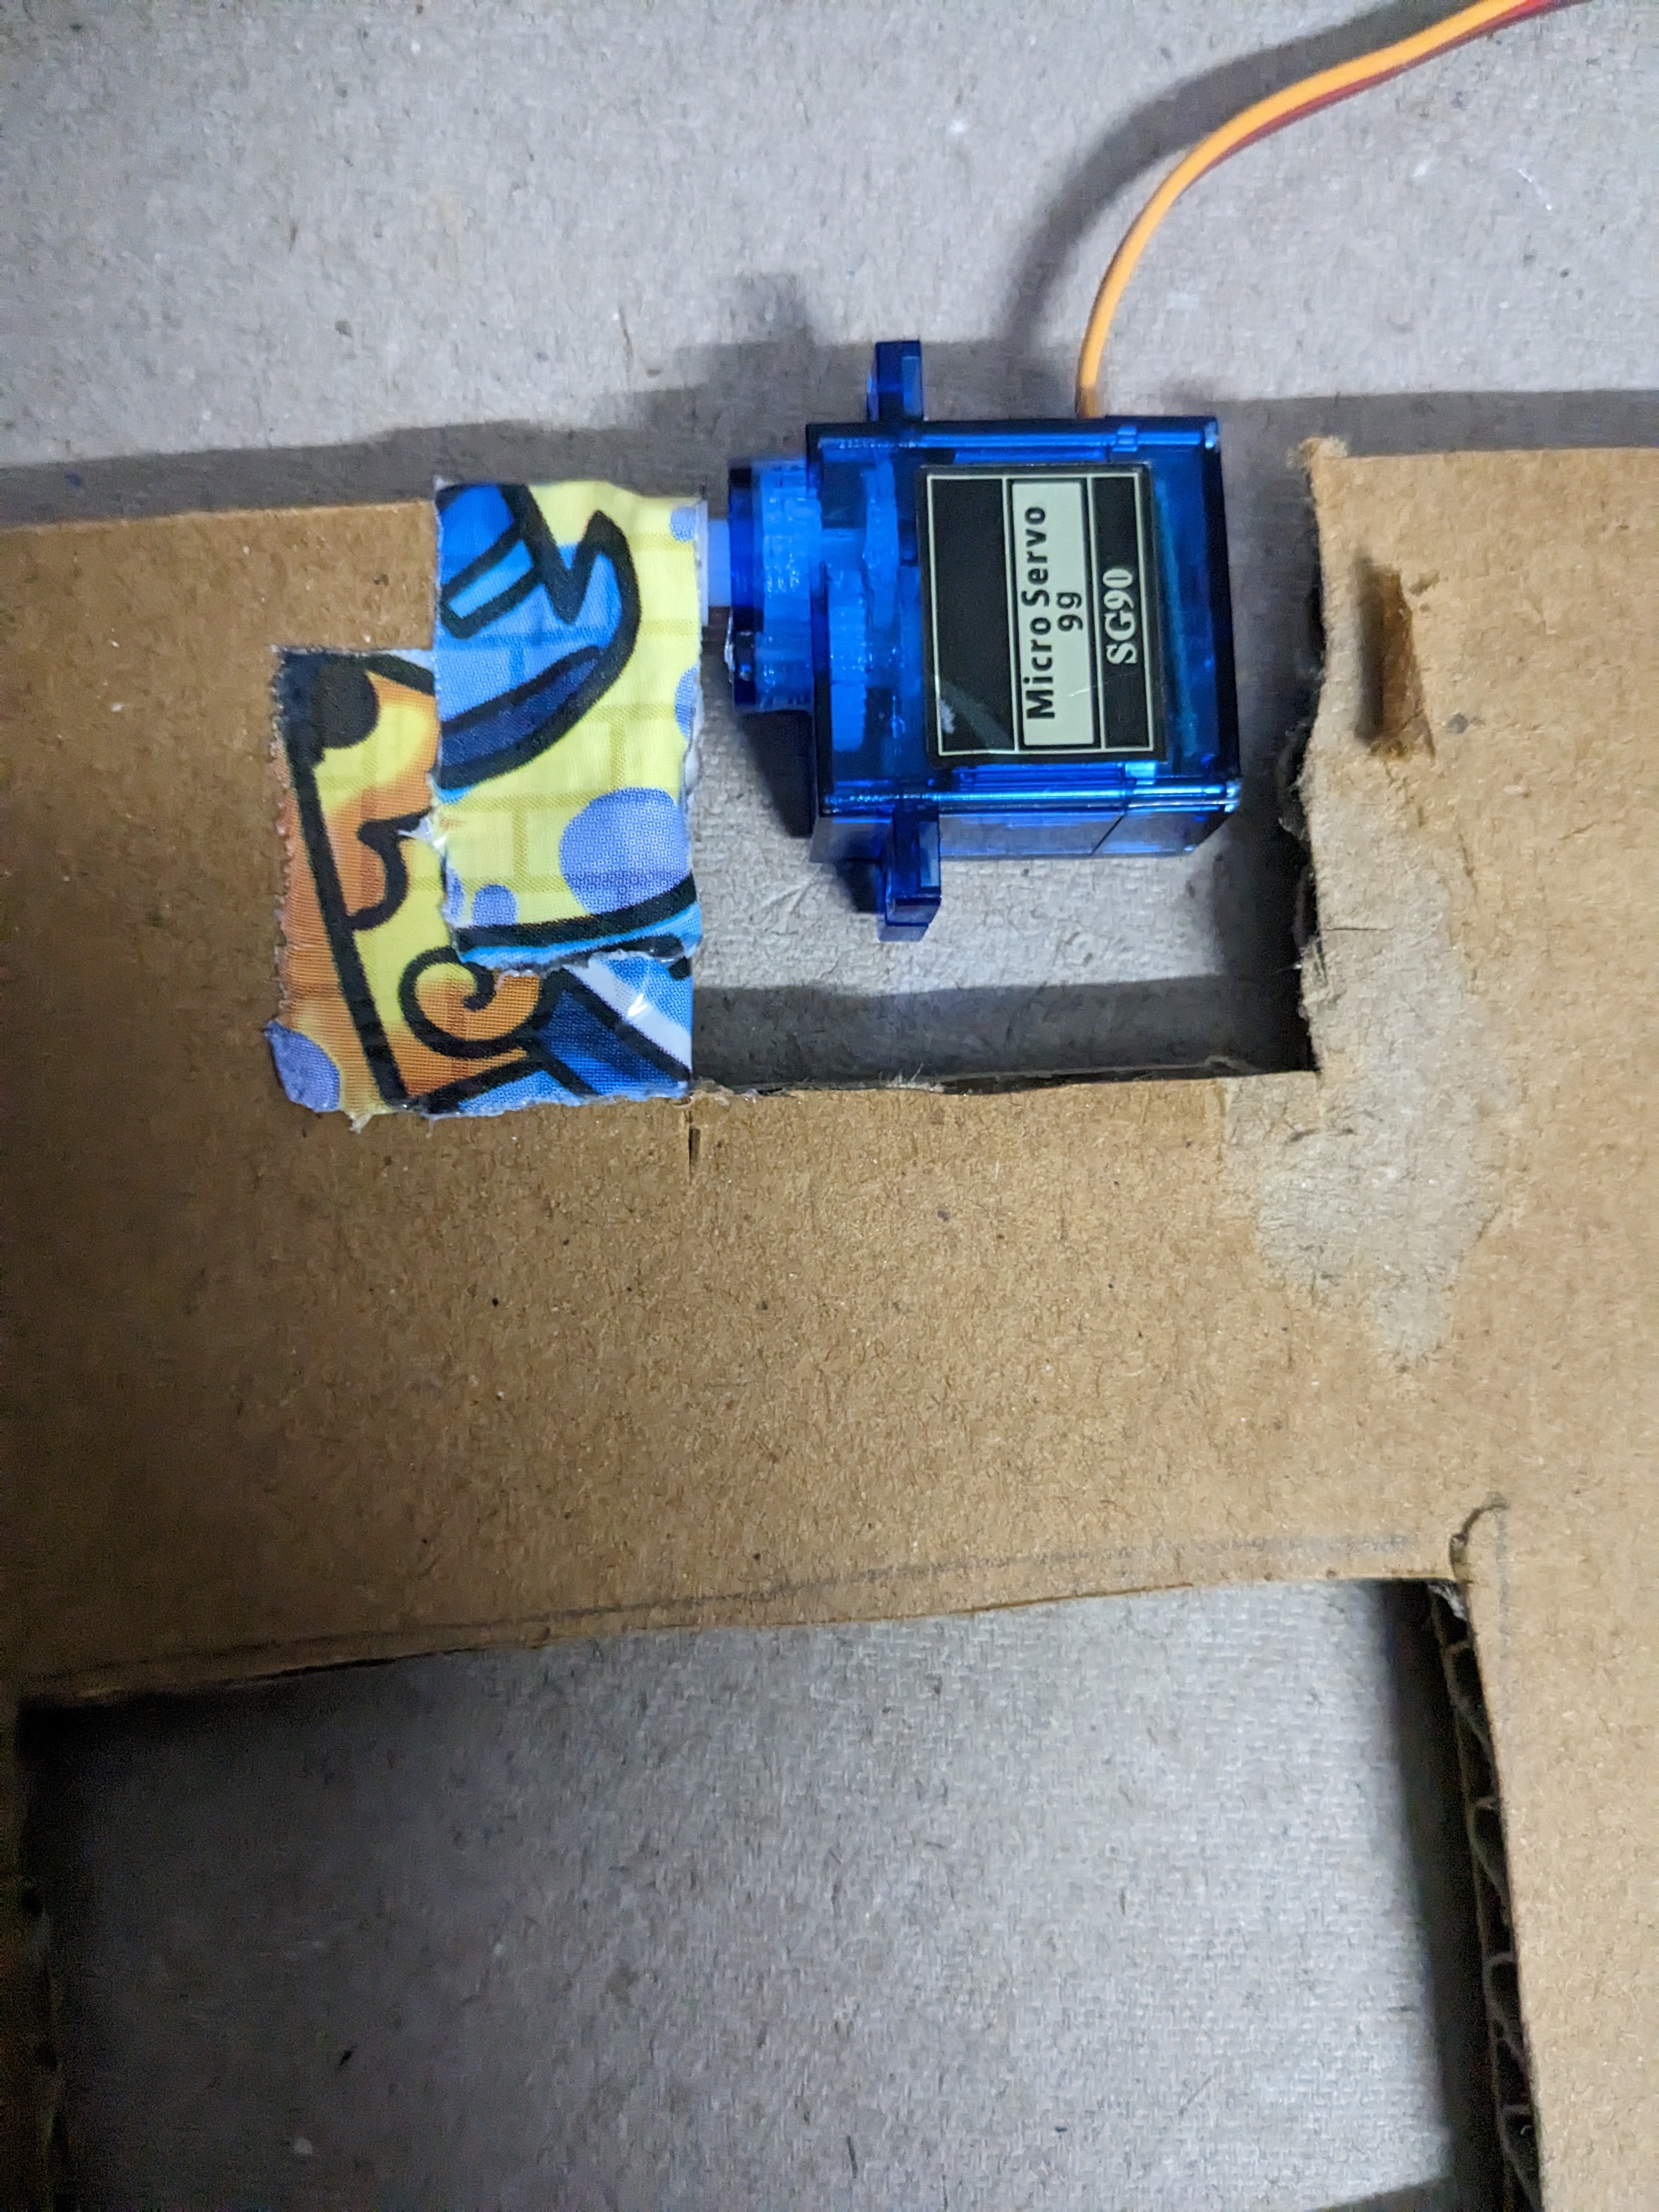
Based on the first servo, I realised that I needed to make the panel lighter and manage the torque better. To achieve this, I added an additional servo and cut out holes in the panel to make it lighter.
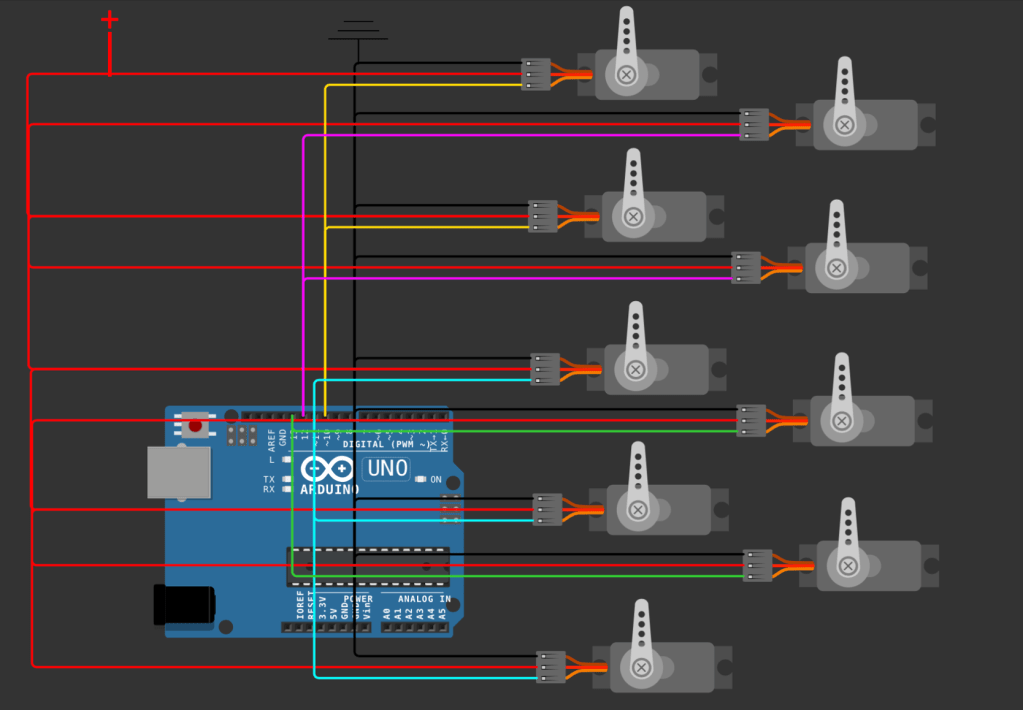
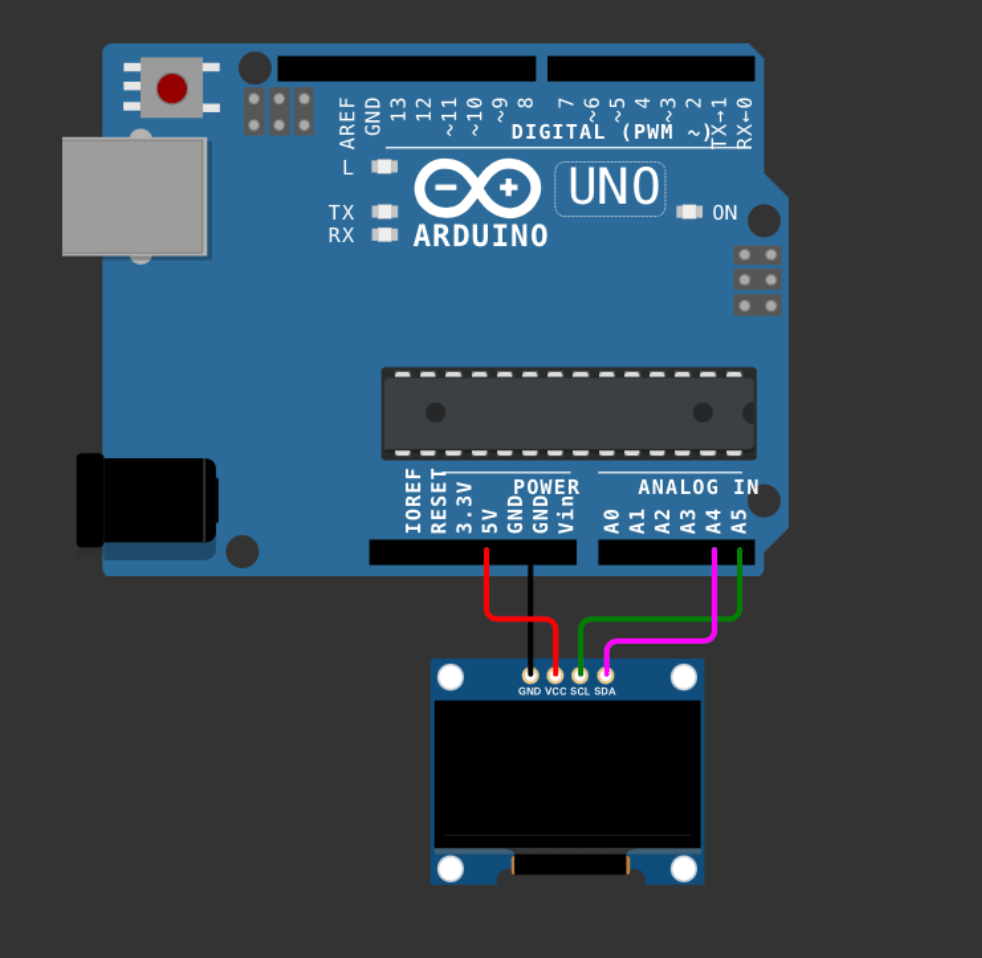
Step 4 was integrating the remaining 8 servos. This is the circuit diagram:
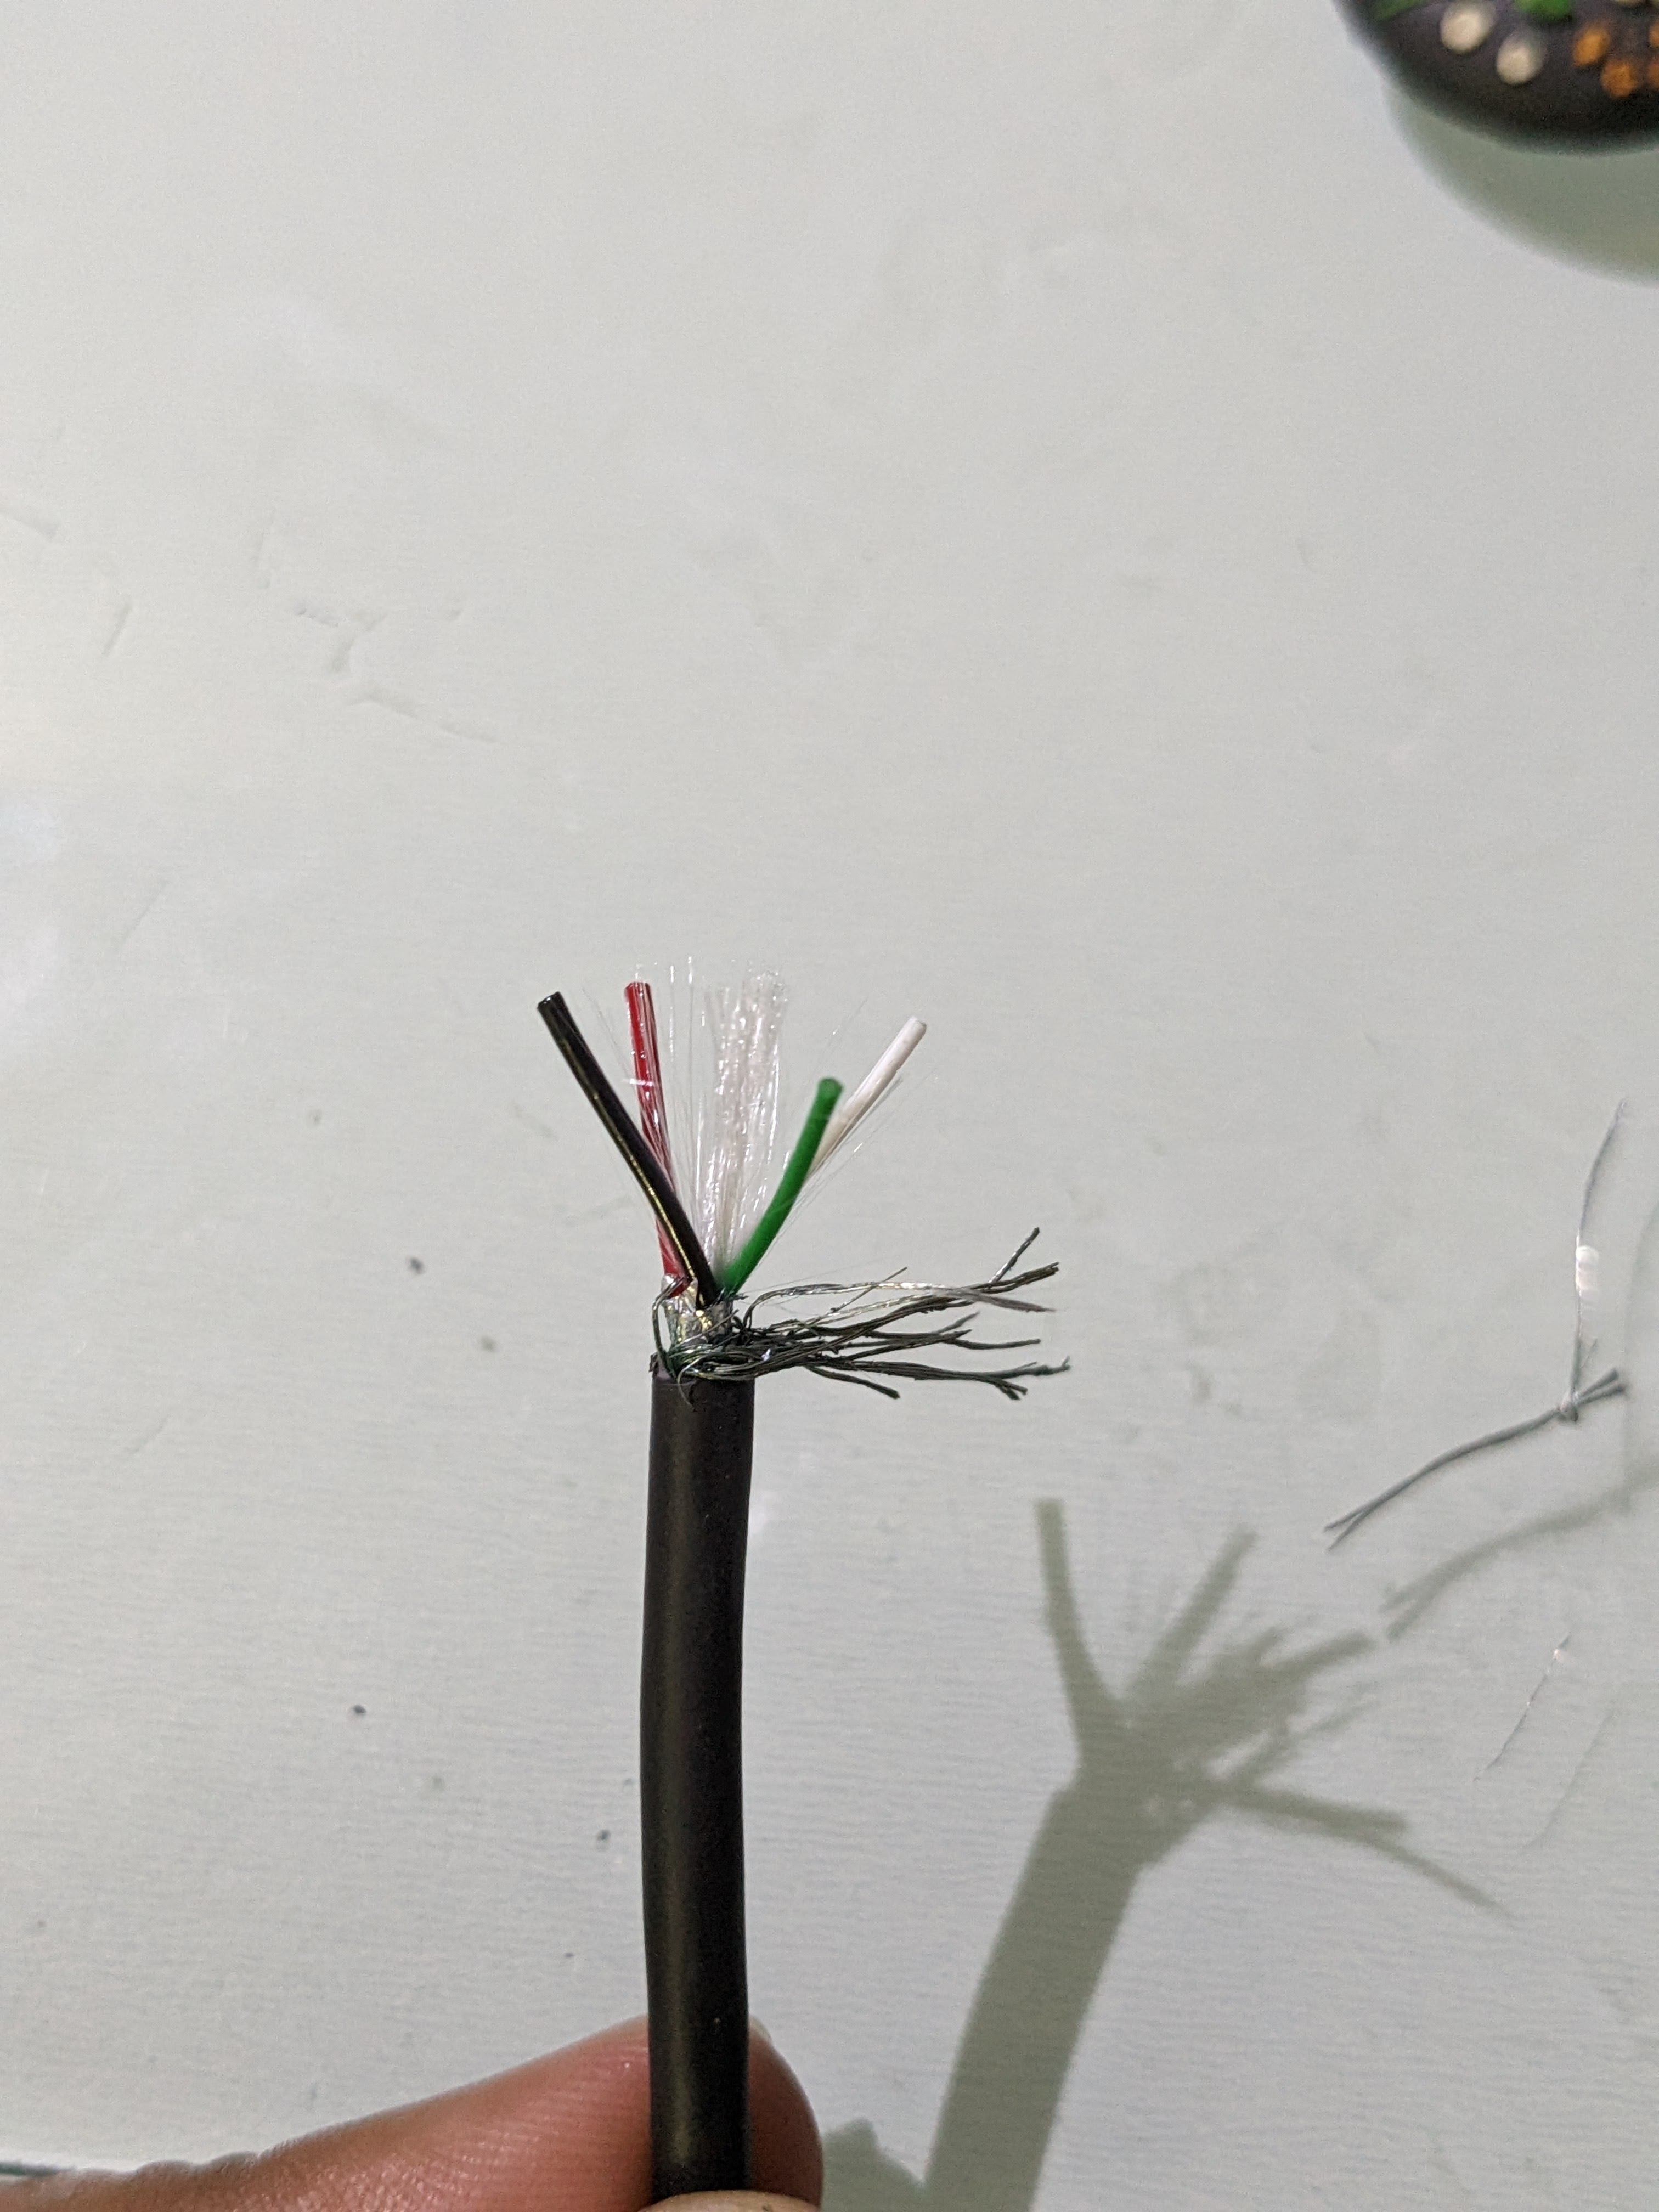
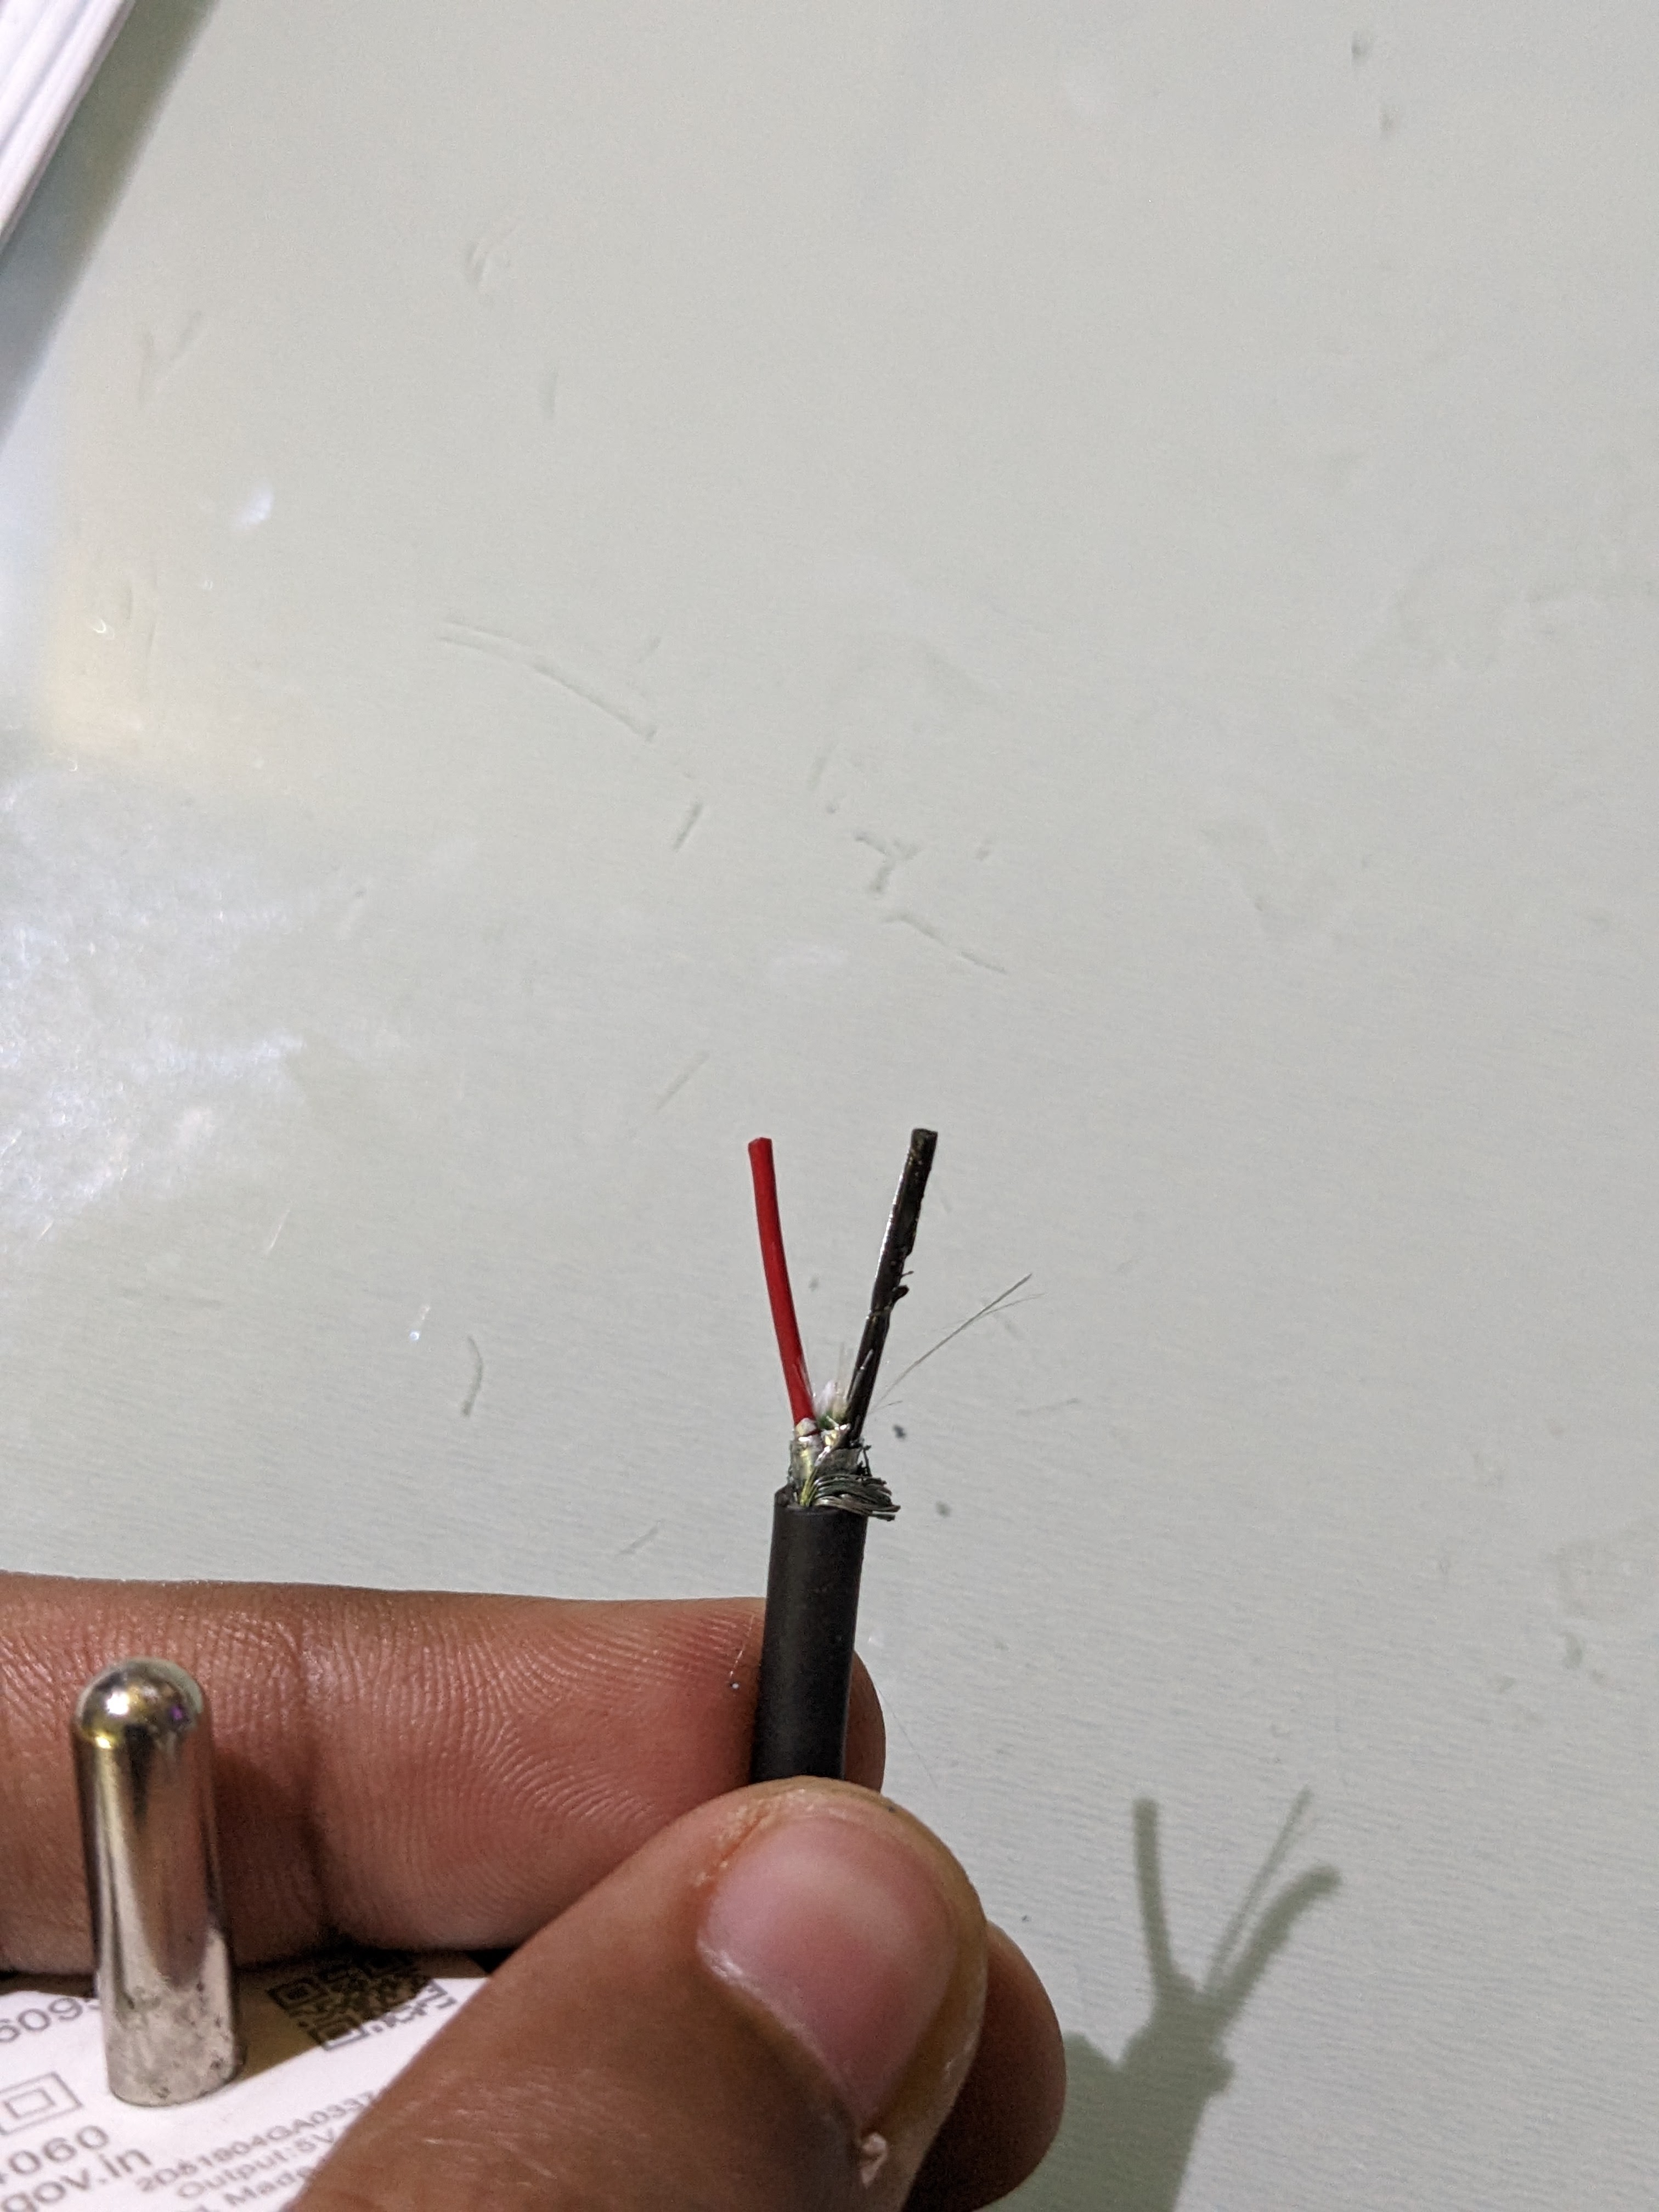
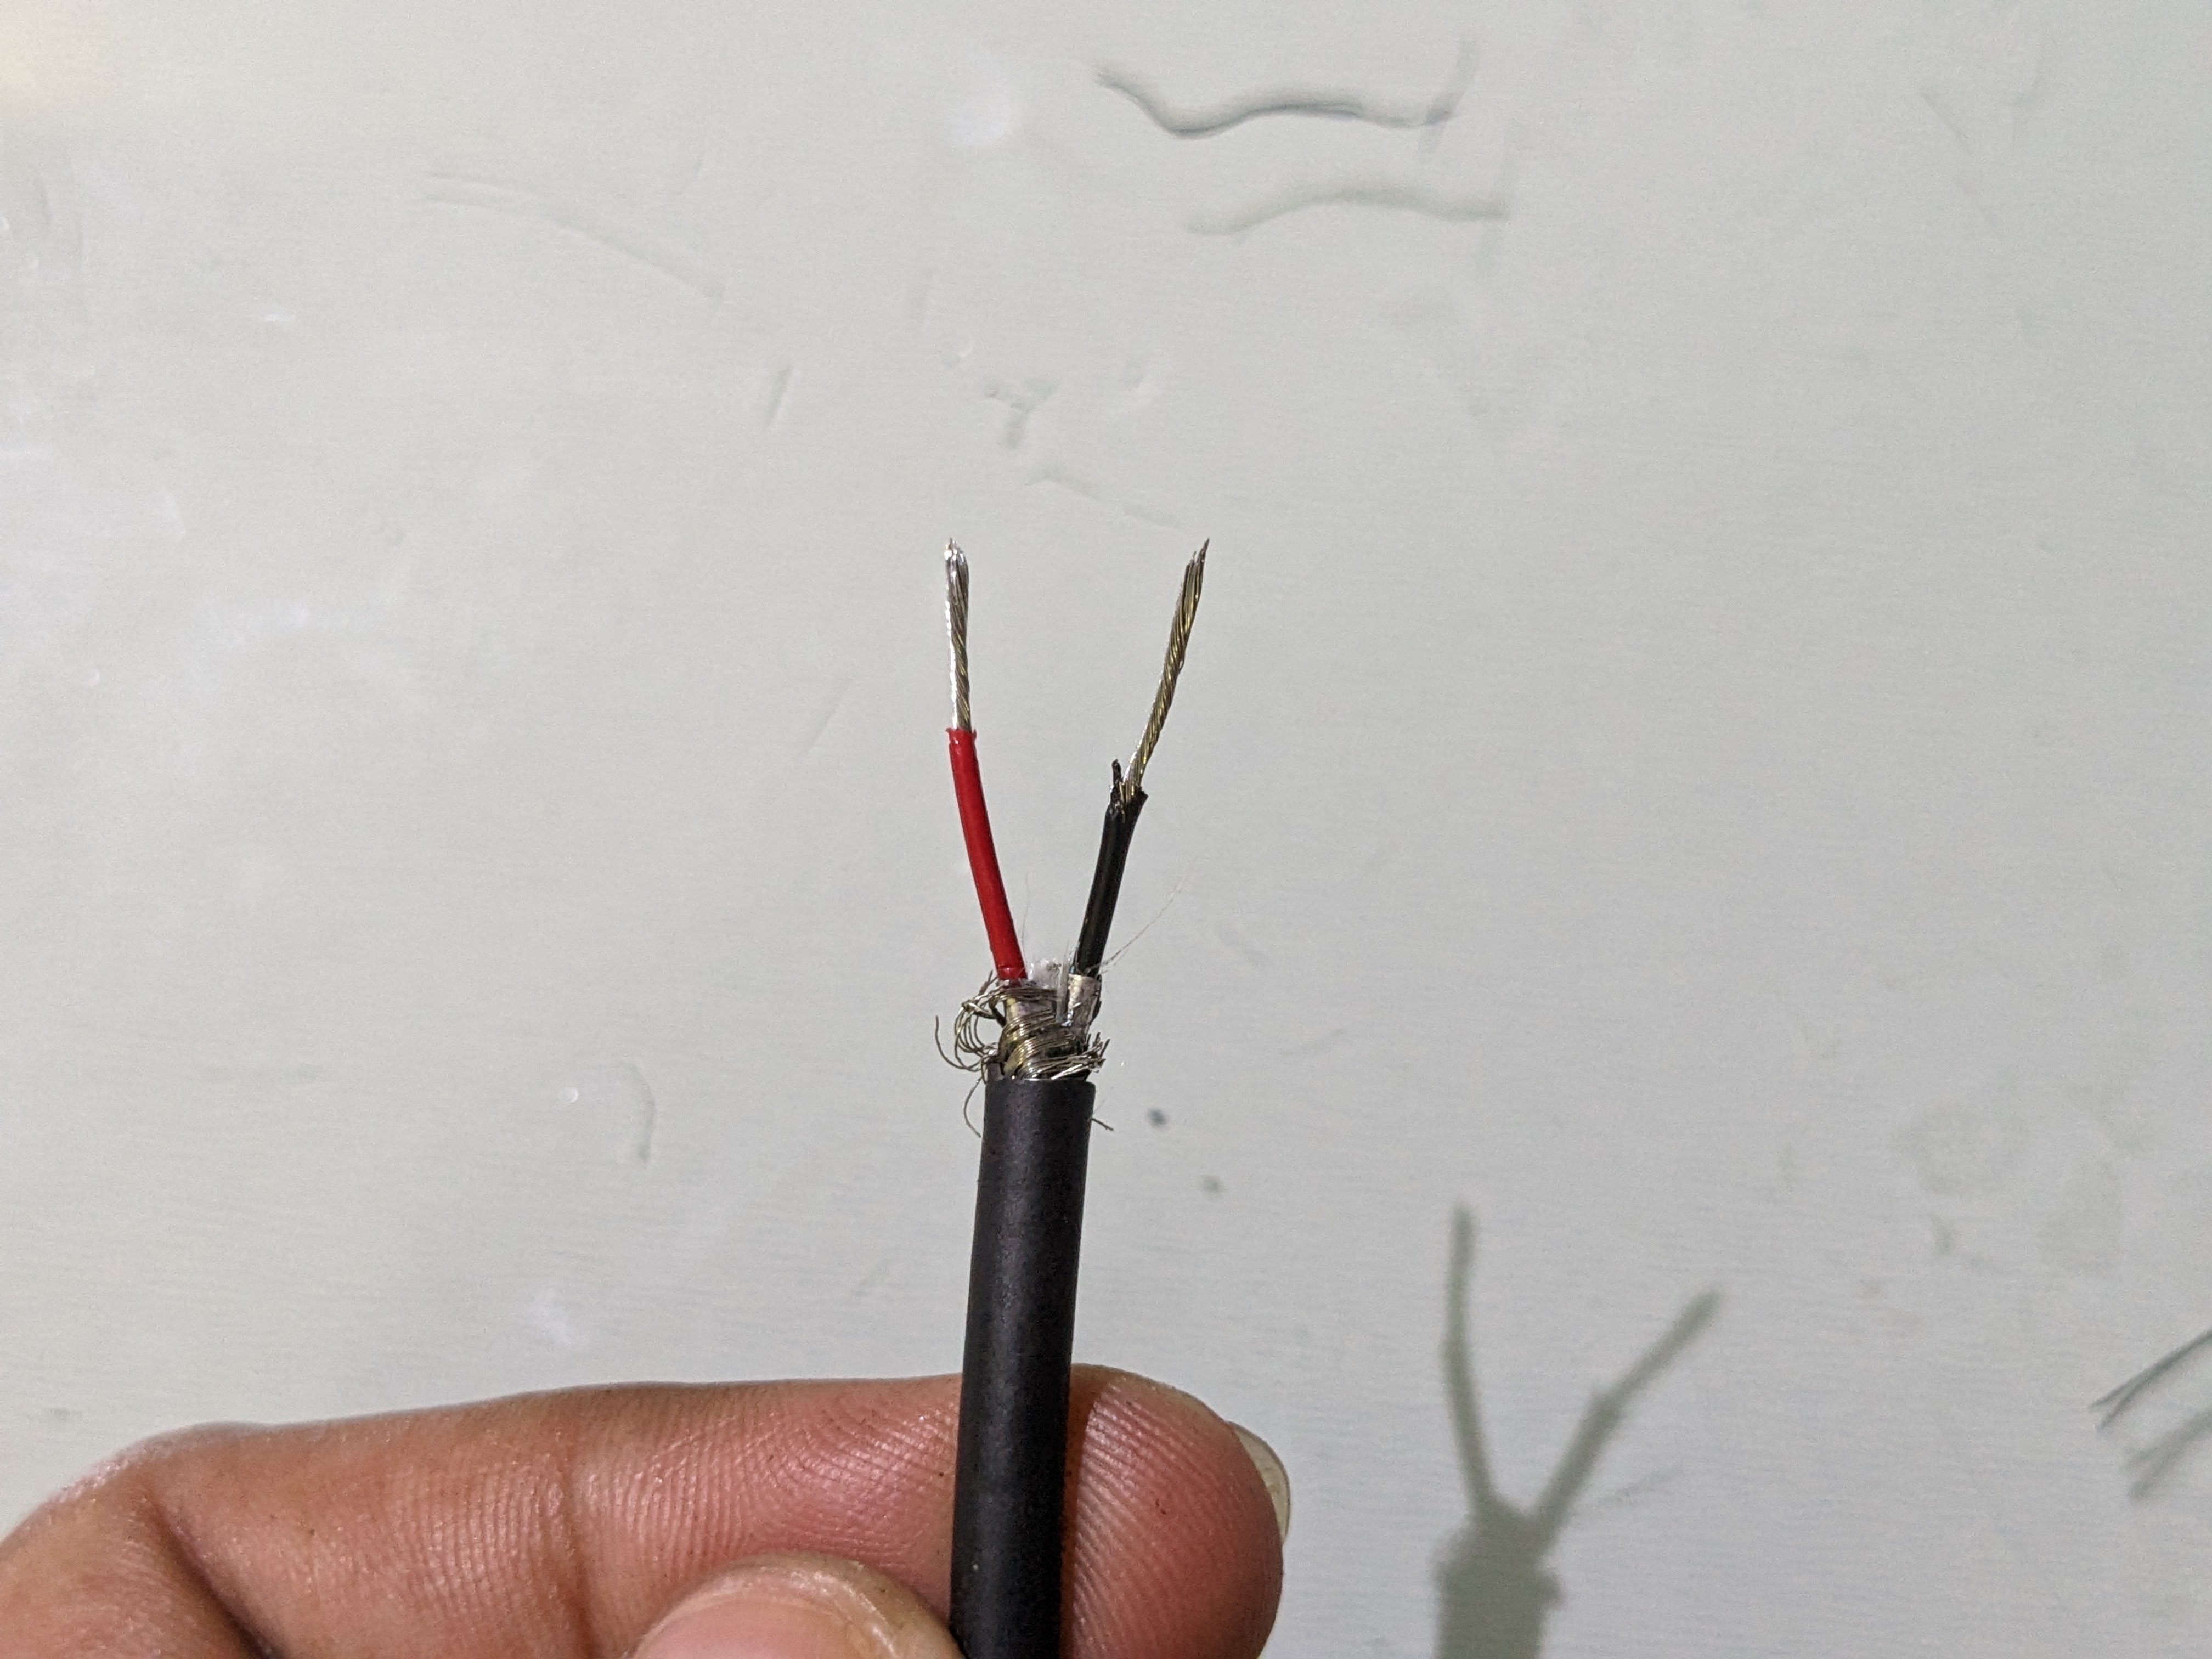
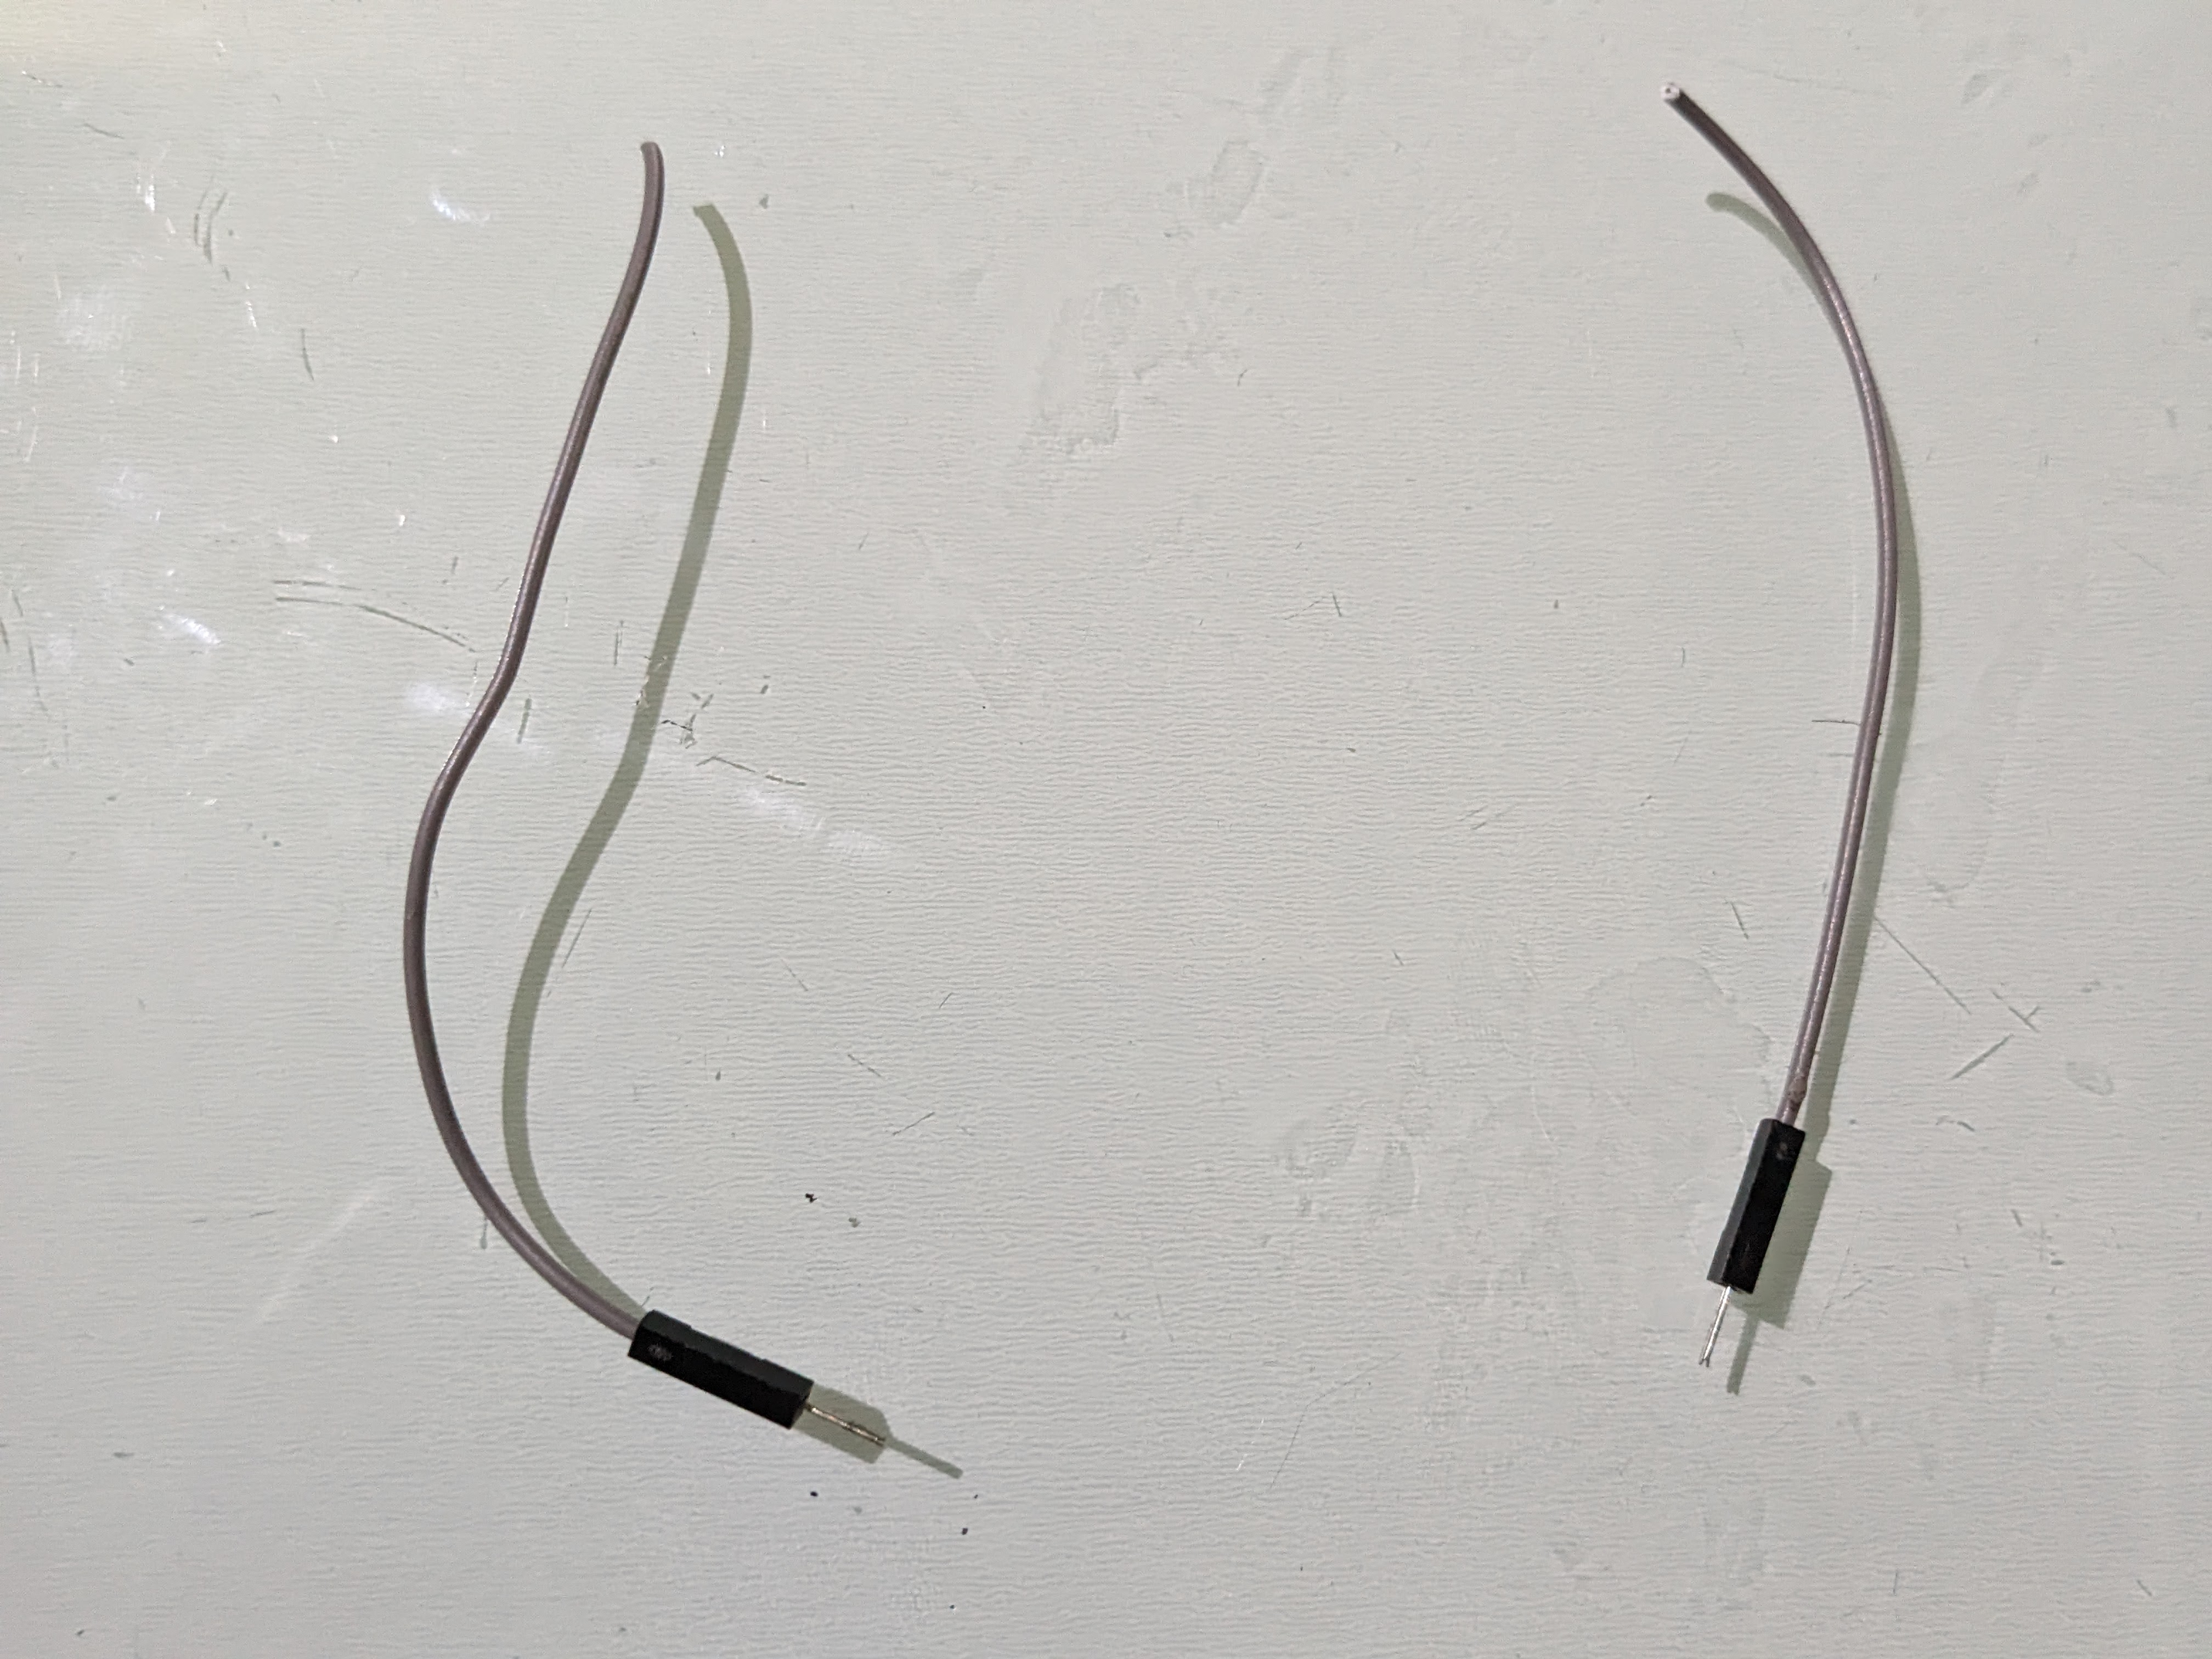
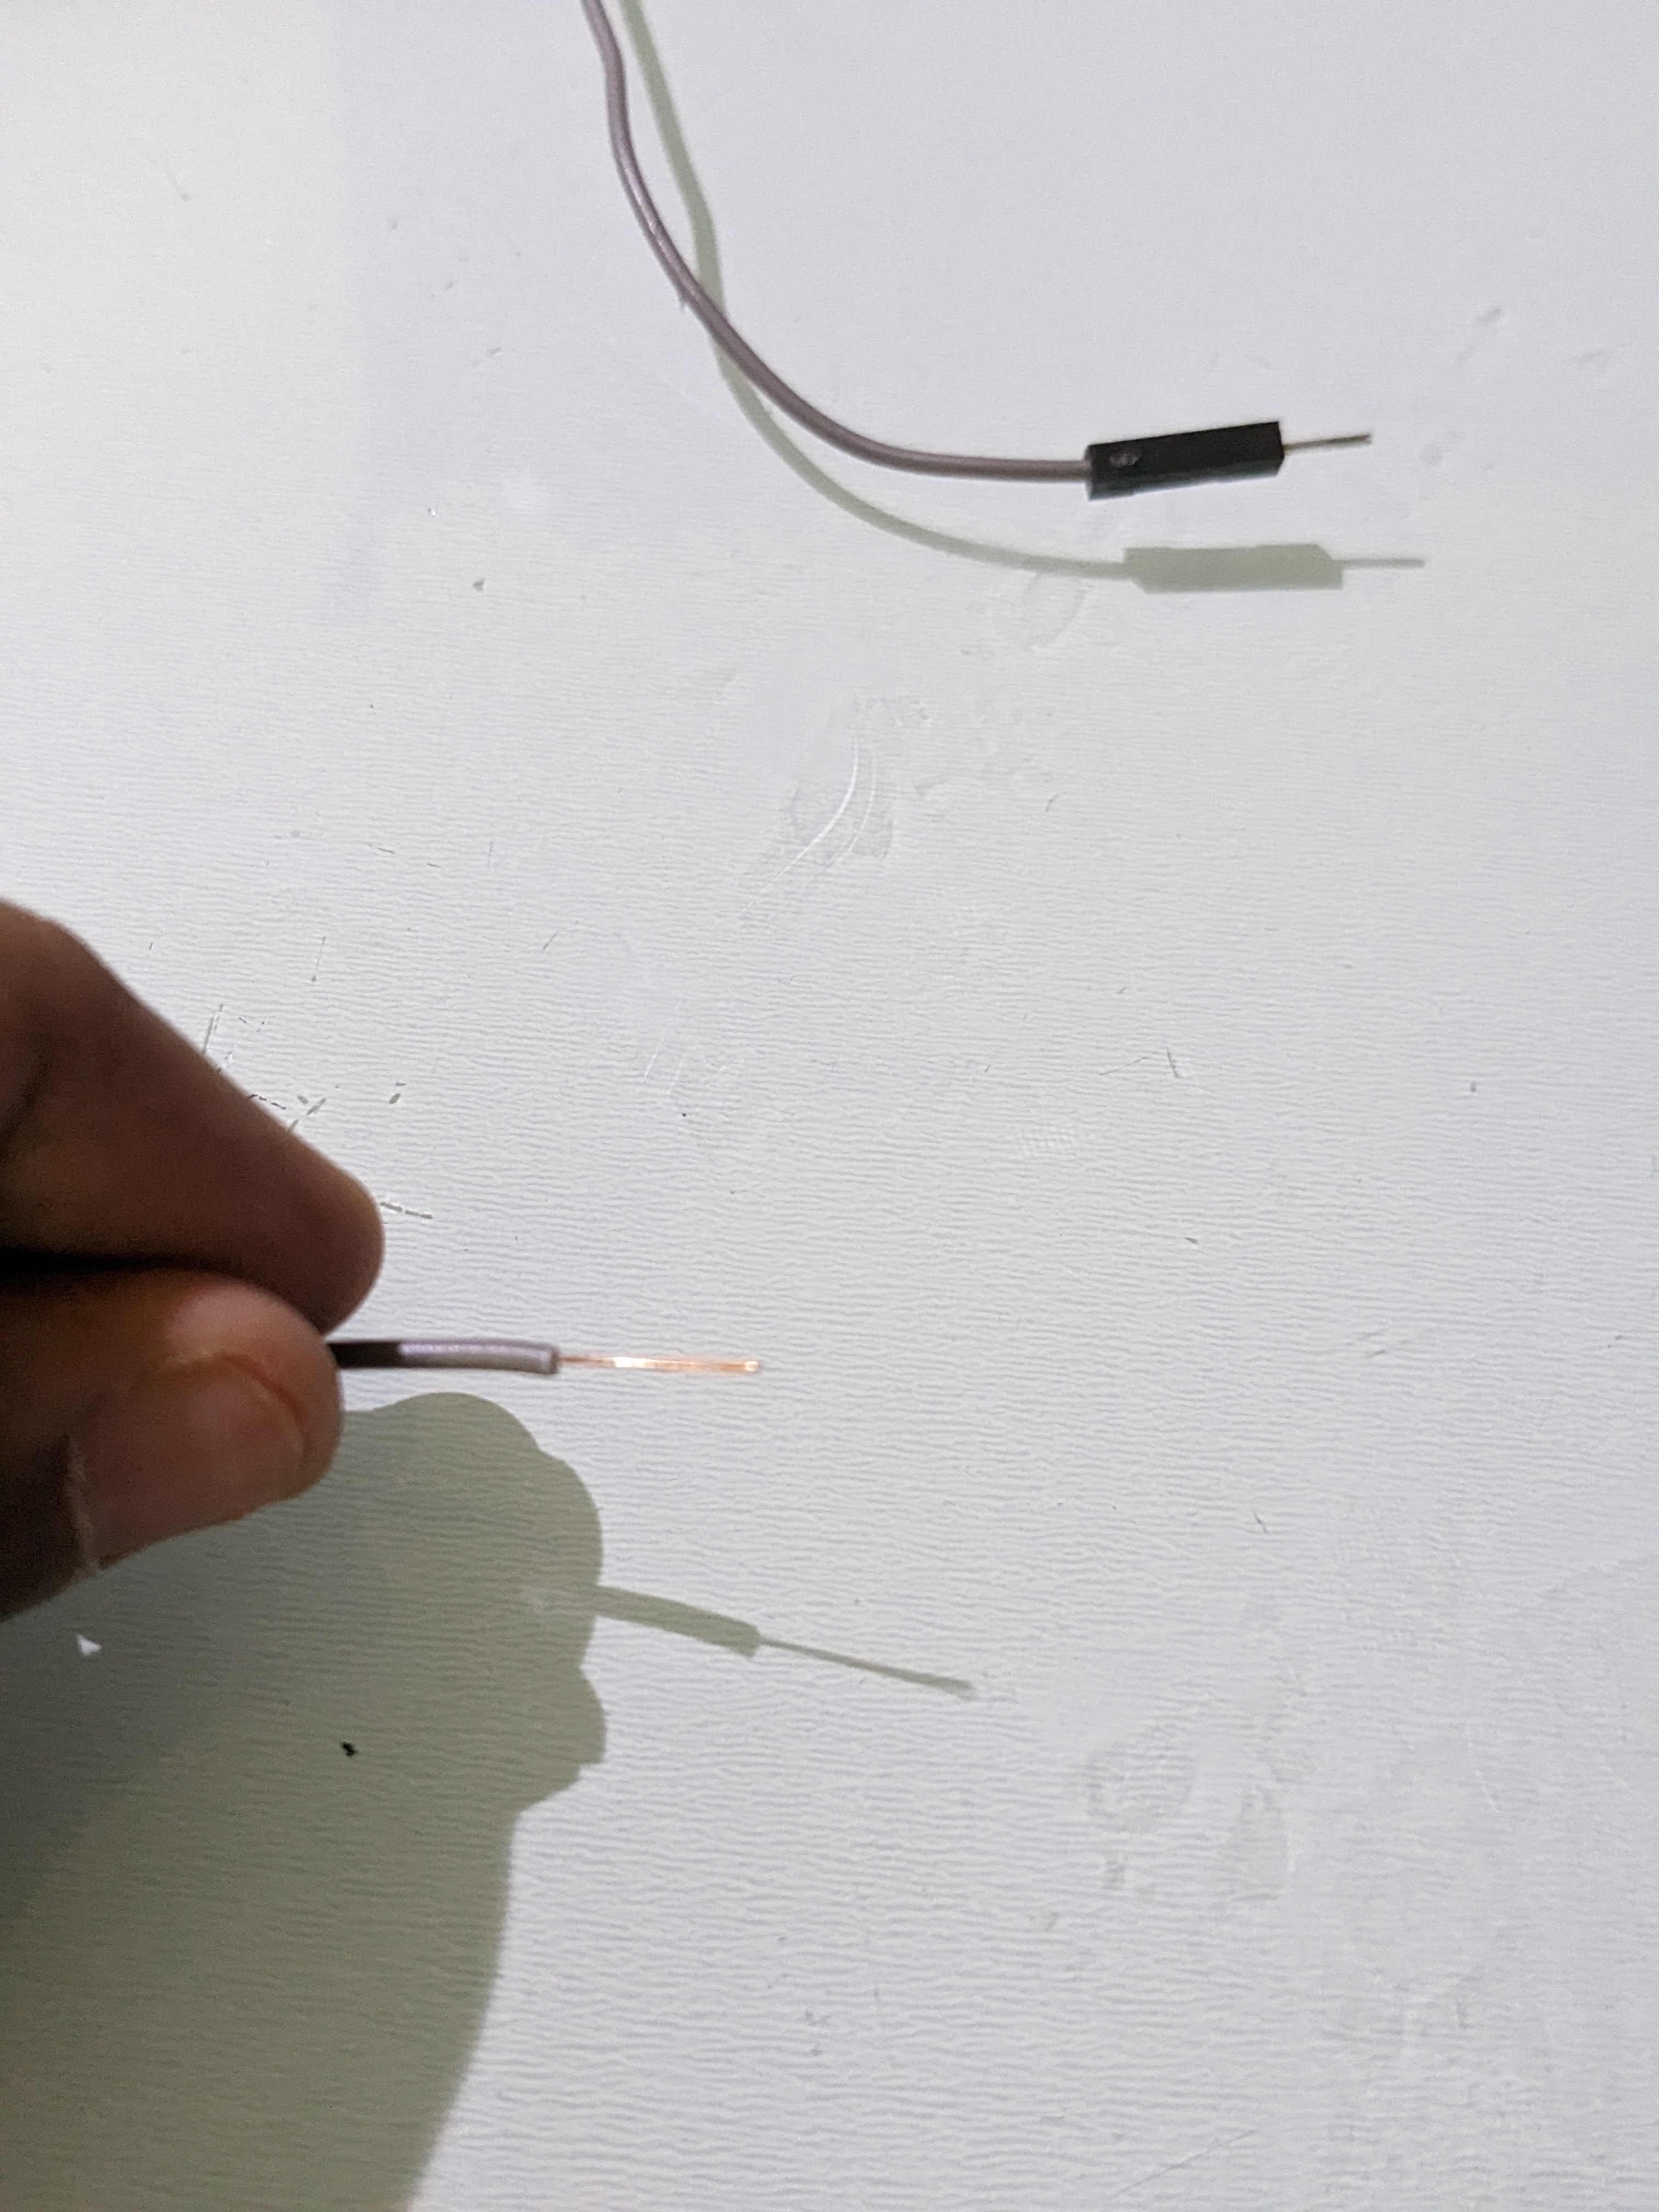
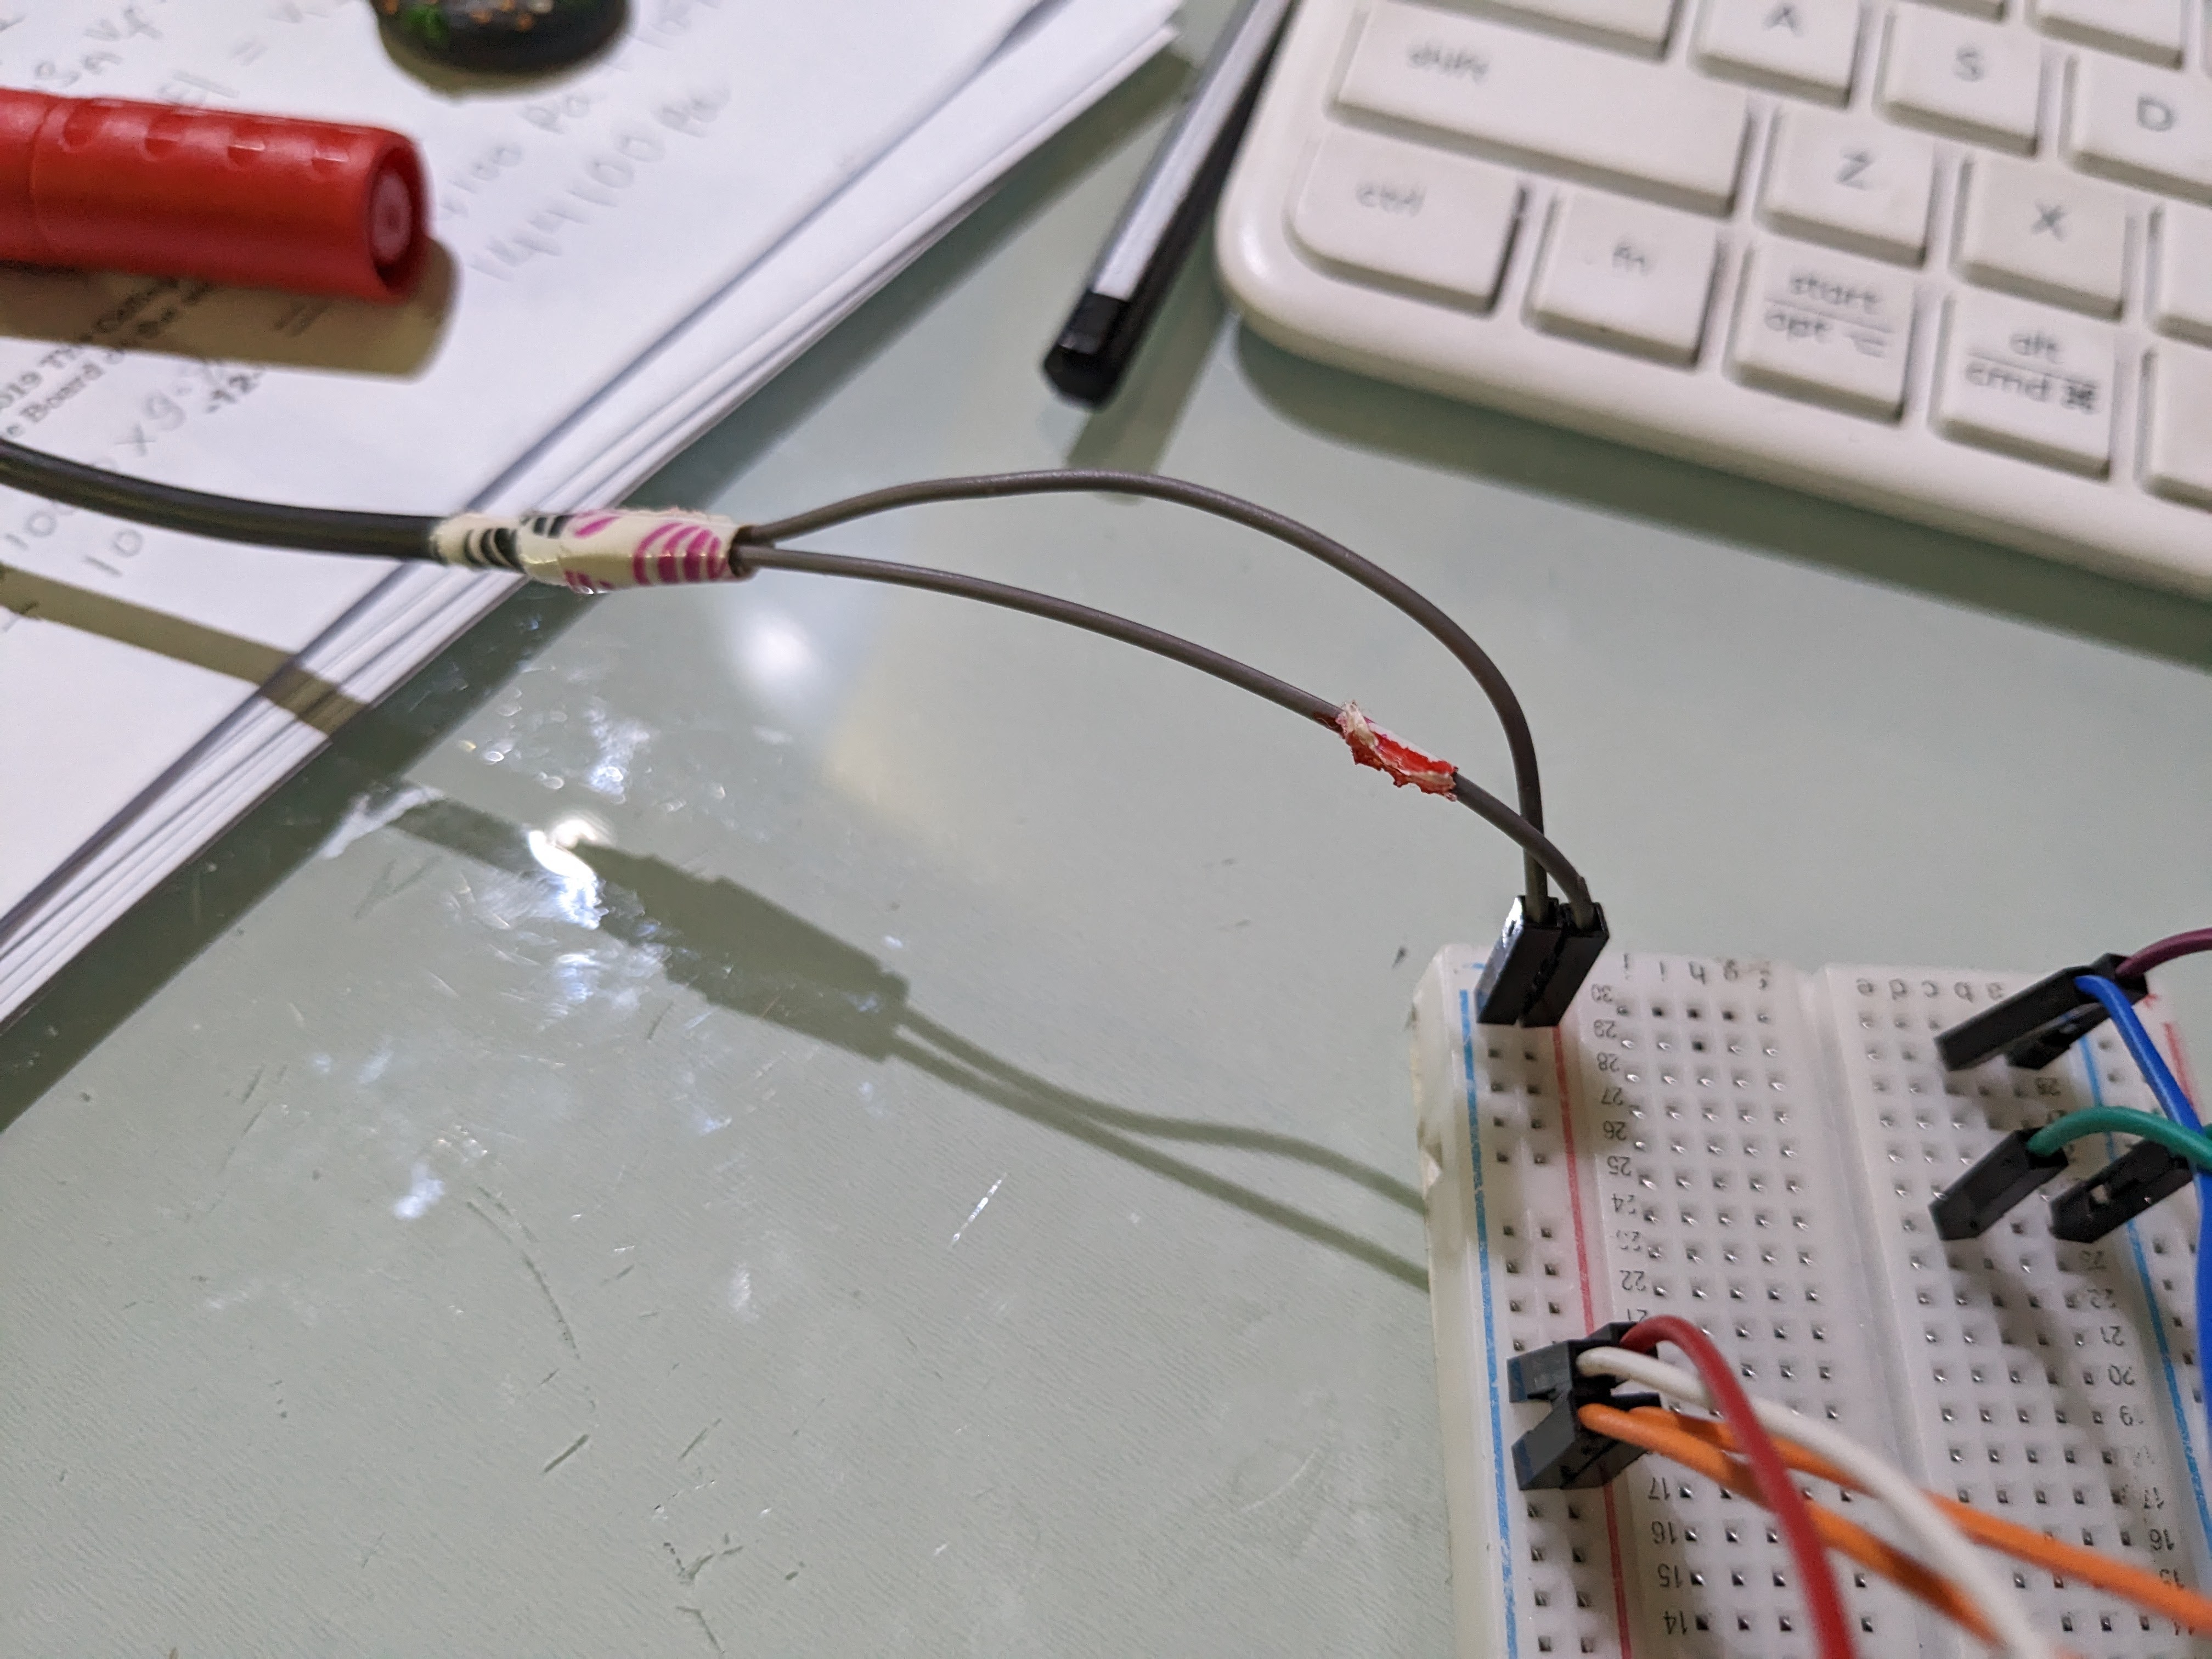
My board could not handle the current draw for the servos, so I needed a separate power supply. There are breadboard power modules in the market, but I cut open a broken cable and used a standard 5V/2A phone charger.
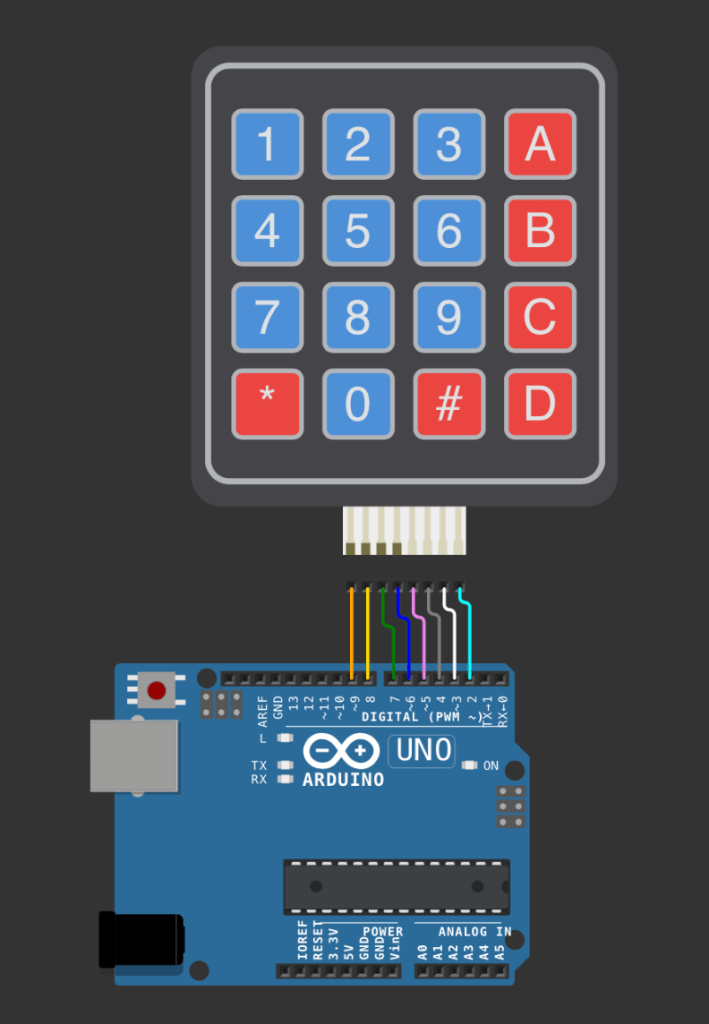
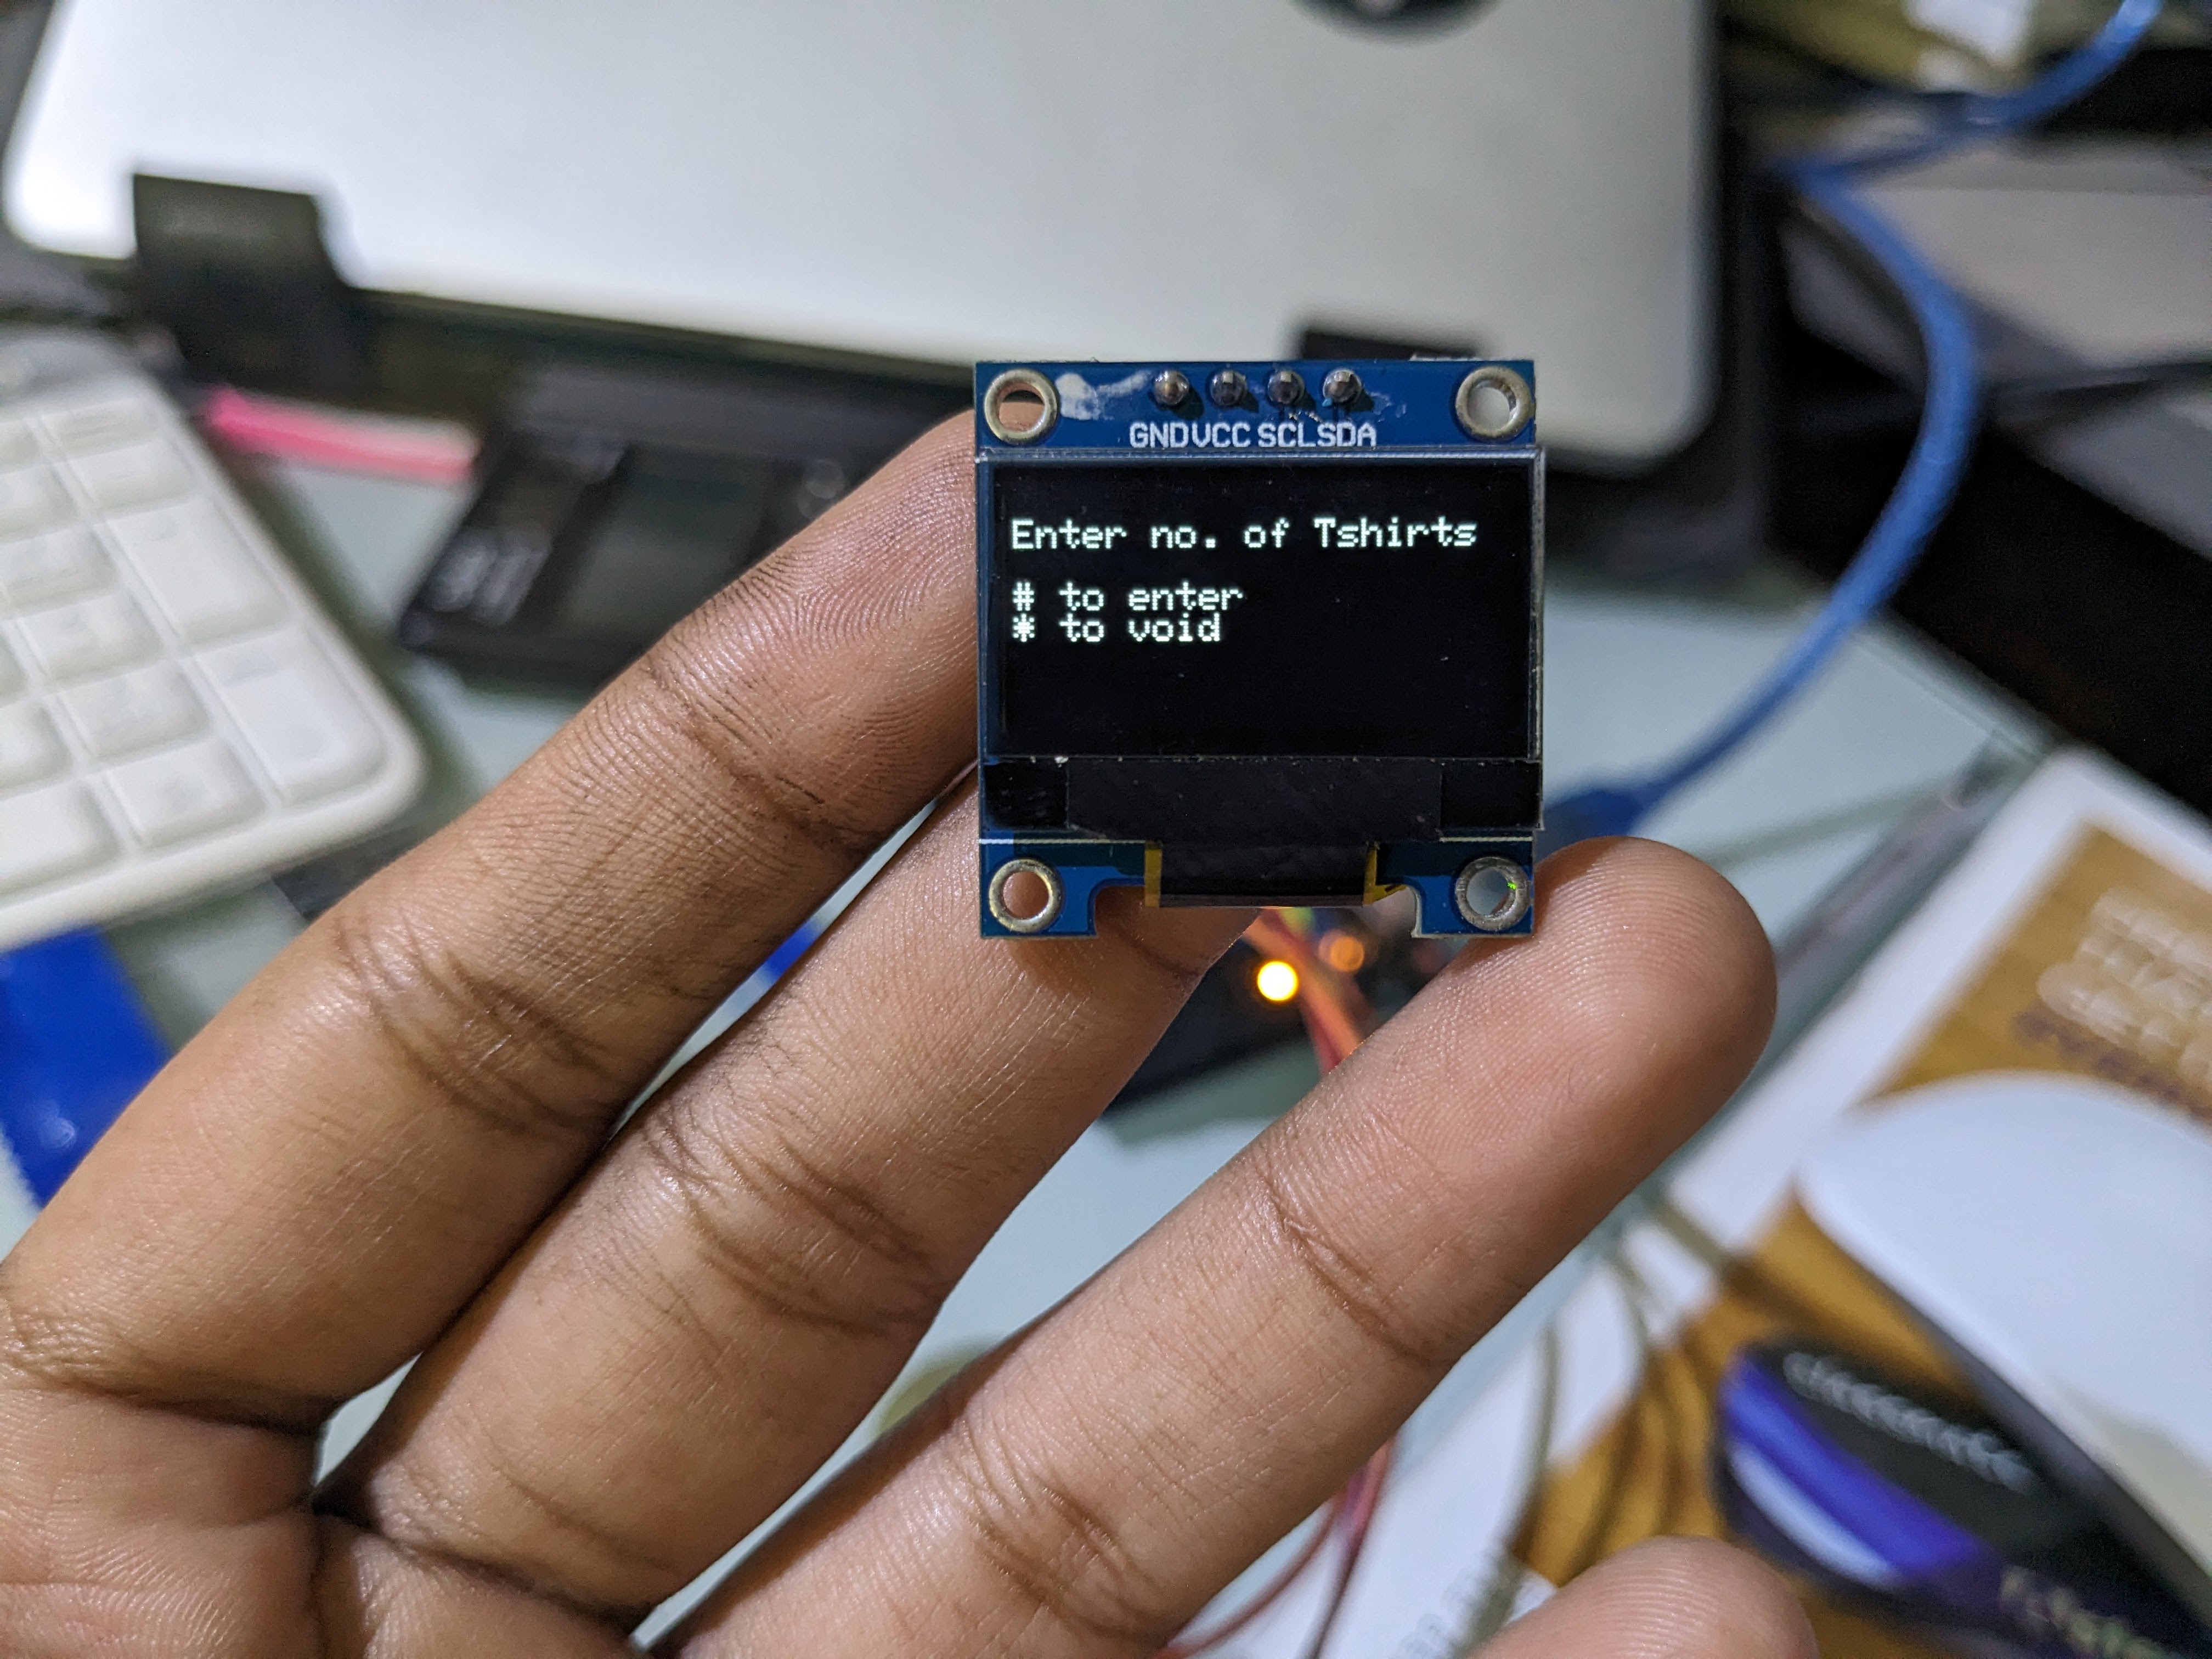
Step 5 was integrating a keypad to take an input from the user. I first figured out the input using my computer’s keyboard, then moved on to the keypad. The integration of the keypad was straightforward, but figuring out the logic to enter multiple digit numbers instead of just one took me some experimentation. Code.
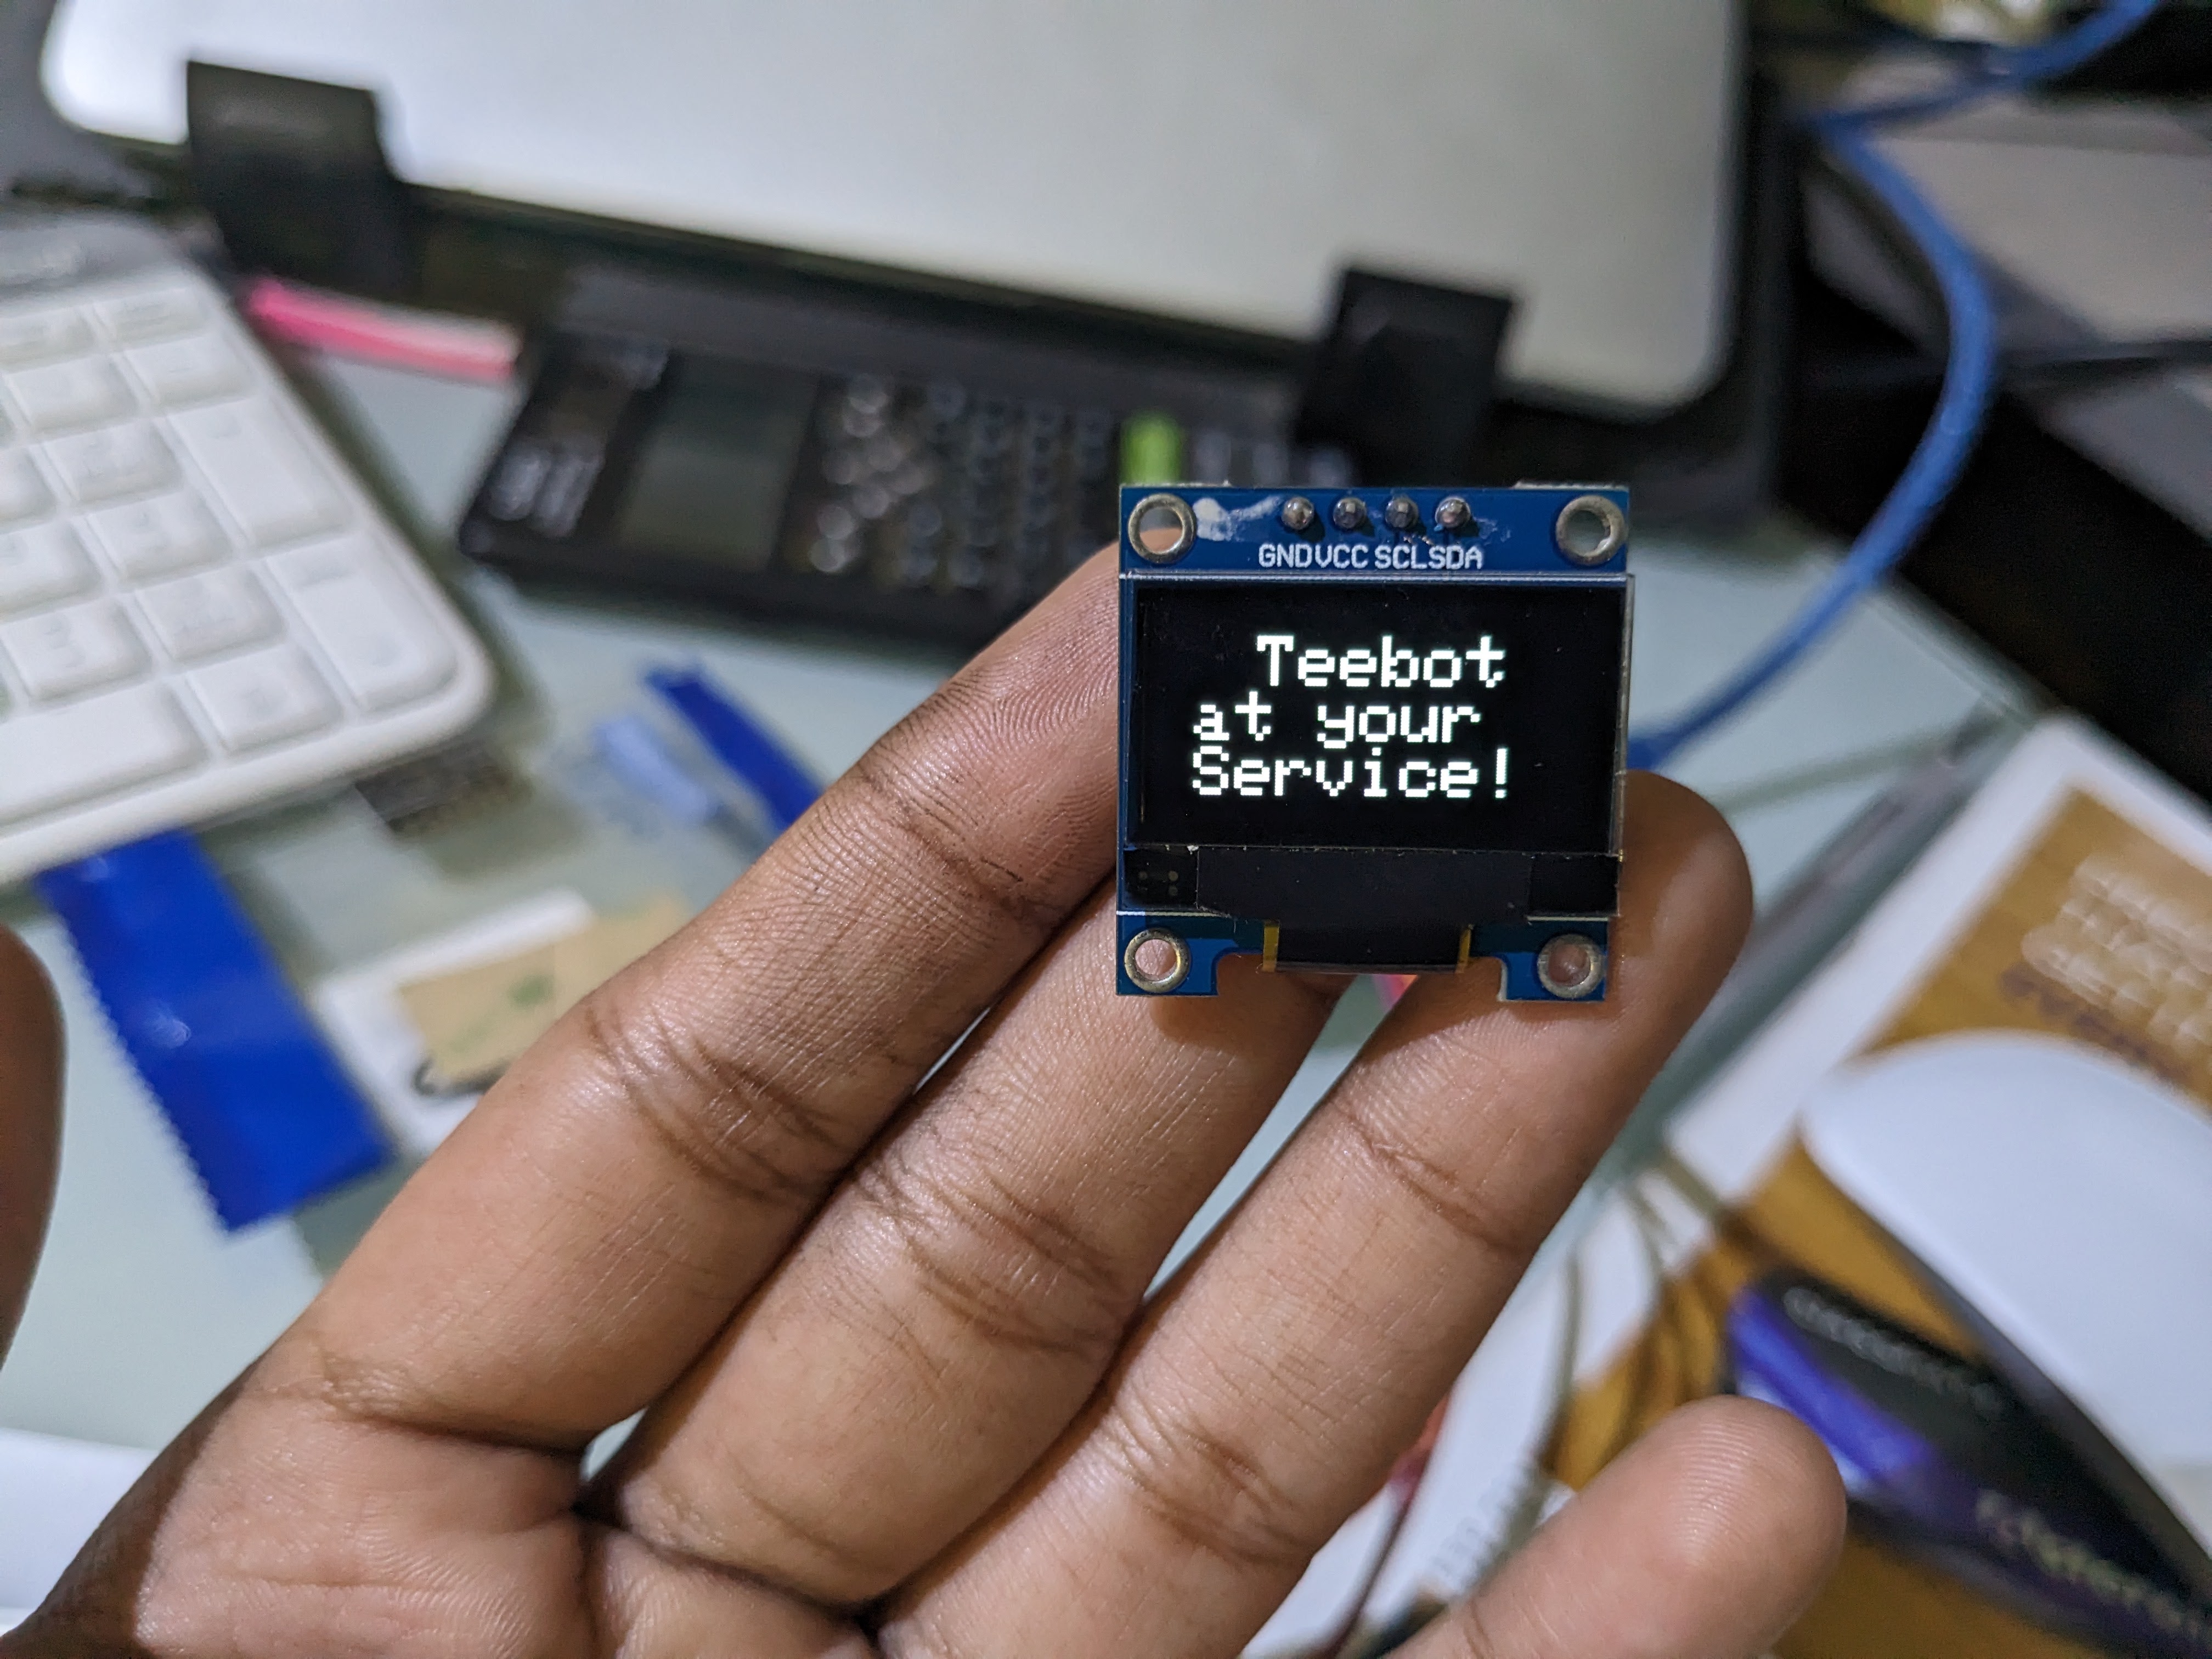
Step 6 was integrating the OLED (SSD1306 i2c 128×64).
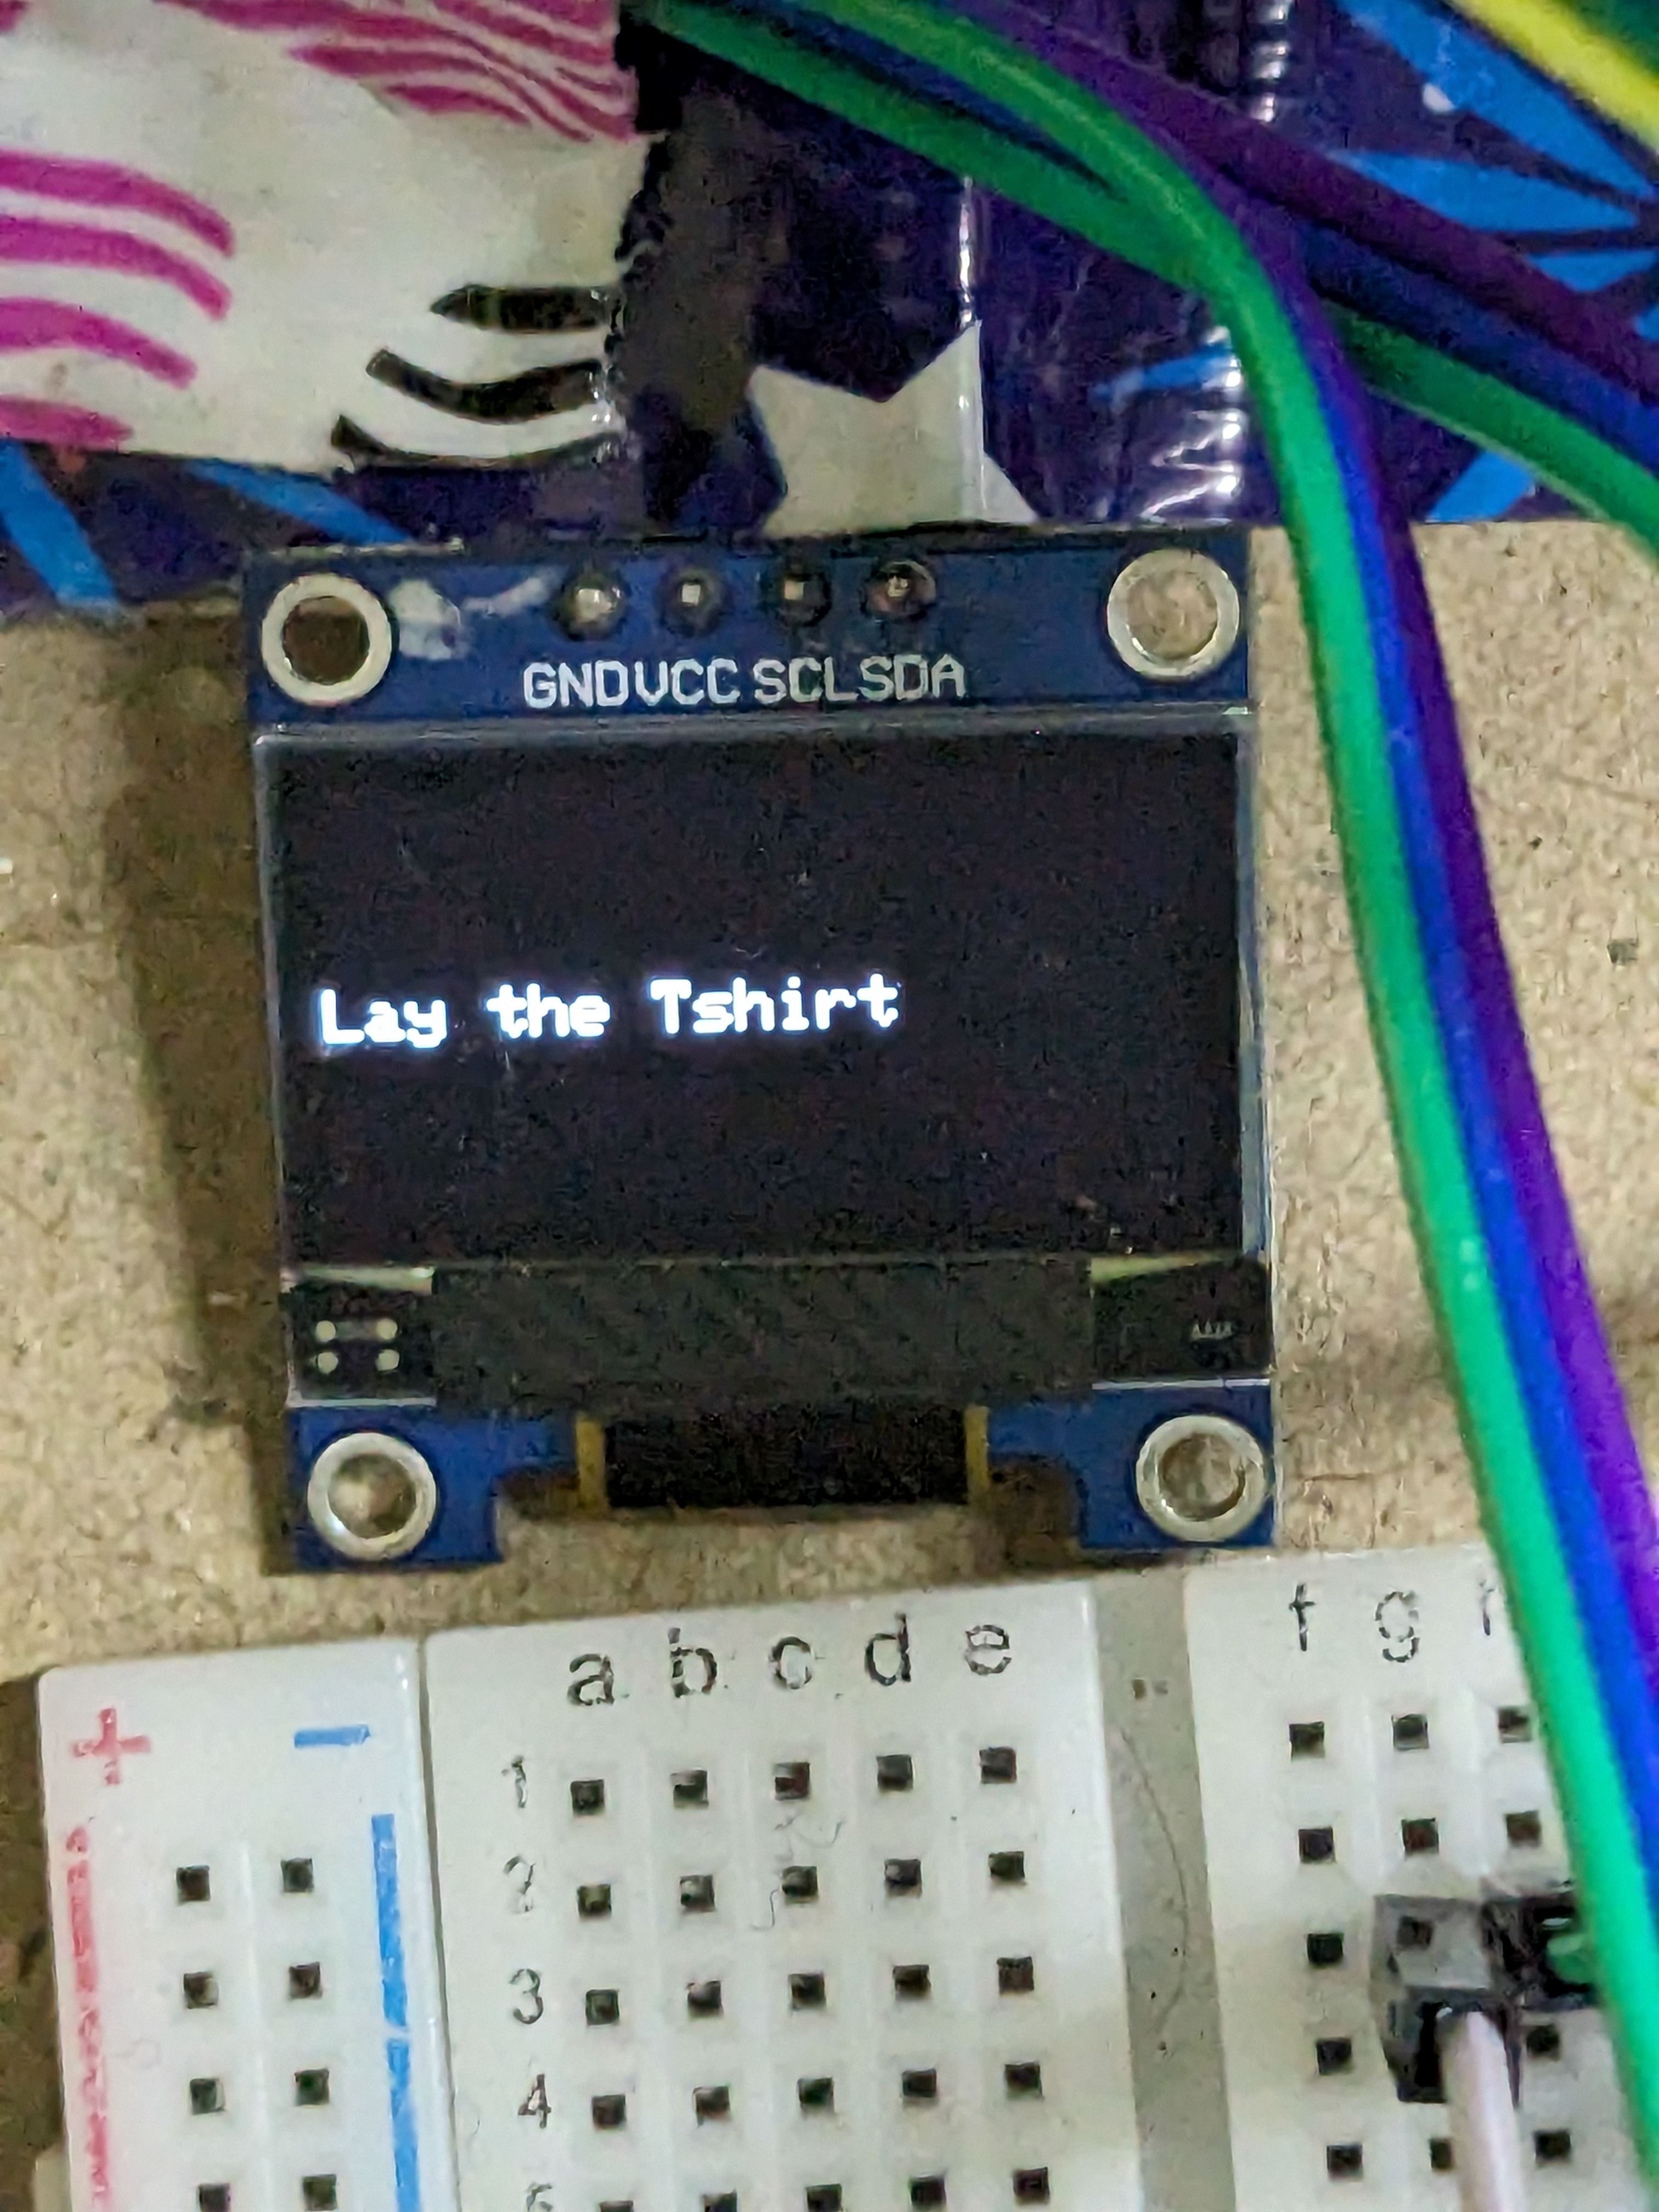
I wanted an opening screen, a home page where a person could enter the number of t-shirts and finally, indications as to which step in the process Teebot was on.
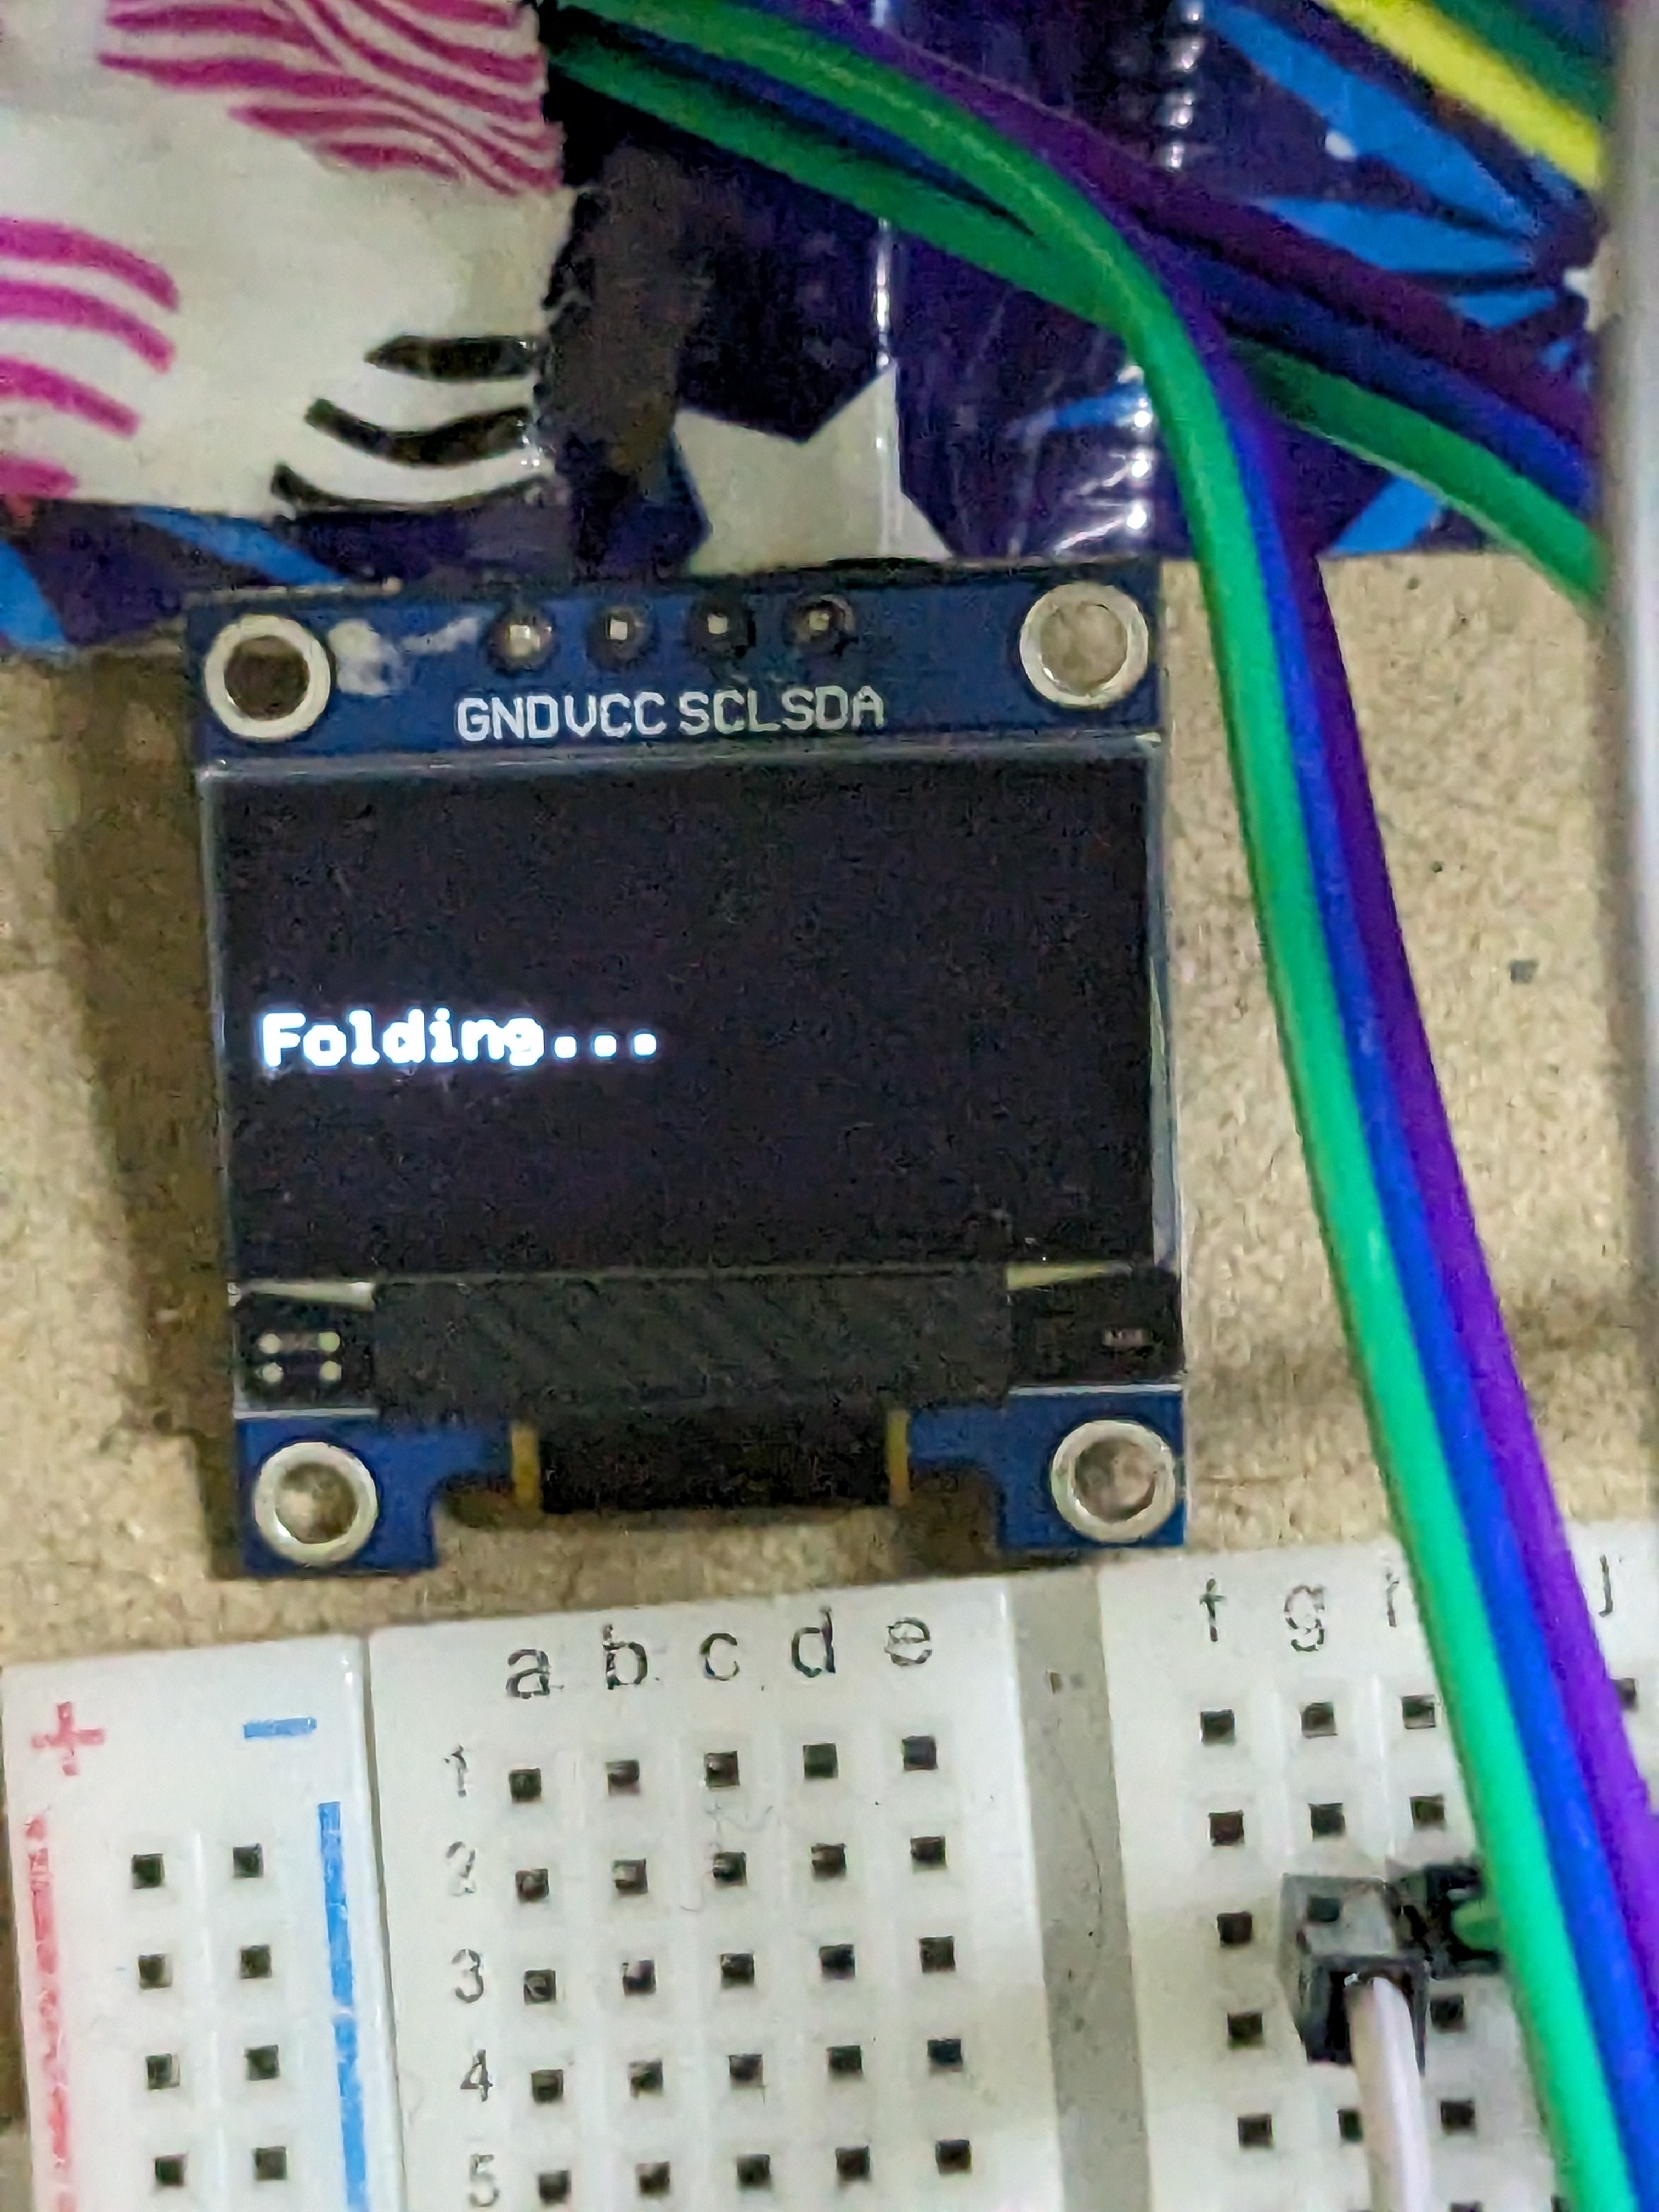
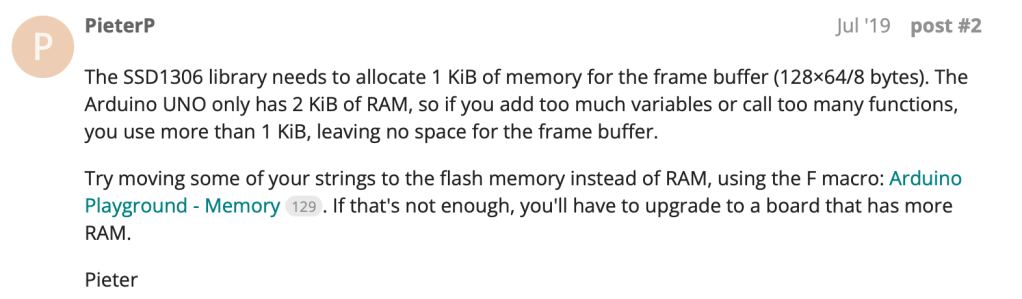
Integration of the OLED was by far the most exhausting step. All the example programs would work, but my program just wouldn’t. In fact, if I changed any sample program to run using custom functions for the same thing, the SSD allocation would fail. I eventually gave up and ordered another OLED from Amazon. Even the sample programs wouldn’t work any longer. It took me three days to realise that the seller sent the wrong model because the board had no standardised markings. I eventually made my way back to my original OLED. After days of struggling with the OLED, I came across this tiny paragraph on the Arduino forum.
I also realised that there was an issue with my custom function (printDisplay) which I was using to eliminate the large number of lines required to print out a simple string on the OLED. I was initially using the String datatype that was unable to handle newline characters (\n). Replacing the function datatype with a character array (char[ ]) and typecasting my input seemed to fix this.
I optimised the program by eliminating most variables and replacing all the servo instructions with for loops and got to the final version of my program. Code.
Teebot is ready!
The hardware required a significant amount of finishing. I had to tape down all the servo wires so they wouldn’t interfere with the panels. I shaved down a lot of the panel edges so there would be room for the wires and the servos. It took me a few tries to figure out a way to connect the servo and the panel that wouldn’t send the panel flying off. Perhaps a 3D-printed arm of the servo that clips or screws onto the panel might’ve worked better. I also had plans to add a photoresistor or an IR sensor to sense the T-shirts so the folding begins automatically. But the RAM constraints did not allow for this. Teebot is also huge and I’d like to create a prototype that folds into a textbook-size product. The wiring is also terrible at the moment, so I hope to solder everything onto a zero-PCB and eventually make my way to a custom circuit board.
Many plans for the future 🙂

Leave a comment